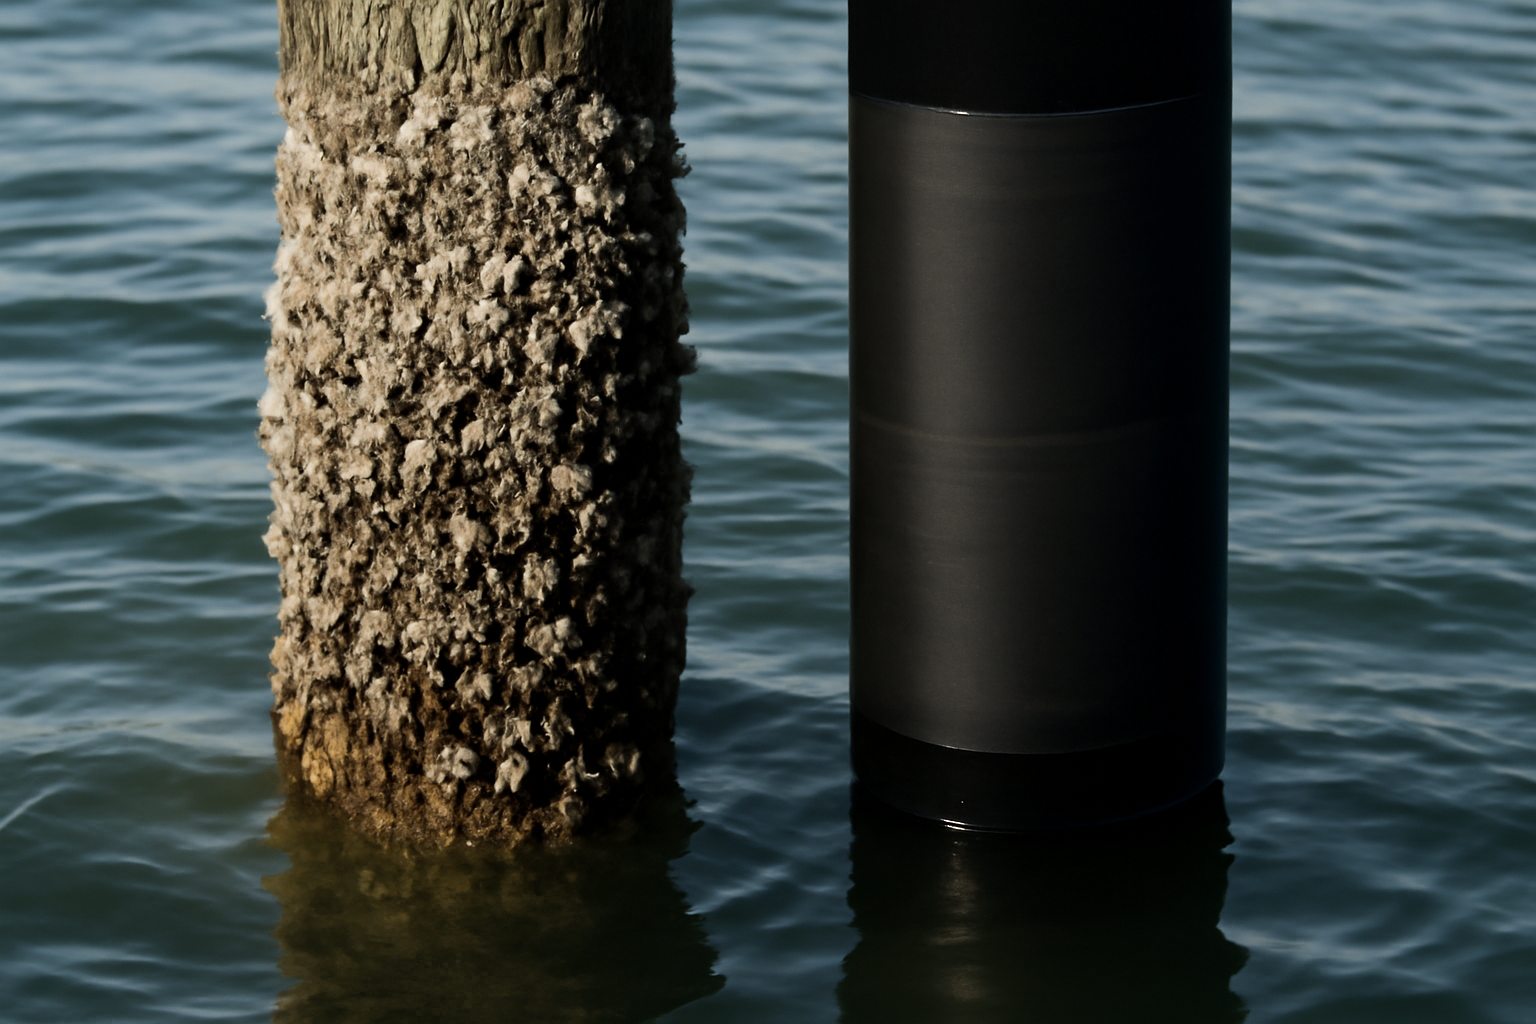
Most waterfront property owners believe barnacles are purely a cosmetic nuisance—unsightly, sure, but not a genuine structural threat. That assumption costs people money and shortens dock lifespan unnecessarily. Barnacle shells are calcium carbonate armor that traps moisture directly against your wood, accelerates decay from the inside out, and creates sheltered zones where wood-boring organisms like Limnoria flourish. Ignore barnacle colonization for a few seasons, and you’re looking at piling replacement ten years earlier than you should have needed it.
The second misconception I encounter regularly on job sites and in conversations at the marina is that barnacles only thrive in full-salinity ocean water. My two decades working Gulf Coast waterfront tell a different story. Brackish zones, tidal river systems, and low-salinity bayous—all of these host aggressive barnacle populations. Balanus amphitrite, which dominates Gulf fouling communities, doesn’t require ocean-level salinity to establish colonies. What matters more is water temperature and the texture of the surface itself. If your new pilings sit in moving tidal water anywhere along the coast, you need protection strategies in place before installation, not damage control afterward.
Two decades in the marine construction industry have shown me which prevention approaches earn their cost in the long run and which ones are dressed-up marketing. This guide covers the practical strategies I deploy on every dock job today—including one critical protection method that the majority of property owners never even consider.
Why Barnacles Colonize New Pilings So Fast
Freshly installed pilings function as an open invitation to barnacle recruitment. Even pressure-treated CCA or ACZA lumber, straight from the mill and driven into position, presents a rough and porous substrate that barnacle cyprids—the planktonic larval form—actively hunt for and prefer above all other options. Naval Surface Warfare Center research has documented that these larvae navigate using surface texture and biochemical signals to identify ideal settlement habitat. Newly exposed wood, especially untreated or uncoated surfaces, ranks as their first choice. Place a raw piling in warm Gulf water during late spring conditions, and visible barnacle settlement can occur within three days under favorable biological circumstances.
Gulf Coast water temperature is the throttle controlling recruitment velocity. From April through October, Gulf waters sit in the 68–86°F range—basically an open recruitment season for barnacle larvae. That six-month window means your unprotected pilings face active colonization pressure daily. Through repeated experience, I’ve found that a single unshielded piling surviving one full Gulf-season recruitment period typically needs complete pressure washing and surface preparation before any protective coating will adhere properly—adding $200–$400 in remedial labor to a situation that preventive treatment could have eliminated entirely.
The tertiary consequence involves ecological succession. As soon as barnacle colonies achieve density, they generate habitat complexity that shelters wood-eating isopods and enables thick biofilm layers to accumulate. This biofilm then becomes nutrient base for successive waves of barnacle larval recruitment in subsequent seasons. The result is a self-perpetuating escalation cycle. Interrupting this progression at inception—before the first piling submerges—always costs less than fighting established fouling communities later on.
Antifouling Coatings: Proper Application Strategy for New Piling Installation
Antifouling paint represents the backbone of professional dock construction practice. It delivers results consistently. But selecting the appropriate antifouling chemistry for your particular application matters enormously, and this distinction is where property owners and DIY builders frequently stumble into costly oversights. Copper-loaded ablative antifouling paint—the same formulation applied to commercial vessel hulls—represents my standard recommendation for wood and engineered composite pilings in tidal environments. Products including Pettit Trinidad and Sea Hawk Cukote have proven themselves on my commercial dock contracts throughout Mobile Bay and Pensacola Bay operations.
Twenty years of job site experience has crystallized one critical principle: surface preparation constitutes the foundation of coating success. Fresh CCA-treated pilings need a minimum 72-hour curing window before any protective layer adheres. I typically schedule seven full days when project timing permits. The next step involves applying a moisture-exclusion epoxy sealer—Smith’s CPES functions excellently here—underneath your antifouling topcoat. This intermediate layer bonds the wood and establishes mechanical adhesion for the antifouling layer above it. Skipping this step produces peeling and failure within months on raw pressure-treated surfaces. A six-piling Pensacola residential contract in 2009 taught me this lesson in the most expensive way possible—eight months later, I returned to strip everything and recoat at my own expense.
Coverage extent should span from twelve inches above mean high water elevation down through eighteen inches of mud-line depth whenever feasible. This transition zone—the tidal surge area—experiences the most intense barnacle and mussel settlement pressure, because organisms there cycle continuously between air exposure and submersion. Apply coating thickness generously in this zone. Industry standard calls for two distinct antifouling applications across this critical band. High-quality ablative antifouling formulations typically run $80–$120 per gallon, with coverage capacity around 300–400 square feet for each application coat.
EPA Standards and Jurisdictional Compliance Considerations
Copper-containing antifouling compositions face regulatory restriction in multiple states nationwide. California has implemented aggressive limitations on their application in specific marine commerce zones. Throughout Florida and across the broader Gulf Coast region, copper-based formulations remain approved for dock piling protection, yet you must contact your regional Army Corps of Engineers office and your state’s environmental protection agency prior to applying biocidal treatments to underwater infrastructure. Numerous jurisdictions impose permitting requirements for dock work or substantial modifications under Clean Water Act Section 404 authority. Secure correct permits before beginning any coating work.
Piling Wraps and Mechanical Fouling Barriers: Performance in Practice
Chemical-based antifouling protection has limits. Ablative paint formulations erode gradually—erosion is inherent to their mechanism of action as they continuously release biocide. On high-flow construction sites or zones with significant vessel movement generating water turbulence, a single season’s coating can deplete entirely within months. For this reason, I regularly layer mechanical protection on top of chemical coatings, especially from subsurface mud through the splash zone region.
Modern HDPE and fiberglass-reinforced plastic piling sleeves have become economically accessible within the past decade. Systems manufactured by Pearson Pilings or standard HDPE piling encasements generate a uniformly smooth, non-porous external surface that planktonic barnacle larvae actively reject. The smooth topology prevents larvae from establishing the mechanical purchase they require to anchor themselves permanently. Commercial dock installations I’ve completed in Biloxi utilizing these wrap systems have produced pilings that remain essentially clean after three consecutive seasons without any protective coating maintenance intervention.
Proper installation technique determines wrap performance outcomes. The seal at upper and lower wrap termination points requires marine-grade sealant or the manufacturer’s recommended closure product. Water intrusion at the upper edge becomes a trapped moisture zone that reproduces the exact decay-promoting environment you’re preventing. Installation timing matters significantly—I advocate for applying wraps to pilings in horizontal position before submersion begins, rather than afterward. Horizontal installation is substantially less labor-intensive and technically straightforward compared to wrapping fully-driven vertical pilings. Expect expenditures of $15–$40 per linear foot for professionally installed piling wraps, contingent on piling diameter and material specification.
Barnacle Prevention on Dock Pilings: The Overlooked Problem Above the Waterline
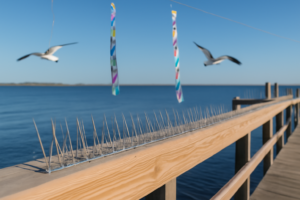
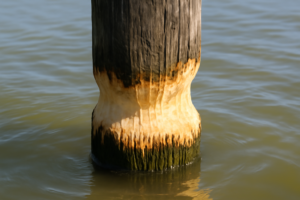
Most dock maintenance guides deliberately omit this section from discussion. Your piling uppermost portions—the segments above decking or cap rail elevation—confront a distinctly separate fouling mechanism. Wading birds. Cormorants, herons, pelicans, and seagulls recognize exposed piling summits as premium landing platforms. Avian excrement carries substantial acidity levels. On timber pilings, concentrated bird waste accelerates photochemical surface breakdown and establishes surprisingly hospitable conditions for barnacle recruitment in the zones immediately beneath—because leaching biological nutrients nourish biofilm proliferation that drives successive barnacle larval waves.
My recommendation of bird exclusion technology on new dock projects emerged approximately eight years into practice, following direct experience with a client’s newly completed Ipe decking installation near Destin. Double-crested cormorants colonized the exposed piling tops aggressively within the initial season. Beyond cosmetic wood staining, the piling apexes experienced accelerated material loss substantially faster than any other structural component. This customer invested $300 in professional deck restoration services—and still confronted persistent piling degradation challenges long afterward.
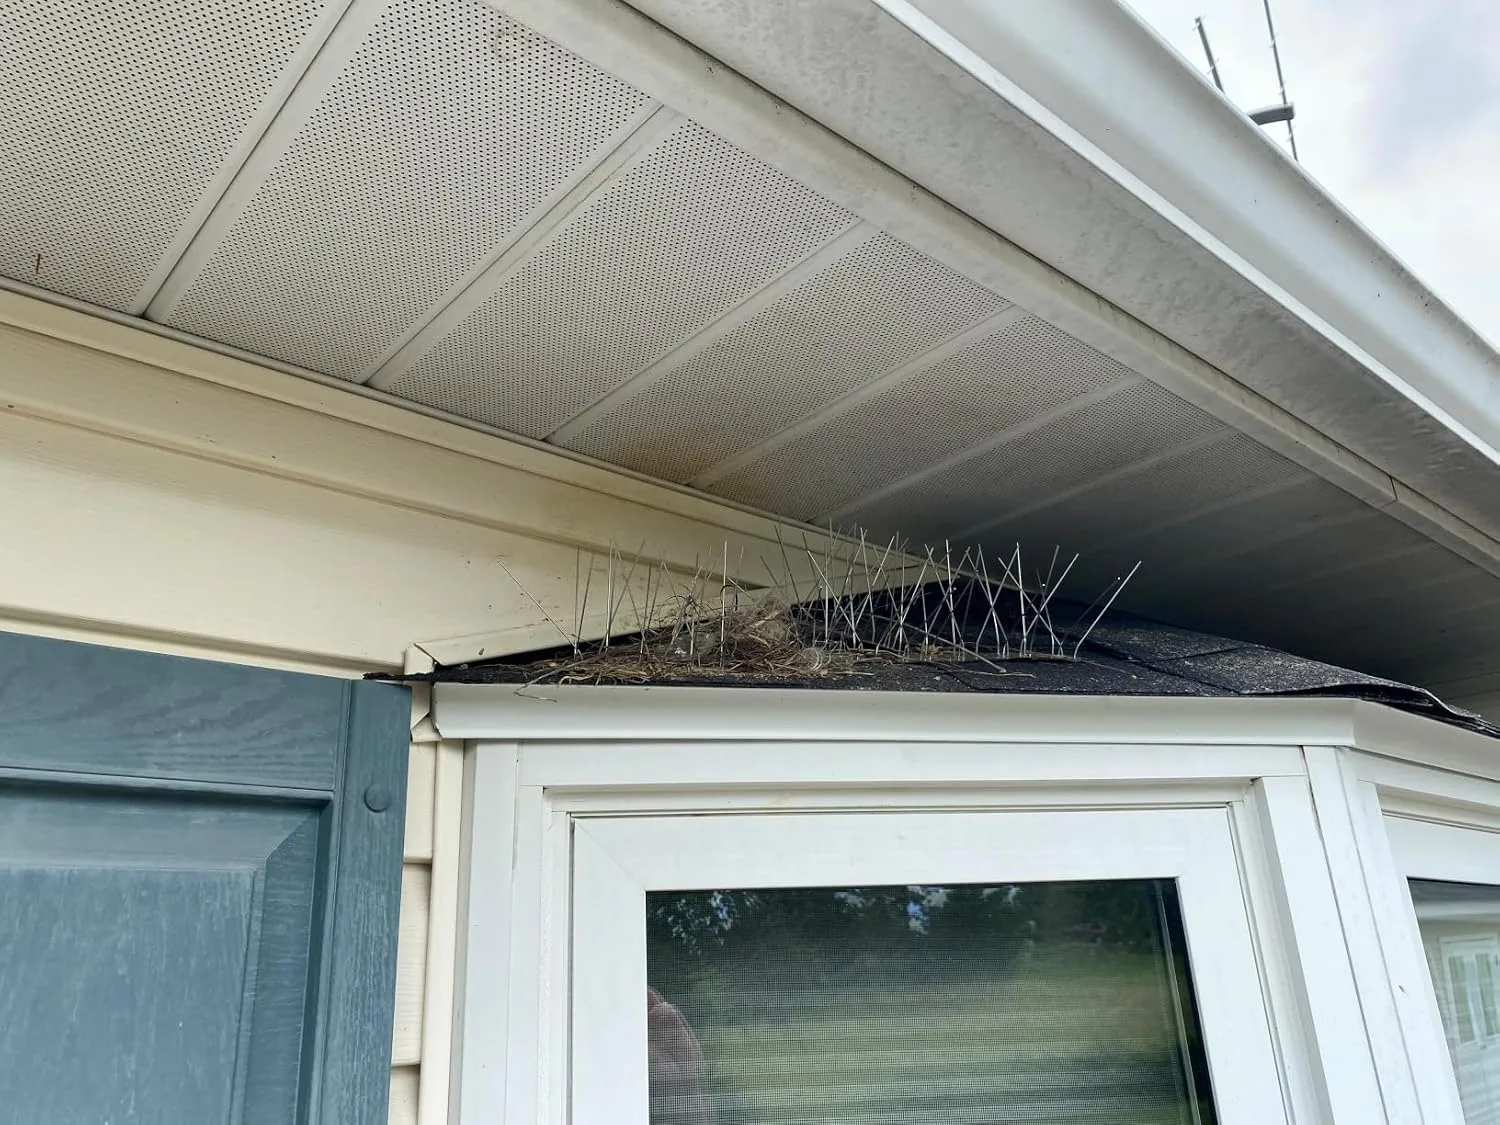
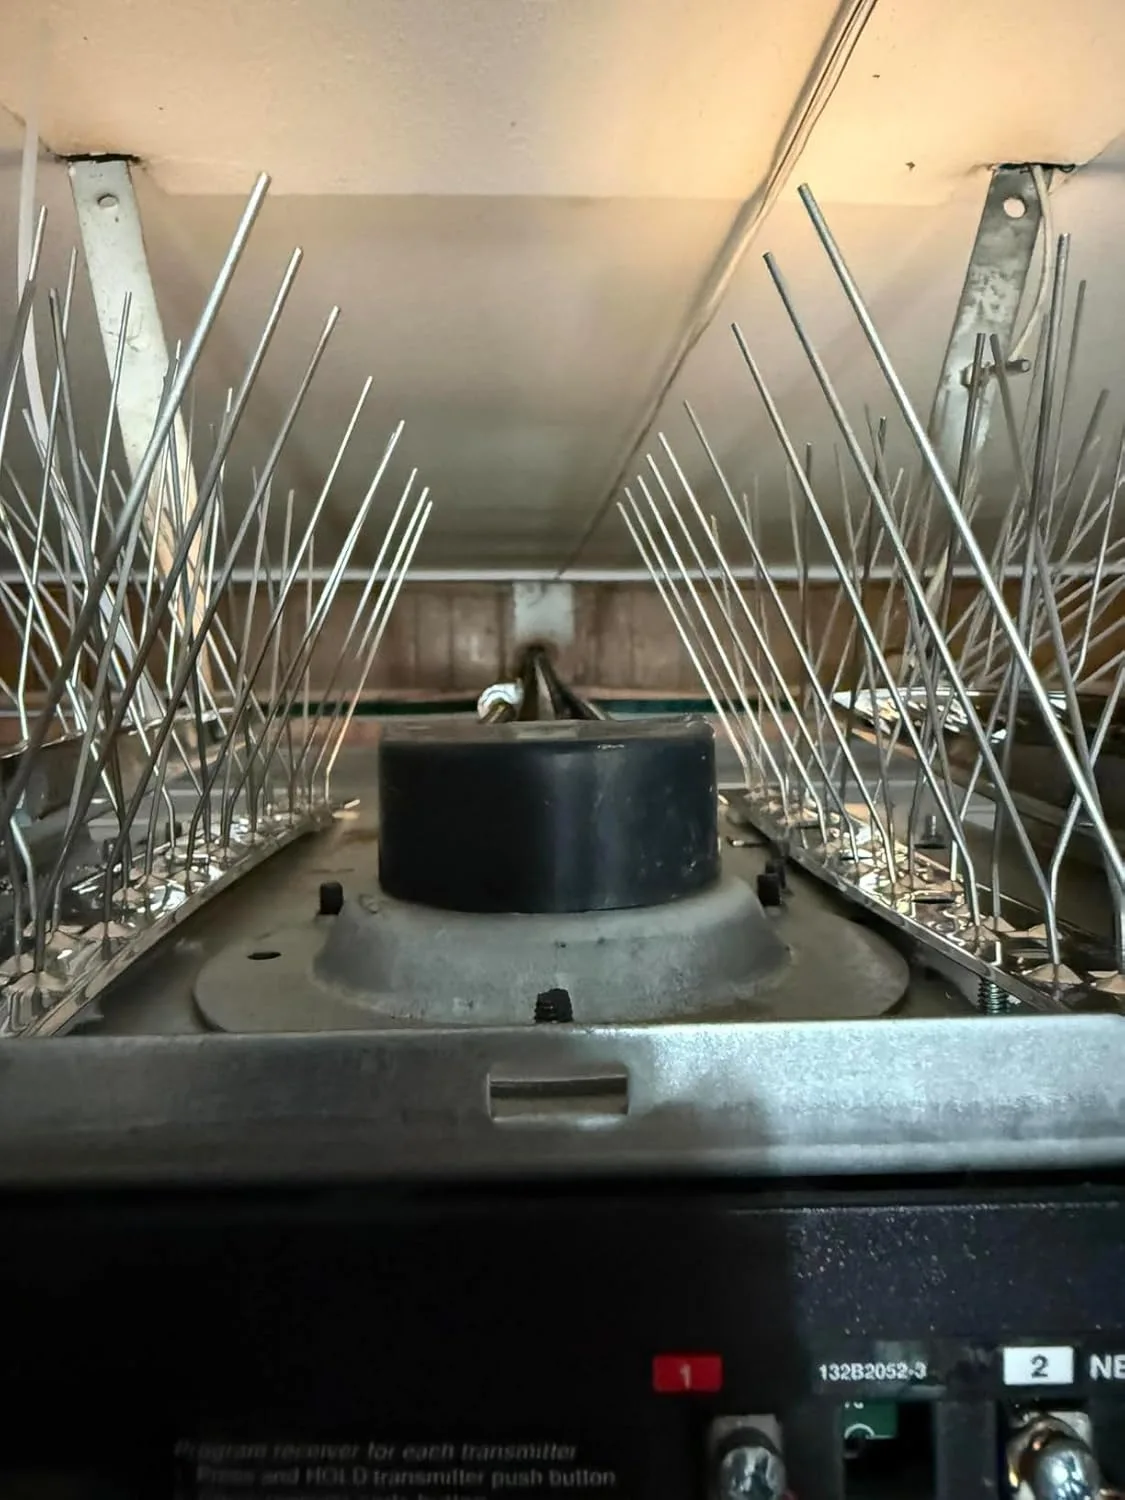
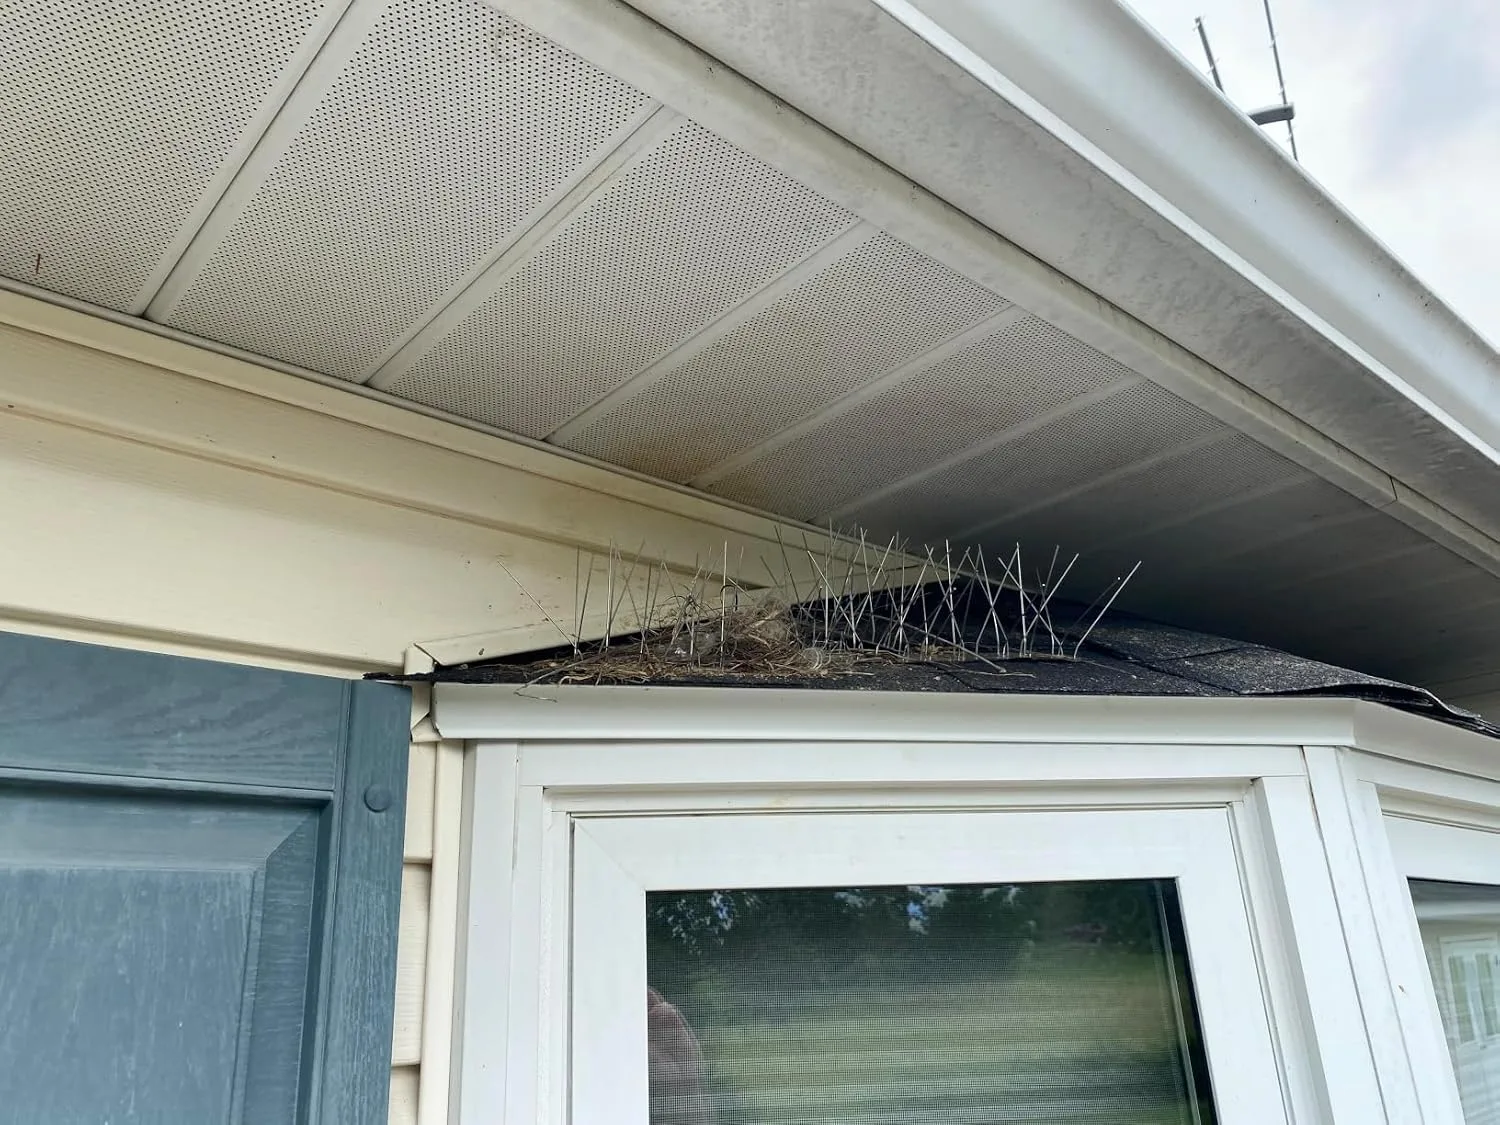
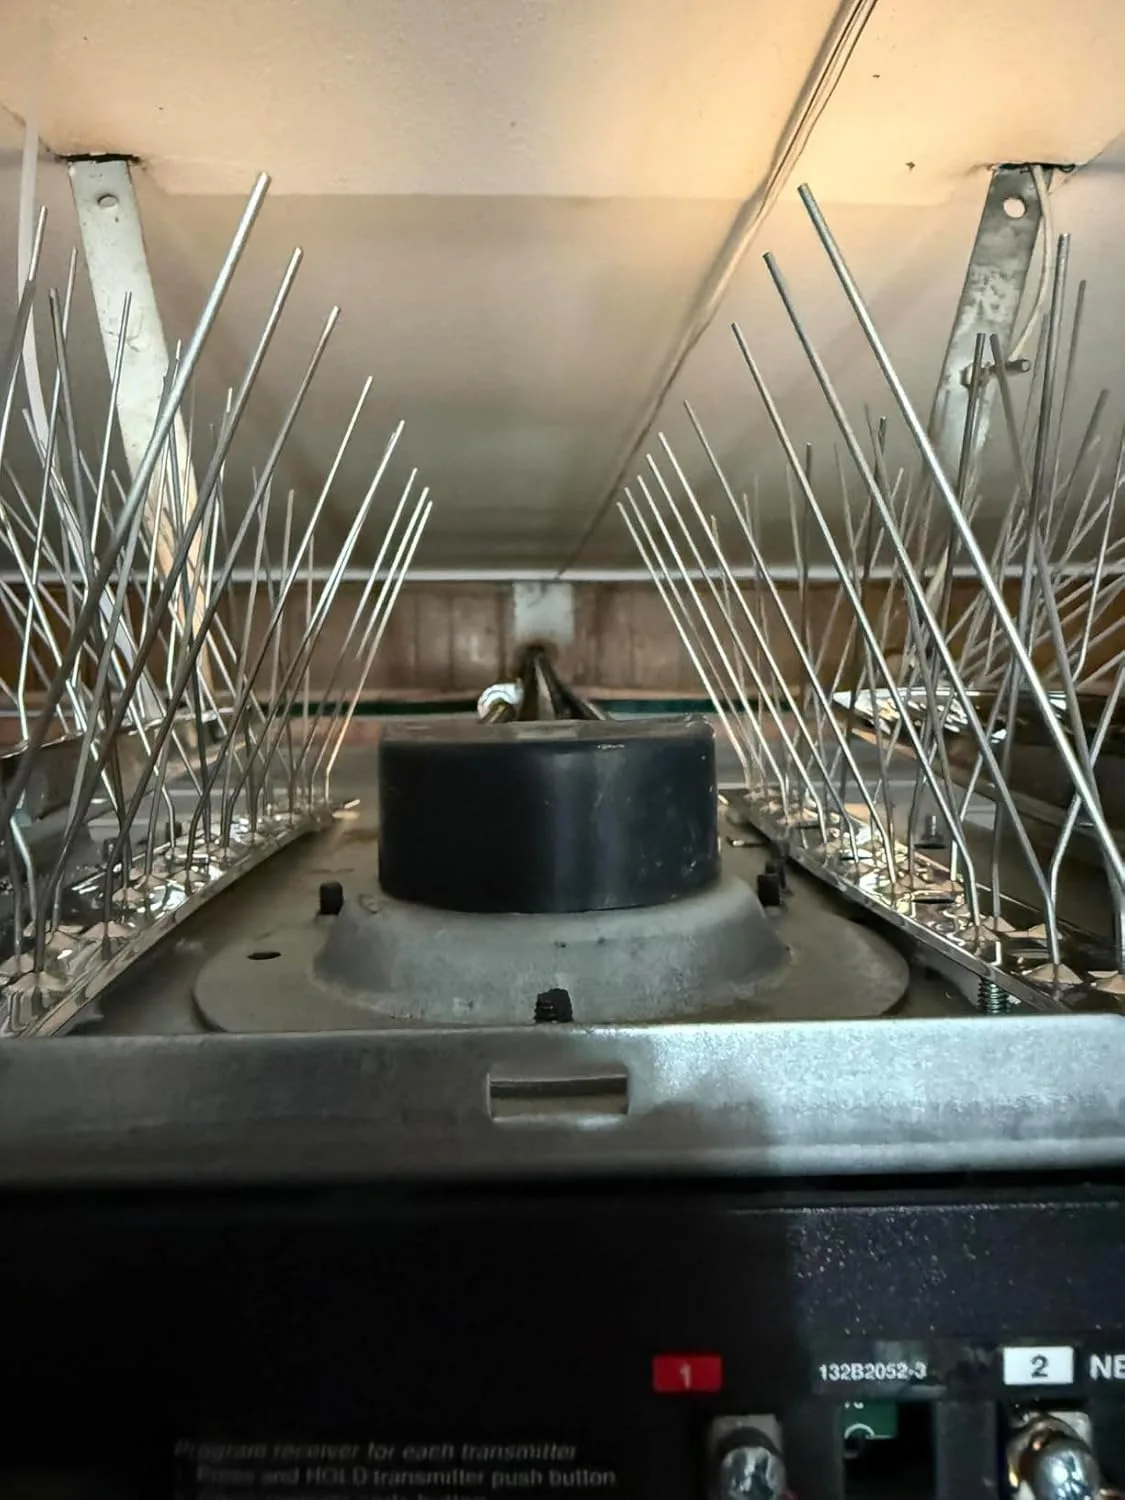
The solution proves straightforward and economical. Spike-based bird barriers mounted atop piling crowns eliminate landing viability physically. No bird injury occurs—the spikes merely create uncomfortable perch conditions that redirect birds elsewhere. Multiple product lines have cycled through my own dock and my neighbors’ over the years, and performance data clearly indicates that stainless-steel-base spike installations dramatically outlast polymer-foundation designs in marine exposure. Plastic foundations become brittle and spike-dulling after 18–24 months of Gulf Coast UV radiation. Stainless components persist indefinitely.
The Physical Deterrent System That Prevents Larval Establishment Before It Starts
Bird deterrent spikes won’t eliminate existing barnacles, but they generate a substrate so mechanically hostile that planktonic larvae cannot achieve adhesion for initial settlement. This preventive approach eliminates months of eventual scrubbing and chemical retreatment later.
Characteristics that deliver
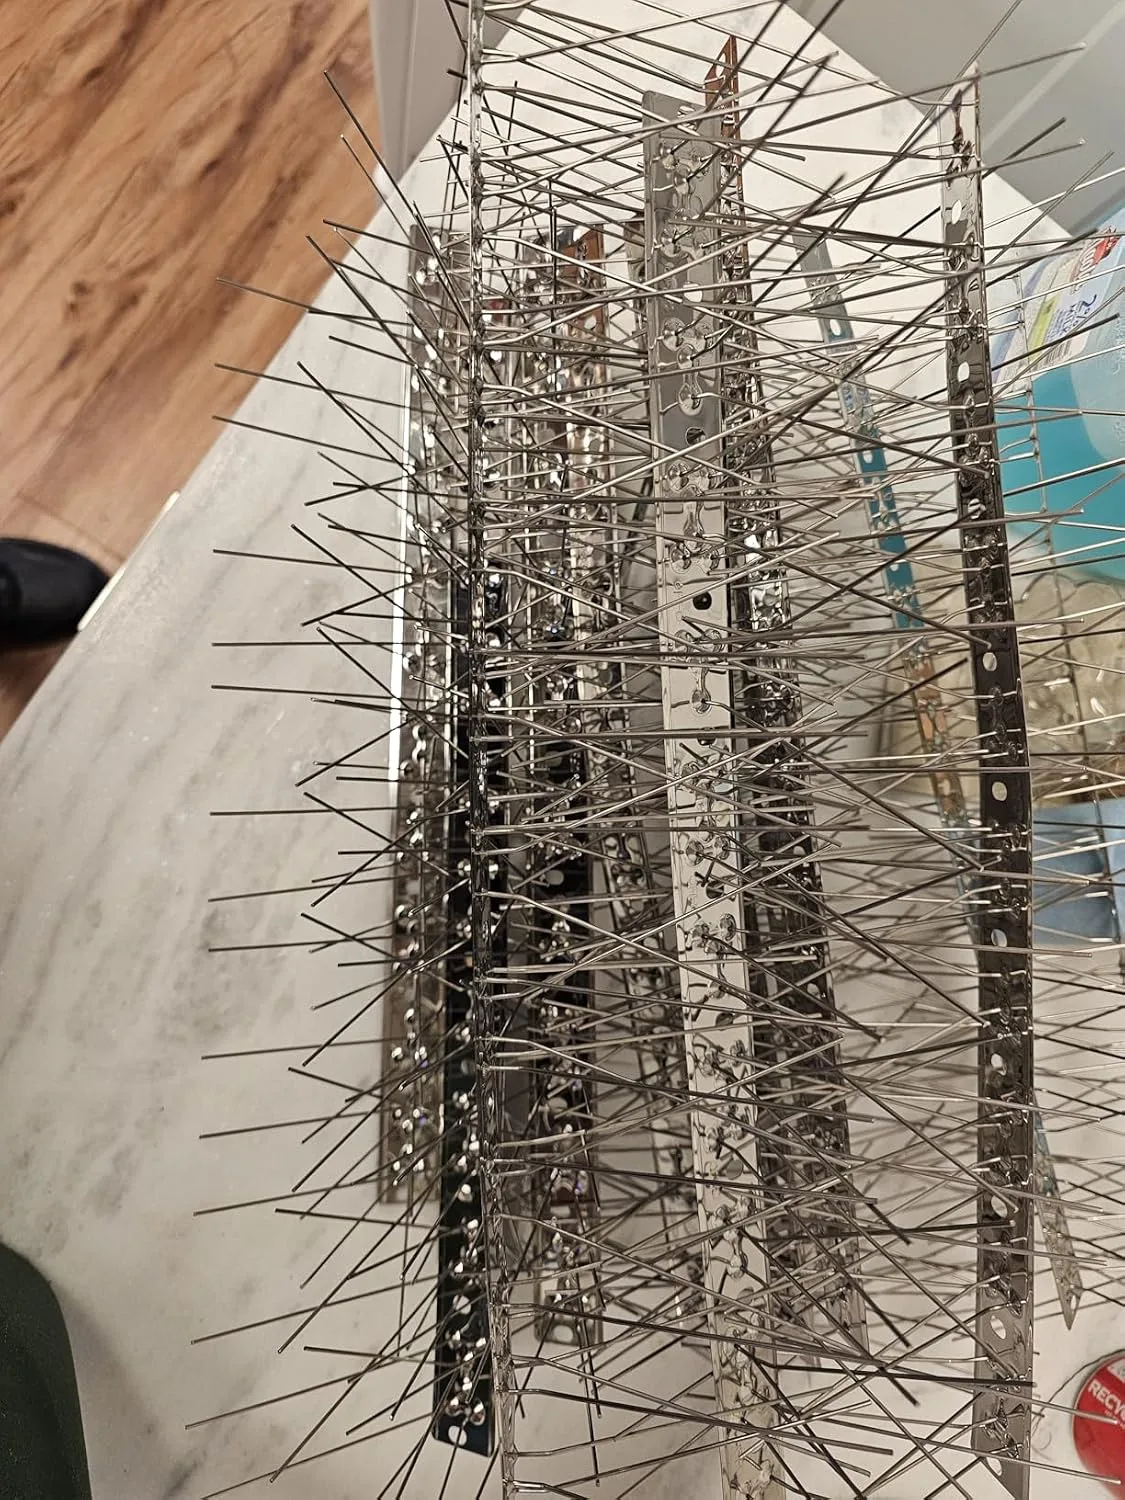
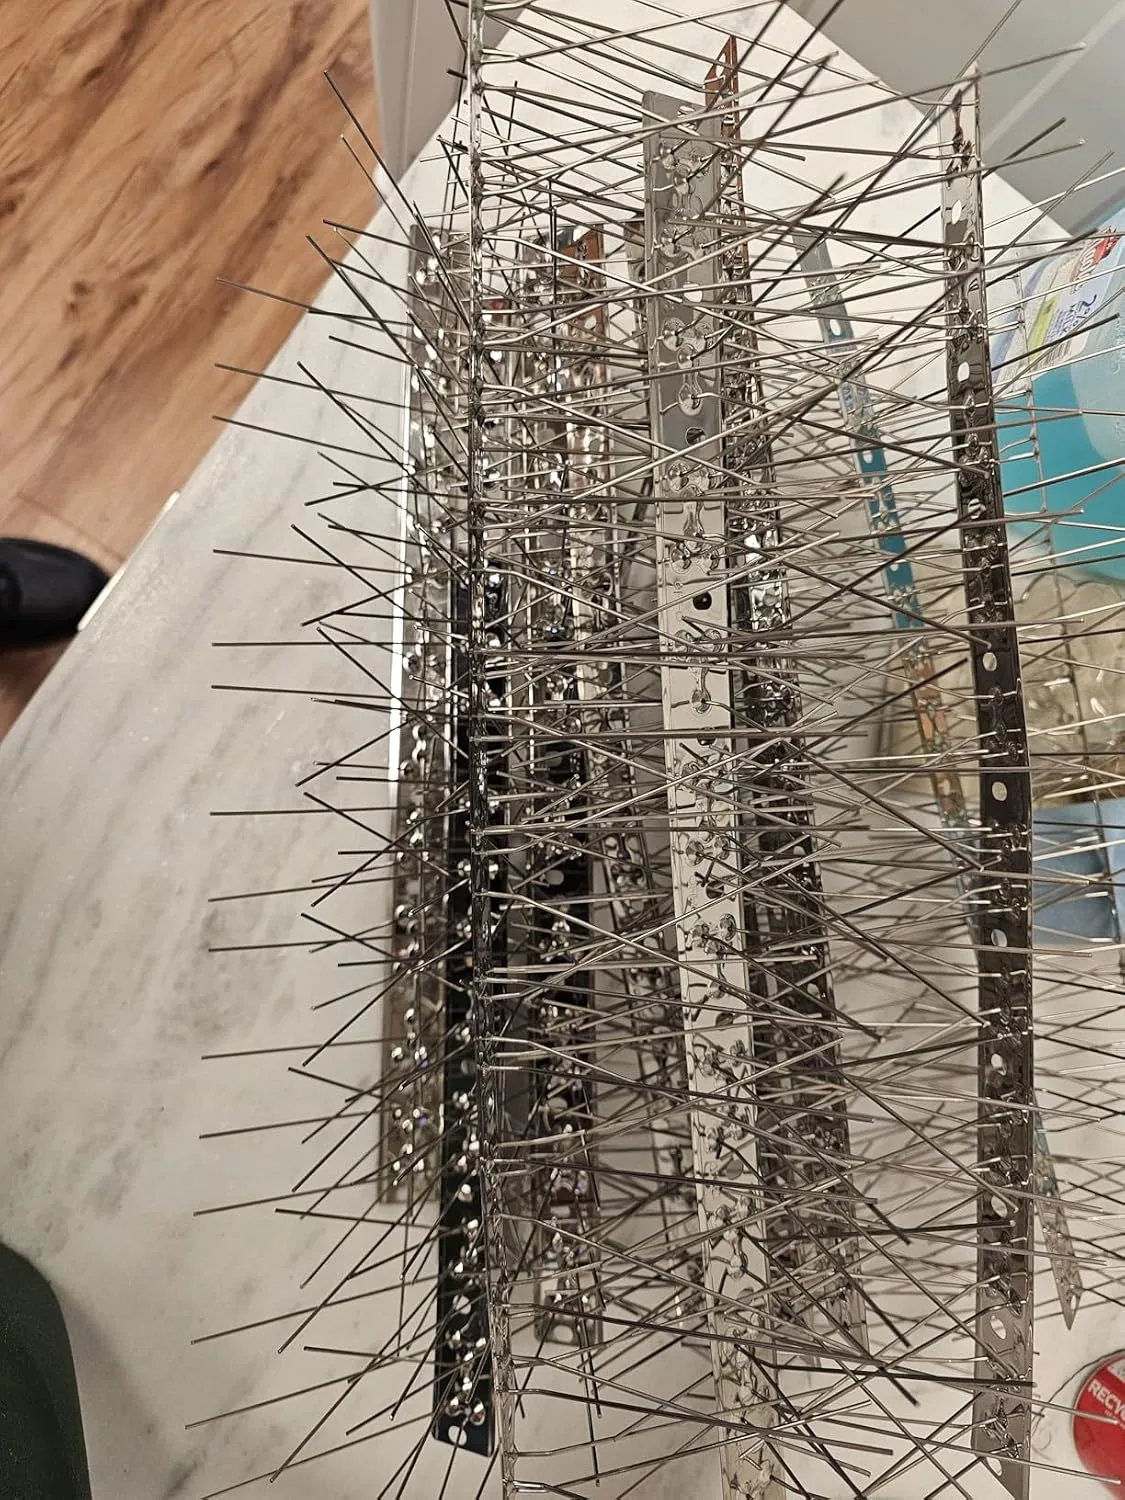
- Stainless steel spike construction maintains point geometry and resists corrosion in saltwater environments, outperforming plastic spike systems that dull rapidly and degrade in less than a year.
- The uniform spike geometry addresses the high-settlement zone occupying the 0–6 foot range where larvae recruitment reaches peak intensity, with consecutive kit installations enabling wall-to-wall piling protection.
- Attachment uses cable ties threaded through existing fastener points, avoiding supplementary drilling through curing pressure-treated material and preventing piling compromise during the early curing phase.
Characteristics that limit effectiveness
- Application only prevents new settlement—established barnacle colonies won’t be removed by spikes alone, making installation timing on newly-driven pilings essential for effectiveness.
- Aesthetic considerations matter; spike installations carry an industrial appearance profile that certain property owners find objectionable relative to finished waterfront expectations.
I was skeptical the first time I wrapped spikes on a job—I thought the gaps between spike rows would just give larvae new settlement zones—but after 14 months with zero barnacle adhesion on the protected sections, I became a believer. Grab the OFFO Bird Spikes with Stainless Steel Base — the 10.2-foot kit and start wrapping pilings before the next spawn season hits.
Frequently Asked Questions
How fast do barnacles colonize new dock pilings on the Gulf Coast?
Visible barnacle settlement can occur within three days of installation under favorable conditions. From April through October, when Gulf waters sit in the 68–86°F range, your unprotected pilings face active recruitment pressure daily during this six-month window.
What should I apply before antifouling paint on pressure-treated pilings?
After a minimum 72-hour curing window—I recommend seven full days when timing permits—apply a moisture-exclusion epoxy sealer like Smith’s CPES underneath your antifouling topcoat. This intermediate layer bonds the wood and establishes mechanical adhesion for the antifouling layer above it.
How much does piling wrap installation cost per foot?
Expect expenditures of $15–$40 per linear foot for professionally installed piling wraps, contingent on piling diameter and material specification. Modern HDPE and fiberglass-reinforced plastic systems have become economically accessible within the past decade.
Why do birds accelerate barnacle growth on dock pilings?
Wading birds like cormorants and herons land on exposed piling tops, and their concentrated acidic excrement accelerates photochemical surface breakdown and establishes conditions for biofilm proliferation that drives successive barnacle larval recruitment waves.
Sources and further reading
About This Article

Written by Trent Hollis. Waterfront homeowner turned DIY obsessive. After two decades tinkering with my own dock, seawall, and boat lift on the Gulf Coast, I share everything I've learned about waterfront construction, boat lift maintenance, and coastal living projects. More about this site.
Scope and limits. Trent is a waterfront homeowner, not a licensed marine contractor. Structural, electrical, and lift work should go to a licensed marine contractor, and most in-water work needs a permit before you start.
Verify this against a primary source
Specifics change, and your situation may differ from the one described here. These are the authorities worth checking directly:
- ABYC — marine electrical and construction standards
- U.S. Army Corps of Engineers — permitting for work in navigable waters
- NOAA Tides & Currents — tidal range and water level data for your site