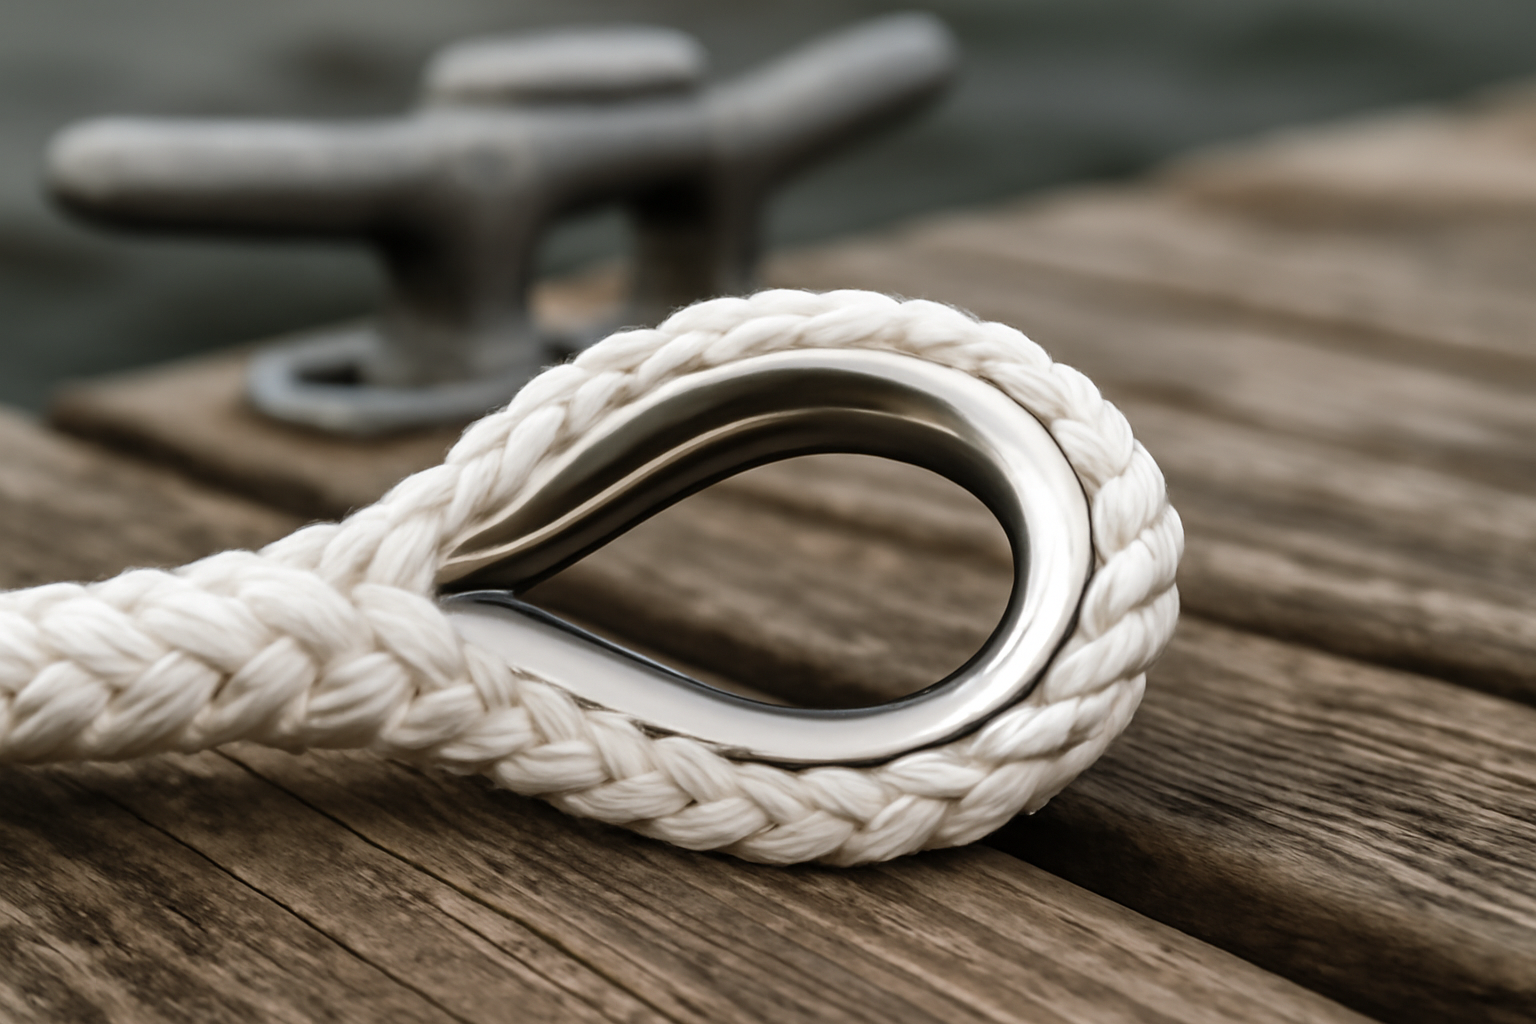
A marine contractor will charge you $80 to $150 per line to splice an eye loop into your dock line. Spend a Saturday afternoon learning the technique yourself, and you’ve paid for the knowledge in a single boat. The gap between those two numbers isn’t just about labor—it’s about understanding why this particular knot has earned twenty years of respect from people who work on the water for a living.
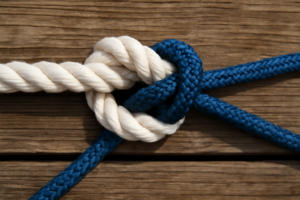
The eye splice, when executed with proper technique, preserves roughly 95 percent of your rope’s breaking strength. Compare that to a bowline, which holds only 60 to 70 percent, and you begin to see why the difference matters. Those percentages aren’t academic abstractions—they’re the difference between your boat staying put and drifting into your neighbor’s hull at 2 a.m. during a tropical squall with 40-knot winds. I’ve spent more than two decades repairing and installing docks along the Gulf Coast, watching which methods survive storms and which ones don’t. The eye splice is what’s left standing when everything else breaks.
When to Use an Eye Splice on Your Dock Lines
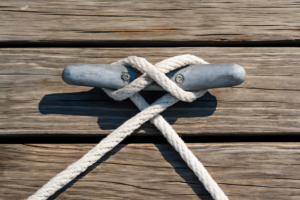
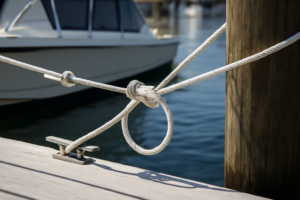
This splice creates a permanent, non-adjustable loop at the end of your line, suited specifically for applications where the loop size never changes. On a dock, that means the shore-side end of your line—the loop that settles over a cleat or piling. Don’t use it anywhere you need to modify loop diameter on the fly. But for any dedicated dock line, for any situation where you want a loop that won’t budge, this is the answer.
My own work calls for eye splices in these particular scenarios:
- Primary bow and stern lines on vessels between 20 and 45 feet in length
- Spring lines on floating dock systems experiencing significant tidal fluctuation
- Mooring pennants connected to mooring ball shackles
- Anchor rode terminations where rope transitions to chain via an internal thimble
- Dedicated fender lines secured to rail stanchions
The ABYC standards specify minimum diameters: 3/8 inch for vessels up to 27 feet, 1/2 inch for those up to 38 feet, and 5/8 inch for boats reaching 45 feet. What ABYC doesn’t tell you—what you learn by watching boats move in tidal conditions and storm surge—is that you should always install the next size up from the minimum requirement when you’re working in areas prone to tide swings or exposed to offshore weather. That one step larger in diameter gives you substantial additional safety margin and extends the working life of your lines considerably.
Situations Where an Eye Splice Doesn’t Belong
I’ll give it to you straight: this technique works beautifully on three-strand twisted constructions. Apply it to double-braid or kernmantle designs, and you’ll find yourself using an entirely different splicing method. Additionally, once you commit this splice, the loop diameter becomes permanent. If you need to adjust that loop size regularly or frequently, this approach creates frustration instead of solutions.
How to Make an Eye Splice in Three-Strand Rope: Step-by-Step
Gather these materials: a sharp cutting tool (knife or dedicated rope cutter), electrical tape or whipping twine, a fid or Swedish fid (a tapered marlinspike serves the same purpose), and your length of three-strand rope. Working with a 1/2-inch dock line, you’ll want to unravel approximately 12 to 15 inches from the working end. This length of tail provides sufficient material for three complete tuck cycles without running short.
Prepare the Rope
- Wrap each strand securely. Before separating anything, apply a small segment of electrical tape around each of the three strands roughly 15 inches measured from your working end. This containment step prevents strand fray while you’re working. If helpful, mentally assign designations to these strands—Strand A (top), Strand B (middle), Strand C (bottom)—or use multiple tape colors for visual clarity.
- Separate the three strands carefully. Untwist the rope backward until you reach your tape marker, fully separating all three components. The standing section of your rope should remain tightly twisted—unraveling only happens at the working end.
- Create your loop shape. Fold the working end back and toward the standing section, forming a loop. For typical piling applications on residential docks, I establish loops measuring 10 to 12 inches across—large enough for quick placement in low-light conditions. Maintain a firm grip at this crossover location between your thumb and forefinger. The crossover point becomes your tucking zone.
Tuck the Strands — Round One
- Create an opening in a standing strand. At your crossover location, use the fid to create separation between two adjacent strands in the standing portion. The critical principle: always work counter to the existing lay direction—each working strand slides beneath a standing strand running opposite. This rule supersedes all others in the splicing process.
- Insert Strand B underneath. Direct Strand B (your center element) beneath the standing strand you’ve opened. Slide it completely through until the splice joint feels snug against itself.
- Thread Strand A through. Advance one position leftward in the standing rope architecture. Open a fresh gap using your fid. Pass Strand A beneath this new opening, keeping tension uniform. Now Strand A and Strand B should exit from neighboring standing strands, oriented the same general direction.
- Process Strand C through the opposite side. This step catches most first-timers. Rotate your entire splice assembly over. Strand C threads under the final remaining standing strand—the one occupying the opposite side of the rope’s perimeter. Work from right to left. At completion, all three working strands should distribute evenly across the rope’s circumference. If they bunch together instead, you’ve taken a wrong turn. Undo and retry those tucking passes.
Finish with Three Complete Tuck Cycles
- Launch into the second round. Each working strand progresses beneath its next consecutive standing strand, perpetually opposing the existing lay pattern. Progress methodically around the rope’s perimeter. Maintain steady pulling force—sufficient to secure, but gentle enough to preserve the standing portion’s shape.
- Transition through Round Two into Round Three. By the midpoint of Round Two, your splice should present a clean, balanced look. Round Three establishes permanence and stability. Three complete tuck rounds represents the bare minimum for functional working splices in three-strand nylon or polyester dock lines. In my own practice, I execute four rounds on any rope measuring 1/2 inch or thicker. That additional round consumes about one minute of labor and provides meaningful protection against sudden-load failures.
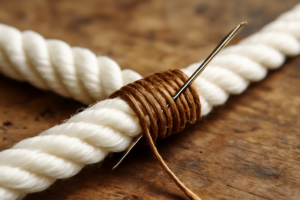
- Cut and secure the ends. Trim each working strand to approximately 1/4 inch extending past its final tuck point. Some riggers melt synthetic rope ends using flame—I favor a small remaining tail wrapped tightly with serving twine for a finished appearance with greater longevity. Massage the completed splice between your palms repeatedly, promoting even tuck distribution and firm seating throughout.
Common Mistakes That Cause an Eye Splice to Fail
Early on, I learned a painful lesson about tucking in the same direction as the lay rather than opposing it. The finished splice appeared absolutely professional lying on the dock. Once loaded, every buried strand loosened instead of gripping tighter, and the entire assembly separated at roughly 30 percent of the line’s rated capacity. The principle is non-negotiable—always tuck against the lay. If pulling the standing section and working strands in opposite directions causes your splice to compress and hold tighter, you’re executing it correctly.
Throughout my two decades on the water, these failures recur most frequently:
- Insufficient tuck repetitions. Two tuck cycles will not support a load-bearing dock application. The minimum requirement is three cycles, with four being preferable on any rope 1/2-inch or larger in diameter.
- Inconsistent pressure across strands. A single loose strand during insertion prevents balanced load sharing. When one strand hangs slack, its companions absorb excess tension, causing progressive structural failure.
- Undersized eye diameter. Creating a loop too compact for your piling generates stress concentration at the eye’s highest point. Install a thimble when the line will contact metal surfaces.
- Incorrect rope construction. I’ve observed people attempting this exact technique on double-braid products. It produces poor results. Those designs with internal cores demand a completely separate splicing methodology.
- Applying load before pre-conditioning. Always hand-pull a freshly completed splice firmly in both directions before putting it into actual service. This pre-tensioning settles each tuck and exposes any weak spots that need correction.
The Rope That Holds a Splice Without Slipping
Splicing demands rope with sufficient density and natural grip to keep strands from migrating after you’ve buried them. Three-strand nylon remains the standard choice, though not every nylon formulation grips equally.
What works
- Half-inch diameter provides adequate rigidity to prevent strand slippage during the tucking procedure, while delivering sufficient strength capacity for substantial holding power on any residential installation.
- Nylon fibers naturally adhere to themselves once buried within the strand structure—they remain embedded, unaffected by seasonal temperature swings or prolonged sun exposure.
- A 20-foot coil accommodates multiple practice attempts (you’ll need them) and leaves adequate yardage for constructing genuine dock lines with integrated eye splices.
What doesn’t
- Nylon exhibits greater elongation compared to polyester or polypropylene alternatives, so a permanently spliced loop won’t lock a boat in rigid position—you’ll perceive movement, especially during tidal surge events.
- Per-foot costs exceed mass-produced dock line pricing, representing your insurance against a boat adrift and a bill for damages to someone else’s vessel.
I second-guessed myself halfway through my first splice—the strands kept wanting to flare instead of fold cleanly—but once I realized I wasn’t pulling hard enough during the tucks, that SEACHOICE line held the shape perfectly. Grab a SEACHOICE Double-Braid Nylon Dock Line 1/2″ x 20′ (Model 40241) and practice on a few feet before you commit to your permanent dock setup.
Frequently Asked Questions
How much stronger is an eye splice than a bowline?
An eye splice preserves roughly 95 percent of your rope’s breaking strength, while a bowline holds only 60 to 70 percent. That difference matters—it’s the gap between your boat staying put and drifting into your neighbor’s hull during a storm.
What rope size do I need for my 35-foot boat dock?
The ABYC standard calls for 1/2 inch for boats up to 38 feet. I recommend installing the next size up—5/8 inch—when working in areas prone to tide swings or exposed to offshore weather, as it gives substantial additional safety margin and extends working life considerably.
How long should I unravel the rope before splicing?
Working with a 1/2-inch dock line, unravel approximately 12 to 15 inches from the working end. This length of tail provides sufficient material for three complete tuck cycles without running short.
How many tuck cycles does an eye splice need?
Three complete tuck cycles represents the bare minimum for functional working splices in three-strand nylon dock lines. In my own practice, I execute four rounds on any rope measuring 1/2 inch or thicker, as that additional round provides meaningful protection against sudden-load failures.
Sources and further reading
About This Article

Written by Trent Hollis. Waterfront homeowner turned DIY obsessive. After two decades tinkering with my own dock, seawall, and boat lift on the Gulf Coast, I share everything I've learned about waterfront construction, boat lift maintenance, and coastal living projects. More about this site.
Scope and limits. Trent is a waterfront homeowner, not a licensed marine contractor. Structural, electrical, and lift work should go to a licensed marine contractor, and most in-water work needs a permit before you start.
Verify this against a primary source
Specifics change, and your situation may differ from the one described here. These are the authorities worth checking directly:
- ABYC — marine electrical and construction standards
- U.S. Army Corps of Engineers — permitting for work in navigable waters
- NOAA Tides & Currents — tidal range and water level data for your site