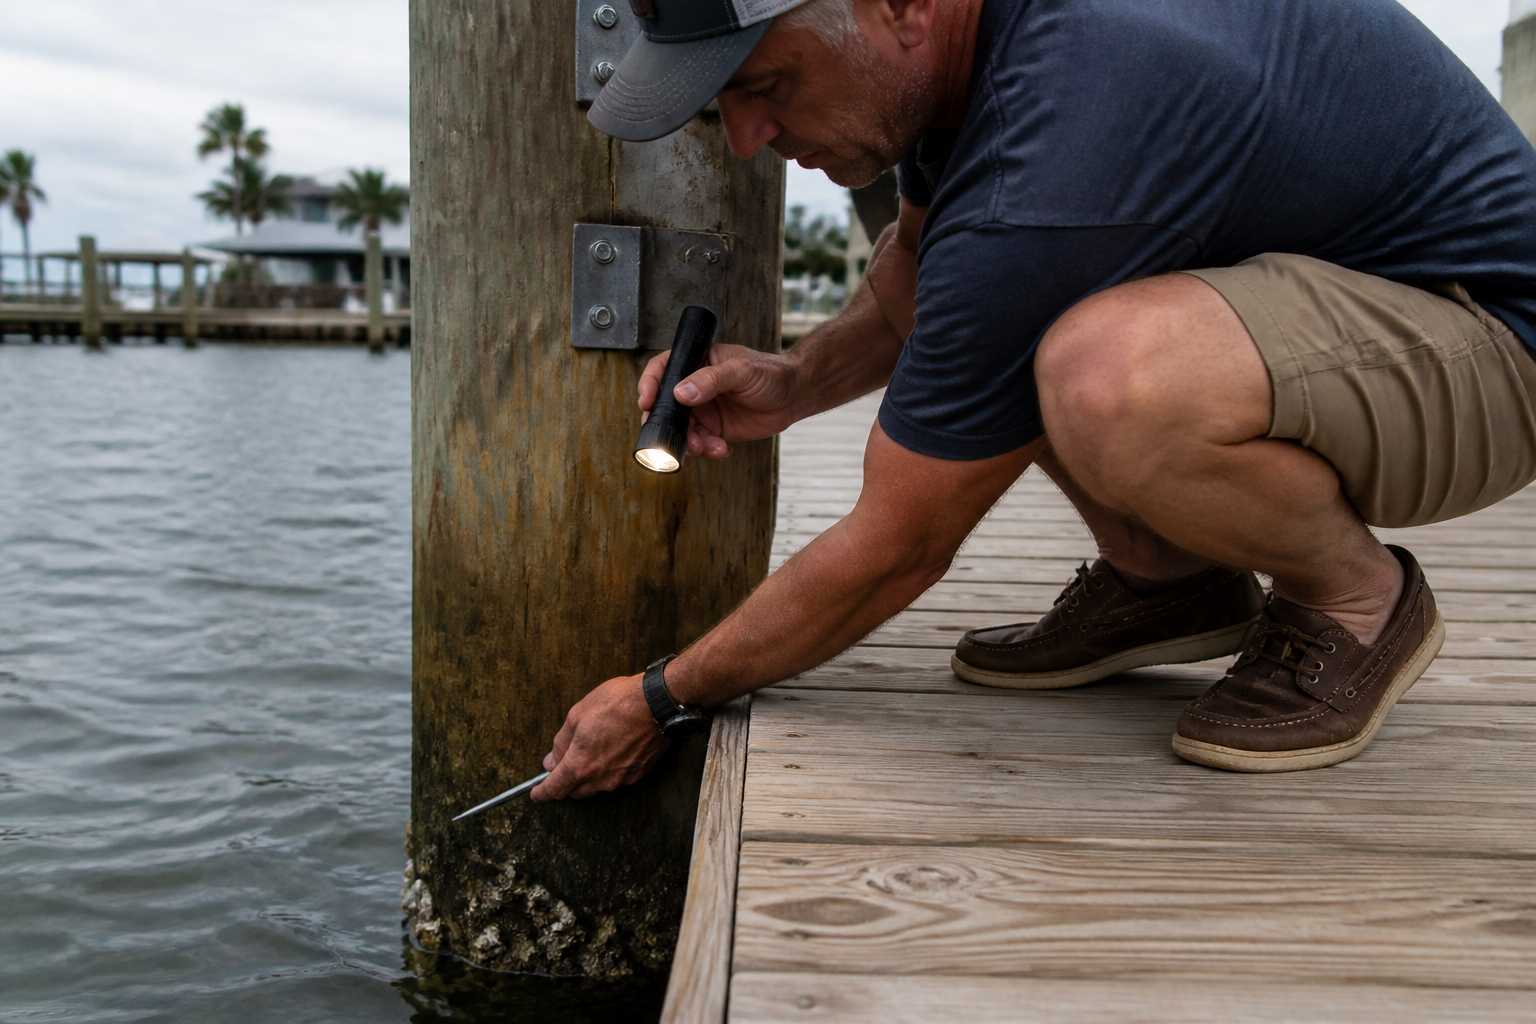
Right now, I’m staring at a piling in American Beach that looked solid from the deck until I ran my scratch awl across the grain about three feet below the waterline. The wood gave way like wet cardboard. Fifteen years ago, that same spot would have been someone’s catastrophic failure story—the call you get when a dock collapses because nobody ever actually looked underneath.
Most homeowners assume their dock is fine as long as the railings stand straight and the decking doesn’t creak. Then something goes wrong, and they discover their inspection was never really an inspection at all—just a walk across the surface while thinking about dinner. Real dock assessment is systematic, thorough, and covers both the obvious and the hidden. It’s the difference between catching a problem in year one and discovering it when someone’s foot goes through rotted decking.
Over two decades along the Gulf Coast, inland lakes, and tidal rivers like the St. Johns near Federal Point, I’ve built a comprehensive assessment framework that actually catches what matters. It starts with the parts you can reach and ends with the parts that will kill your dock if they fail. Here’s the complete breakdown.
What a Real Dock Inspection Actually Covers
Dock evaluation isn’t one thing. It’s five: pilings, decking, hardware, structural connections, and—when present—electrical systems. Each system tells you something different about how much life your dock has left.
Pilings serve as the foundation. Decking is where you stand and what absorbs weather punishment. Hardware—fasteners, bolts, lag screws, brackets—holds everything together and either survives corrosion or succumbs to it. Structural connections—bracing, stringers, frame elements—distribute the loads that keep your dock from pancaking. Electrical adds a safety layer that most homeowners overlook entirely.
My inspection order is always the same because failure sequence is always the same: pilings go first, hardware second, decking third, electrical surprises you last. That’s your priority ranking.
Above the Waterline: Decking, Hardware, and Structure
Begin with what’s accessible and visible. This portion of your assessment is where most problems announce themselves to anyone paying attention, and it’s also the most DIY-friendly part of the whole process.
Decking: The Walk-and-Probe Test
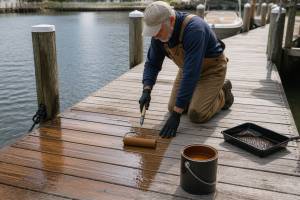
Step onto each board slowly, feeling for flex or softness that shouldn’t be there. Travel the entire surface methodically, and pay attention to the noise. Healthy deck boards produce a solid, crisp sound when you walk them. Wood that’s begun to fail sounds dead or muffled. This alone won’t tell you everything, but it’s your opening indicator.
Then probe. This is where a scratch awl becomes invaluable. I carry the General Tools Scratch Awl Tool with Hardwood Handle on every inspection—it’s $8.15 and worth ten times that. The sharp alloy steel point penetrates wood where rot is soft. Drive it lightly into the top and sides of each deck board, focusing on areas around fasteners and where boards meet stringers.
If your awl penetrates deeper than 1/8 inch using only your hand weight, that’s evidence of rot. Mark the location. Pay special attention to boards within 6 inches of where they connect to supporting stringers—water pools there and decay starts there. Every fastener is a potential failure point. Corrosion halos surrounding bolts or lag screws mean the fastener is degrading beneath the visible surface.
Hardware: The Corrosion Count
Metal fasteners on docks don’t enjoy infinite lifespans. Along tidal corridors like Federal Point—where the St. Johns River brings saltwater in and out—standard steel fasteners typically begin showing serious corrosion between years three and five. Inland freshwater docks grant longer service intervals, though not dramatically so.
Tally your fasteners and sort them by deterioration stage. Stainless steel fasteners? These survive the saltwater gauntlet well. Hot-dipped galvanized steel? Also dependable; anticipate 7 to 10 years of serviceability in salt environments. Paint-coated or electroplated fasteners? That’s your weak spot. Any fastener displaying white bloom, orange staining, or rust is entering the failure zone. If corrosion has eaten through either the head or the body of the fastener itself, remove and replace it today.
Examine bolts that pass completely through stringers and cross-bracing. Specifically, verify that washers remain present and sit flush against the wood surface. Corrosion nesting under a washer signals that moisture has been trapped there, almost certainly meaning the wood below is decaying. That bolt must come out, the cavity must be examined thoroughly, and timber replacement might be required.
Structural Connections: The Underside Check
This is the component where most property owners let their inspections fall short. You must get visual access to the underneath surfaces of your dock. A compact hand mirror attached to a pole with duct tape works perfectly—dental mirrors and even small pocket mirrors do the job. Either lie down directly or position yourself in a kayak and examine the underside of decking and stringers from below.
Target your examination on softness around bolt locations, gaps between cross-members and pilings that shouldn’t exist, fractures running through stringers, and bracing that has lost its grip. Any bolt hole exhibiting dark coloration or wood that’s shifted to charcoal gray indicates moisture infiltration and probable subsurface decay. Bracing that connects a piling to a stringer should sit tight—light passing through any gap exceeding 1/8 inch is concerning.
Record the spacing of your support stringers. Professional dock construction typically spaces stringers 4 to 6 feet apart. When deck boards are fastened to those stringers with fasteners, each connection point must exist and must be snug. Fastener heads that have sunk into softened wood represent a structural failure—the fastener is no longer functional and the board is compromised.
Below the Waterline: The Part Most DIYers Skip
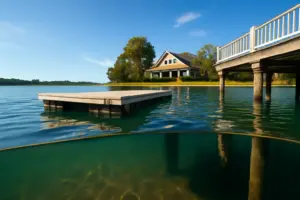
This portion separates a comprehensive assessment from a superficial one. Anything submerged—whether in salt (typical for American Beach, Federal Point, coastal areas) or fresh water (typical for inland lakes)—faces relentless biological and chemical attack. You must see it for yourself rather than guess from above.
This section is also the hardest to access but returns the most valuable information. From the deck, a piling can appear pristine. Four feet below the surface, that same piling could be hollow.
Marine Borer and Saltwater Rot Damage
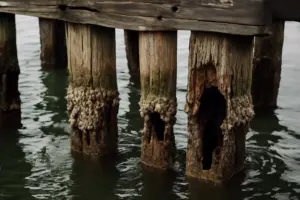
Saltwater docks—especially those positioned in zones where water rises and falls with tides—encounter two distinct adversaries. First come the borers: Limnoria and Teredo species are small wood-consuming crustaceans and mollusks that bore into untreated timbers. Early-stage damage resembles pinpricks; later stages show a honeycomb texture; final stages are structural failure.
Second is saltwater rot, which operates differently than decay in freshwater conditions. Salt speeds up the decomposition process and produces its own signature damage signature. I learned this through painful experience in American Beach, watching an owner’s dock collapse in just 18 months because they’d applied freshwater-grade protection. The marine environment required something else entirely.
Enter the water or use a kayak to examine pilings at the waterline and just below it. Look for:
- Surface holes or tunnel networks (signs of marine boring organisms)
- Spongy areas when you test with an awl
- Sections where wood has eroded or thinned noticeably
- Gray coloring or black staining (indicators of decay)
- Wood loss at joints where pilings meet beams
Work your awl along each piling right at the water’s surface. The interface between air and water is the trouble zone—wave action, wet-dry cycling, and borer entry points concentrate there. Water environments prioritize this zone. Probe in 6-inch increments all the way around the piling’s perimeter.
Extend your probing down from the waterline in 2-foot increments as far down as you can safely reach—target a minimum of 8 feet if possible. A piling that passes inspection at 3 feet might be severely compromised at 7 feet. In tidal and coastal settings like Federal Point and the Gulf Coast region, where salt intensity and water temperatures fluctuate, boring organism activity varies by depth in unexpected ways.
Freshwater Pilings: Different Timeline, Same Process
Lakes and river docks sitting in freshwater lack the marine borer problem. That’s advantage number one. Rot, however, still progresses in freshwater environments, and the outcome is equally catastrophic. The timeline differs—untreated freshwater pilings typically survive 15-20 years before serious degradation emerges, whereas saltwater pilings begin failing in 5-8 years.
Your inspection methodology remains unchanged. Get wet, probe the timber, search for spongy wood and discoloration. The absence of borer tunnels provides no guarantee that the piling is safe. Rot can consume the interior of a piling while leaving the surface looking normal.
That said, freshwater locations do allow you to extend the time between inspections somewhat. Details appear below.
How Often to Inspect (And Why Saltwater Docks Need a Tighter Schedule)
The right inspection interval depends on your location and your dock’s age. This isn’t guesswork—20 years of watching predictable failure patterns informs these recommendations.
Saltwater Dock Inspection Intervals
Saltwater installations—coastal or tidal river locations like American Beach or Federal Point—demand annual inspections without fail. Salt is unforgiving. Skipping even one year puts you at risk.
Regarding pilings specifically, plan for a professional diving inspection every 3-5 years. Yes, that costs money. But a single piling failure costs far more. One compromised piling can collapse an entire dock system, and piling collapse injuries are severe.
Freshwater Dock Inspection Intervals
Docks in freshwater lakes? You can stretch to 18 months between comprehensive DIY reviews. Marine borers don’t exist there, and rot progression runs slower. That buys breathing room. However, any soft spots you notice during casual observation demand a full inspection within 30 days.
Docks younger than 5 years get annual attention regardless of setting. You’re still in the window where construction errors and material shortcuts most commonly appear. Once you reach year 5, the schedules I’ve outlined here apply.
Keep records of every evaluation. Note what you examined, what you probed, and what concerned you. Photos are essential tools. When inspection season arrives again, you’ll return directly to previous problem areas and observe whether they’ve worsened. This documentation trail becomes invaluable when you eventually need expert help or when insurance companies request evidence.
Tools You Actually Need for a Proper Inspection
The toolkit is small. But each item in it is necessary. I use the same set of tools on every job, and the components rarely change.
The Essential Tool: A Scratch Awl
The General Tools Scratch Awl Tool with Hardwood Handle is my first choice. Eight dollars, $8.15 to be exact, and it’s made in the USA with an alloy steel blade that stays sharp through hundreds of probes. The hardwood handle is comfortable, and the design is simple enough that it won’t fail you in the field.
If budget is truly the constraint, the Klein Tools 650 Scratch Awl with 3-1/2-Inch Shank and Cushion Grip is a solid runner-up. It’s made in the USA, and the 3.5-inch shank gives you better reach. Both will do the job. I use the General Tools version because I like the balance, but either is fine.
Rounding out your toolkit: a compact mirror mounted to a pole, a 25-foot tape measure as your minimum, a bright flashlight, your camera or phone for documentation, paper and pen for notes, and polarized lenses if you’re working under sun—they eliminate glare off water and let you see what’s happening below the surface.
When to Call a Professional
Recognizing the bounds of your own capability is intelligent, not a shortcoming. DIY evaluation serves as your early-warning radar and routine safety check. Professional assessment is necessary when suspicions demand confirmation.
Bring in a professional when:
- Pilings show softness suggesting the load-bearing system is failing
- More than one-fifth of your fastener population shows late-stage corrosion
- Stringers or pilings display fractures running through them
- Diagonal bracing exhibits separation from either the piling or the stringer
- The deck surface appears to have shifted or settled unevenly in spots
- An electrical installation exists anywhere on the dock (call a licensed electrical contractor)
- Your dock predates 25 years ago and has not undergone professional evaluation
Professional marine contractors and structural engineers can accomplish what remains outside your scope: conduct underwater piling inspections at depth, calculate load capacity of individual members, determine whether sistering or complete piling replacement is necessary, and generate documentation acceptable to both insurers and building departments.
Plan professional evaluations every 7-10 years on saltwater docks, and every 10-15 years on freshwater docks. It’s an investment that’s less expensive than major reconstruction.
Final Thoughts: Your Dock Inspection Checklist Keeps You Safe
Comprehensive dock assessment doesn’t consume your entire day, but it demands your focus. You’ve got to actually wade in, actually press the awl into wood, and actually see the surfaces you can’t reach from above. Surface-level observation will miss every problem that actually matters.
Docks throughout American Beach, Federal Point, lakes, and rivers show the same pattern: structures that deteriorate are the ones nobody ever really examines. Structures that last belong to owners who dedicate a couple of hours seasonally, armed with minimal equipment and maximum attention, catching deterioration when intervention is still simple.
Schedule your first dock inspection in the coming month. Make it an annual habit. Remember this: the hour you spend pressing an awl into wood today is an hour you’re not spending in a hospital bed or a courtroom because of a dock failure.
Safe docking.
Frequently Asked Questions
How deep should I probe pilings below the waterline?
I probe in 6-inch increments all the way around each piling’s perimeter, then extend downward from the waterline in 2-foot increments as far as I can safely reach—targeting a minimum of 8 feet if possible. A piling that passes inspection at 3 feet might be severely compromised at 7 feet.
What fastener types last longest in saltwater?
Stainless steel fasteners survive saltwater well. Hot-dipped galvanized steel is also dependable—I anticipate 7 to 10 years of serviceability in salt environments. Paint-coated or electroplated fasteners are the weak spot and typically begin showing serious corrosion between years three and five.
How often should I inspect my Gulf Coast dock?
Saltwater installations demand annual inspections without fail. Plan for a professional diving inspection every 3 to 5 years on pilings specifically. A single piling failure can collapse an entire dock system, and that cost far exceeds the inspection expense.
What does wood decay look like when I probe with an awl?
If your awl penetrates deeper than 1/8 inch using only your hand weight, that’s evidence of rot. Spongy areas, gray coloring, black staining, or soft spots around fasteners and stringer connections all indicate decay requiring immediate attention and documentation.
Sources and further reading
About This Article

Written by Trent Hollis. Waterfront homeowner turned DIY obsessive. After two decades tinkering with my own dock, seawall, and boat lift on the Gulf Coast, I share everything I've learned about waterfront construction, boat lift maintenance, and coastal living projects. More about this site.
Scope and limits. Trent is a waterfront homeowner, not a licensed marine contractor. Structural, electrical, and lift work should go to a licensed marine contractor, and most in-water work needs a permit before you start.
Verify this against a primary source
Specifics change, and your situation may differ from the one described here. These are the authorities worth checking directly:
- ABYC — marine electrical and construction standards
- U.S. Army Corps of Engineers — permitting for work in navigable waters
- NOAA Tides & Currents — tidal range and water level data for your site