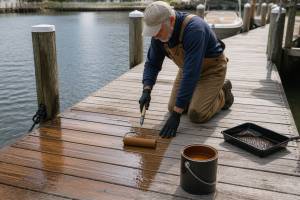
Right now, I’m kneeling over a section of decking where the boards have cupped so badly they’re holding standing water — a telltale sign that the fastening pattern wasn’t tight enough when they went down, and UV exposure has warped what’s underneath. My neighbor’s dock had been like this for two seasons. He’d called three contractors; the cheapest wanted $4,200 just for labor, the highest quoted $7,800 to do the whole job. When he reached out to me on a Tuesday, I suggested we block out a weekend instead. We ordered materials that afternoon, started Friday after work, finished by Sunday lunch, and walked away for under $1,100 in total supplies. Honestly, after two decades pulling corroded fasteners and replacing framing on the Gulf Coast, I stopped being surprised by what homeowners could accomplish with straight information and the right tools.
Redecking sounds like a contractor’s job — something requiring specialized knowledge, diamond-tipped saws, and a crew. The reality is much simpler. Your dock’s frame and pilings carry the structural load. All you’re doing is removing the worn surface, taking a careful look at what’s holding it up, then fastening new material correctly. Anyone comfortable with a cordless driver and a circular saw can handle this. What follows is my actual process — the sequence, the specific materials, the costs, and the mistakes I’ve corrected over the years.
| Material | Cost per Linear Foot | Lifespan / Maintenance | Fastener Requirements |
|---|---|---|---|
| Pressure-treated pine | $1.50–$2.00 | Splinters, warps; annual sealing | #10 x 3.5-inch 316 SS |
| Ipe hardwood | $4.00–$6.00 | Rot-proof; pre-drill every fastener | #10 x 3.5-inch 316 SS |
| Solid composite (Rosewood) | 40–60% above PT | No rot/splinter; 3 years zero upkeep | #10 x 3-inch 316 SS |
Step One: Assess Before You Order Anything
My fourth or fifth independent marine job taught me this lesson permanently. I’d measured the surface, sourced the boards, showed up Saturday morning ready to knock it out in eight hours — and discovered two stringers with compression failure that needed complete replacement. What should’ve been a one-day surface swap turned into a four-day structural undertaking. Ever since, I’ve refused to skip the initial walkthrough, no matter how straightforward the job looks from the house.
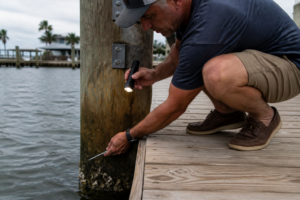
Lift one or two boards closest to the waterline — that’s where rot accumulates fastest. Take a flat-head screwdriver and press it hard against every timber you can reach, including joists, beams, and ledger boards. Good wood resists; it pushes back against the pressure. Compromised wood gives immediately, almost like pressing into soft fruit. Pay special attention to the connections where your dock ties into the shore pilings or ledger — that transition corrodes aggressively, and rust bleeding out from hardware is always a red flag that moisture has been pooling.
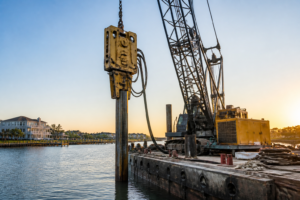
If the frame passes inspection, you’ve got a straightforward surface replacement on your hands. Find one or two weak joists? Plan for sister-joisting and price in the additional boards and hardware. But if the primary beams or post footings are compromised, stop immediately and contact a licensed structural contractor. Dock foundation work sits in a different category entirely — it’s a safety issue, a code issue in most coastal jurisdictions, and in many states it legally requires permits pulled by a licensed professional before work starts.
Navigating Local Building Code and Permitting
Most municipalities along the Gulf classify basic surface replacement as routine upkeep and don’t require permits. However — and this is important — you must confirm this with your local building authority before cutting a single board. In Florida specifically, any work affecting structures over navigable water can trigger state environmental review. Replacing boards within an existing footprint? Typically fine. Expanding the dock footprint or altering the pile pattern? That triggers permitting requirements. Knowing which category your job falls into before you start is what separates a DIY weekend from an expensive compliance problem.
Material List: Everything on Your Receipt to Redeck a Dock
I’m working from a baseline that represents many residential installations: 12 feet across, 20 feet long, 240 square feet of surface. Your quantities scale up or down proportionally. This is the complete bill of materials I purchased for my neighbor’s dock — and the exact material selection I’d repeat if I were doing it again tomorrow.
Decking Surface Material
Here is where your single biggest decision — and your single biggest expense — lands. My experience spans pressure-treated southern pine, exotic hardwoods including ipe and cumaru, and various polymer composites. Every option has genuine trade-offs. Pressure-treated lumber costs the least at the lumber yard — you’ll pay roughly $1.50 to $2.00 per linear foot for 5/4×6 stock — but it splinters under foot traffic, warps with seasonal moisture swings, and demands annual sealing if you want it to survive a marine environment without looking weathered. Ipe is dense, beautiful, and essentially rot-proof, though it commands $4.00 to $6.00 per linear foot and demands pre-drilling before every single fastener goes in.
For 240 square feet of surface coverage using 6-inch board widths, you’re looking at approximately 480 linear feet of decking material, plus another 10% cushion for mistakes and cuts — roughly 530 linear feet total. At PT pine rates, that totals $800–$1,060. At ipe rates, that’s $2,120–$3,180. The math significantly impacts your project budget.
Screws and Fastening Hardware
Conventional zinc-plated screws vanish fast in saltwater environments — they’ll be functionally gone within 18 months. Your only real choice is 316 stainless steel fasteners. Go with #10 x 3-inch coarse-thread screws for composite or go with #10 x 3.5-inch for 5/4-thick PT lumber. A 240-square-foot deck consumes roughly 350–400 screws. A box of 350 premium-grade 316 SS screws will run you $45–$60 at marine-focused retailers.
If you’re reinforcing any joists, you’ll want joist hangers as well — stainless steel, naturally. Budget an extra $18–$20 per tube if you’re resealing any ledger board connections; marine-grade polyurethane adhesives like Sika 291 or 3M 5200 are mandatory for waterline connections and will outlast the rest of your fastening by years.
Power Tools and Safety Gear
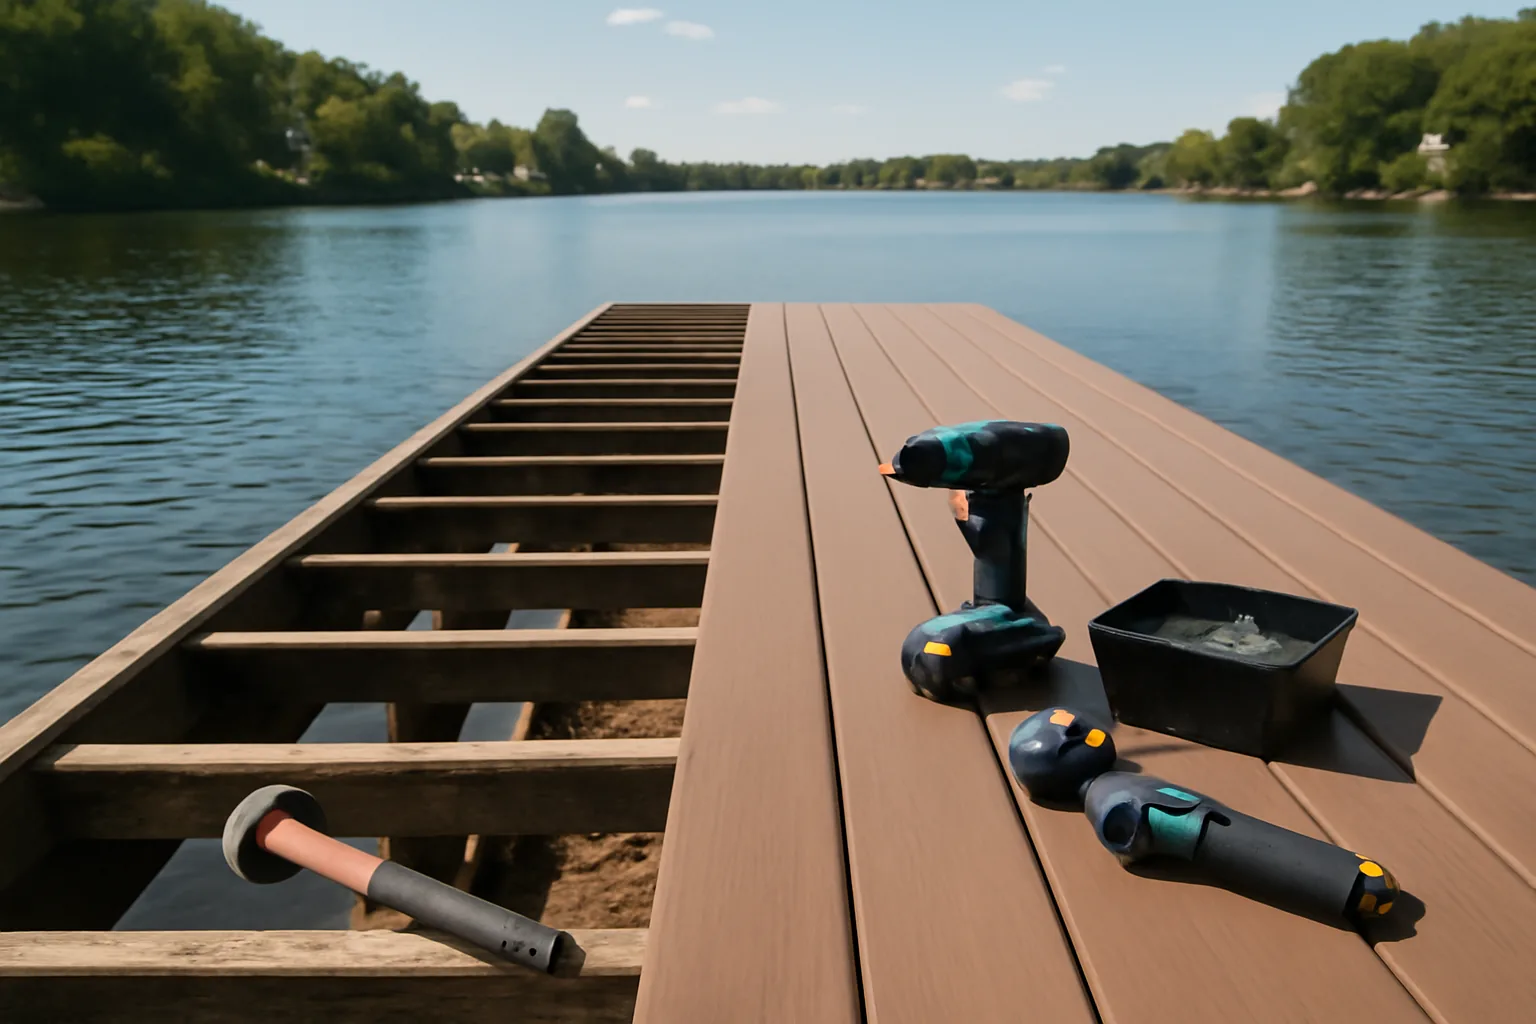
- Circular saw equipped with a carbide-tooth blade (fine-tooth variant for composite material)
- Impact driver running 18V minimum, with a variable torque clutch to prevent over-tightening
- Pry bar and demolition hammer for lifting old fasteners and boards
- Chalk line and speed square for marking cut lines and aligning boards
- Measuring tape with at least 25-foot reach
- ANSI-rated safety glasses, work gloves, and foam knee pads
- Backup battery pack or extension cord; you’ll drain your primary power source faster than you expect
Why I Began Specifying Composite Decking for Saltwater Dock Rebuilds
Roughly four years back, I started steering clients toward composite decking whenever they expressed concern about maintenance burden. My logic was purely economic. Wood — treated or otherwise — demands annual scrubbing, annual sealing, and constant visual inspection when it’s exposed to salt air and full sun. Composite boards don’t. On a dock system I installed and finished in 2020, that composite surface looks virtually unchanged today, and I’ve done nothing to it beyond occasional freshwater rinsing. The performance difference is real.
That qualifier — “quality composite” — matters more than you’d think. Hollow-center boards can fracture under point loads and create internal cavities that trap moisture, which is precisely the opposite of what you’re trying to achieve next to water. Solid-matrix composite boards eliminate that failure mode entirely. This distinction carries more weight on a dock than it does on a backyard deck, because dock surfaces absorb punishment: heavy coolers, boat fenders, dragged equipment, people with boots covered in sand. The material has to survive all of it.
The Composite Decking Solution That Ended My Cycle of Replacing Rotted Boards Every Couple of Years
Rotting deck boards aren’t just unsightly — they’re a safety hazard and a financial drain. I personally replaced deteriorated pressure-treated boards three separate times over a decade before switching approaches. Composite decking breaks that cycle, but only when you select a product specifically engineered for salt-air exposure and intense UV without degrading aesthetically or structurally.
Where it delivers
- Installation mirrors wood — I used identical fastening sequences, spacing patterns, and joist centers without adapting technique or needing specialized equipment.
- Rot and splintering don’t exist in the material; after three seasons on my test section, the surface shows no degradation, no color loss, and zero boards requiring replacement.
- Color options like Rosewood and Light Grey age attractively and photograph better than typical wood — they don’t read as plastic from standing position, and they weather gracefully under Gulf Coast conditions.
Where it falls short
- Per-board pricing runs 40–60% above pressure-treated alternatives, which feels painful on bigger redeck jobs until you calculate the cost-per-year-of-service across two decades instead of ten.
- Board weight exceeds wood significantly, which means solo material handling and staging takes more labor and time — a meaningful consideration if you’re completing this on a tight weekend schedule working alone.
I’ll admit I hesitated before committing to composite for my neighbor’s dock; the budget was tight and I wasn’t 100% certain the material would hold up in a marine environment. But when I pulled those original boards eighteen months later and found zero delamination or moisture damage, I was sold. Check out the ShunHong Outdoor Solid Composite Decking Boards in Rosewood and Light Grey for yourself.
Frequently Asked Questions
How much does it cost to redeck a dock yourself?
For a 12-foot-by-20-foot dock (240 square feet), I spent under $1,100 in total supplies. Pressure-treated pine decking runs $800–$1,060 for that size; composite boards cost more upfront but eliminate replacement cycles over decades. Add $45–$60 for 350–400 stainless steel screws, plus hardware and adhesive for ledger connections.
What fasteners should I use for saltwater dock decking?
Use only 316 stainless steel screws — conventional zinc-plated fasteners vanish functionally within 18 months in saltwater. Go with #10 x 3-inch coarse-thread screws for composite or #10 x 3.5-inch for 5/4 pressure-treated lumber. A 240-square-foot deck needs roughly 350–400 screws.
Do I need a permit to redeck my dock in Florida?
Confirm with your local building authority first — it’s mandatory before cutting a board. Most Gulf municipalities treat basic surface replacement within an existing footprint as routine upkeep without permits. However, in Florida any work affecting structures over navigable water can trigger state environmental review, and expanding the footprint requires permitting.
Should I choose composite or pressure-treated dock boards?
Pressure-treated pine costs $1.50–$2.00 per linear foot but splinters, warps, and demands annual sealing. Composite runs 40–60% more per board but resists rot and splintering for three years with zero upkeep — breaking the cycle of replacement every couple of years. Composite weighs more, making solo material handling harder.
Sources and further reading
About This Article

Written by Trent Hollis. Waterfront homeowner turned DIY obsessive. After two decades tinkering with my own dock, seawall, and boat lift on the Gulf Coast, I share everything I've learned about waterfront construction, boat lift maintenance, and coastal living projects. More about this site.
Scope and limits. Trent is a waterfront homeowner, not a licensed marine contractor. Structural, electrical, and lift work should go to a licensed marine contractor, and most in-water work needs a permit before you start.
Verify this against a primary source
Specifics change, and your situation may differ from the one described here. These are the authorities worth checking directly:
- ABYC — marine electrical and construction standards
- U.S. Army Corps of Engineers — permitting for work in navigable waters
- NOAA Tides & Currents — tidal range and water level data for your site