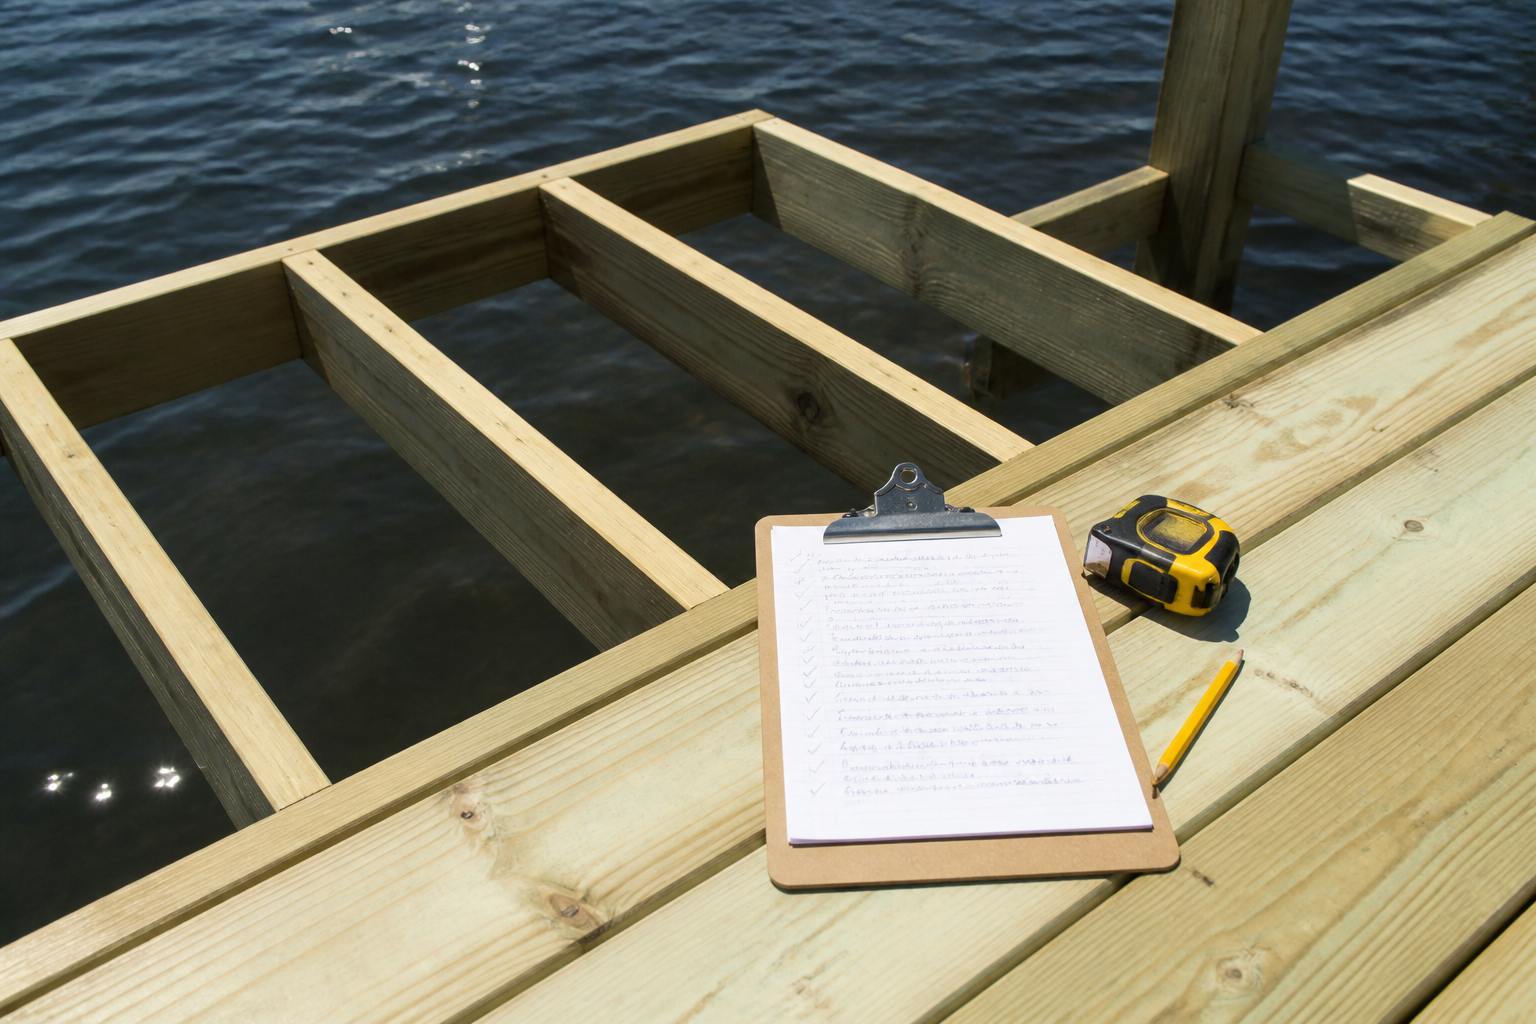
Every dock I’ve built or repaired on my own shoreline started with a dock building checklist folded into my back pocket, half-read and damp with salt spray. This is that list, rebuilt for the job site. It’s compact, scannable, and meant to be carried, not studied at a desk. For the reasoning behind each line, start with The Complete Guide to Building and Maintaining Your Own Dock. That post explains the why. This one gives you the what, in order.
A quick note on who is talking. I’m a waterfront homeowner, not a licensed contractor, engineer, or inspector. Everything here comes from my own dock, seawall, and boat lift on the Gulf Coast, plus some informal help for neighbors. Where a rule depends on your local authority, I’ll tell you to confirm it locally.
Dock Building Checklist, Phase 1: Before You Spend a Dollar
I skipped this phase once. It cost me six weeks and a survey I ended up paying for twice. Money and property lines are the two things that sink projects fastest, so they go first.
Confirm the land and the rights
- ☐ Pull the recorded plat and confirm the shoreline line, not just the deed description.
- ☐ Order a boundary survey showing corners and the mean high water line. Mine cost about $650.
- ☐ Find out who owns the submerged bottom in front of your lot. In many places, it isn’t you.
- ☐ Learn what your riparian rights actually allow before sketching anything.
- ☐ Check for easements, shared-dock agreements, and any past seawall or dock records on file.
Talk to neighbors and set the budget
- ☐ Walk the sightlines with adjoining owners and ask about their own waterfront plans.
- ☐ Put any shared-structure agreement in writing before the first piling goes in.
- ☐ Price pilings, decking, and equipment rental as three separate lines.
- ☐ Add a 20 percent contingency. My own project ran about 30 percent over the first estimate.
Phase 2: Site and Design
Design follows the water, not the other way around. I measure at low tide, because that’s when the water is shallowest and the decisions get tight.
Measure at low water
- ☐ Take depth readings at the planned dock head and along the full run at low tide.
- ☐ Record the date and tide stage with each reading. Readings without tide data are nearly useless.
- ☐ Target at least your boat’s draft plus two feet at lowest water.
- ☐ Probe the bottom with a rod. Note whether it’s soft mud, sand, shell, or rock.
- ☐ Mark the high-water staining on nearby pilings to estimate storm surge reach.
Read the wind and size the boat
- ☐ Note prevailing wind direction and the fetch length across open water.
- ☐ Measure boat length, beam, and draft. Add 3 to 4 feet of clearance per side for a slip or lift.
- ☐ Plan for the largest boat you’ll realistically own in the next decade, not today’s boat.
Make the dock type decision
- ☐ Choose fixed if bottom is firm and water-level swing stays under about two feet.
- ☐ Choose floating if your swing is larger, or if storm surge regularly lifts the water.
- ☐ Set walkway width at 4 feet minimum. I go to 6 feet if I’m moving carts or gear.
Here’s the trade-off I live with. Fixed docks cost less and stay steady, but a long fixed run into shallow water gets expensive fast. Floating systems handle variable water well, yet they add hardware and maintenance.
Phase 3: Permits in Hand
I’ve watched more projects stall here than anywhere else. The rule I follow is simple: nothing gets cut, bought, or driven until the approval letter is in my hand.
Confirm who has jurisdiction
- ☐ Call the local planning or building office and ask who reviews over-water structures.
- ☐ Expect more than one agency. Local, state, and federal reviewers can each have a say.
- ☐ Ask for written setback, maximum length, and width limits. Never assume from a neighbor’s dock.
- ☐ Ask whether a repair needs a permit. Read Do You Need a Permit to Repair a Dock? before you call.
Repair versus new build
- ☐ Repairs matching the existing footprint and pile count usually face lighter review.
- ☐ Changing the footprint, adding pilings, or extending length usually triggers full review.
- ☐ Photograph and measure the existing structure before any demolition.
What gets submitted and how long it takes
- ☐ Scaled site plan with distances to property lines and setback lines.
- ☐ Elevation drawing showing pile count, spacing, and deck height above high water.
- ☐ Current survey from Phase 1.
- ☐ Materials list and a short description of the construction method.
- ☐ Application fee, paid and receipted.
- ☐ Timeline: plan on 60 to 120 days for a new build. Mine took four months.
I learned this the hard way. I bought lumber before my approval came back, then stored it under a tarp for 11 weeks while I waited. The wood warped, and I paid for it twice. Don’t buy before the letter arrives.
Phase 4: Materials and Staging
Salt air and tidal zones shorten the life of anything you buy carelessly. Most of my failures traced back to a cheap fastener, not a bad board.
Treatment grade and fasteners
- ☐ Specify ground-contact treated lumber for anything touching water, mud, or soil: piles, stringers, and bracing.
- ☐ Choose decking material by budget and maintenance tolerance. Compare options in Composite vs Pressure Treated vs Ipe.
- ☐ Buy hot-dip galvanized or 316 stainless fasteners. Skip electro-galvanized hardware in salt air.
- ☐ Avoid mixing metals. Dissimilar metals corrode each other at the joint.
- ☐ Use stainless through-bolts, at least 1/2 inch, on pile-to-stringer connections.
Delivery, tide access, and staging
- ☐ Check tide tables and schedule any water delivery for a rising or high-water window.
- ☐ Confirm truck access and where a crane or driver can physically stand.
- ☐ Stage all material above high water, off the ground, and under cover.
- ☐ Order decking with about 5 percent overage for cuts and defects.
If your site can’t take a barge or a truck, don’t force it. Read Replacing Rotted Dock Pilings Without a Barge for how I handled a tight shoreline.
Phase 5: Build Sequence, In Order
Build in this order every time. Each step assumes the one before it is square, level, and tight. Skipping ahead is how you end up pulling a bent back out.
Pilings
- ☐ Set each piling plumb and check batter against your approved drawing.
- ☐ Confirm embedment depth with the driver’s refusal data, not just the plan. On my site it ran 12 to 14 feet.
- ☐ Cut pile tops to a consistent elevation, checking with a long level across each bent.
Stringers and framing
- ☐ Set stringers level across the bent before fastening anything permanently.
- ☐ Space deck joists at 16 inches on center unless your decking maker specifies otherwise.
- ☐ Install diagonal bracing between bents, then check the frame is square by measuring both diagonals.
Decking, hardware, and electrical
- ☐ Leave 1/8 to 1/4 inch between wood deck boards for drainage. Follow the manufacturer for composite.
- ☐ Mount cleats and rails rated for your boat’s size, and bolt them through the framing, not just the decking.
- ☐ Plan lighting and any outlets before decking goes down. Retrofitting is miserable.
- ☐ Hire a licensed electrician for any wiring over the water. Electrical is the one line I don’t do myself.
Final Walkthrough Before You Call It Done
The job isn’t finished when the last board goes down. I walk the whole structure at low tide and again at high tide, because the two views reveal different problems.
Fastener sweep
- ☐ Check every bolt and lag for tightness. Snug them again after the first week of loading.
- ☐ Look for rust bleeding on any fastener. Replace it now, not after the first storm.
- ☐ Confirm no bare steel is touching treated lumber or dissimilar metal.
Trip hazards, ladder, and safety gear
- ☐ Walk the deck barefoot. Sand, splinters, and proud boards show up fast underfoot.
- ☐ Confirm no board stands more than 1/8 inch proud of its neighbor at a transition.
- ☐ Install a ladder at the water end with rungs that reach below your lowest working tide.
- ☐ Keep a ring buoy and throw line at the head of the dock.
- ☐ Light the walkway for night use. Low-level path lights work well.
As-built photos and first-season re-checks
- ☐ Photograph every phase with date stamps: pilings, framing, hardware, and finished deck.
- ☐ Store photos and the approved drawings together, somewhere you can find them in five years.
- ☐ Schedule re-checks at 30 days, 90 days, after your first storm season, then once a year.
Use the DIY Dock Inspection Checklist for each re-check, so you’re comparing the same items every time. Print this dock building checklist, carry it on site, and tick every box before you call the job done. The boxes that feel tedious are the ones that save you from a rebuild.
About This Article

Written by Trent Hollis. Waterfront homeowner turned DIY obsessive. After two decades tinkering with my own dock, seawall, and boat lift on the Gulf Coast, I share everything I've learned about waterfront construction, boat lift maintenance, and coastal living projects. More about this site.
Scope and limits. Trent is a waterfront homeowner, not a licensed marine contractor. Structural, electrical, and lift work should go to a licensed marine contractor, and most in-water work needs a permit before you start.
Verify this against a primary source
Specifics change, and your situation may differ from the one described here. These are the authorities worth checking directly:
- ABYC — marine electrical and construction standards
- U.S. Army Corps of Engineers — permitting for work in navigable waters
- NOAA Tides & Currents — tidal range and water level data for your site