If you’re searching for dock sealing northeast Florida guidance, the first thing to know is that this region doesn’t have one dock environment. The water under your boards can be tannin-dark freshwater, tide-driven brackish water, or full Atlantic salt spray, sometimes within a few miles. Each one changes when you should seal, what you should inspect first, and which hardware will survive. This post walks through all three.
Before We Start: What This Site Is and Isn’t
Dockside DIY is a do-it-yourself site. It is not a sealing service, an inspection company, or a contractor referral network. I don’t sell services in this region, and I don’t recommend local companies. My goal is simple. I want you to either do the work yourself with confidence or know exactly what to ask whoever you hire.
I need to be clear about my background too. I’m a waterfront homeowner, not a licensed marine contractor, engineer, or inspector. My two decades of experience come from my own dock, seawall, and boat lift on the Gulf Coast. I have never worked on docks in Northeast Florida. Everything I say about this region is regional analysis, built on what I’ve learned at home and on what water chemistry and wood science tell us.
That distinction matters. Water chemistry explains most of what happens to a dock, and the principles carry over from one coast to another. Local rules, local species of borers, and local storm patterns are different. Verify those with people who work where you live.
Why Water Chemistry Sets Your Dock Schedule
Wood fails for three main reasons. Biology eats it, moisture rots it, and ultraviolet light breaks it down at the surface. Salt water adds a fourth problem: it corrodes metal. The water around your dock controls how fast each of these happens.
Salinity is the big variable. Marine borers, including teredo shipworm and Limnoria gribble, need salt to survive. Fresh water keeps them out. Full-strength seawater invites them in. The brackish middle ground is the tricky part, because borers can establish themselves there when salinity climbs during dry spells or high tides.
Tannins add a second layer. Water flowing through swamps and blackwater creeks picks up dissolved organic compounds that stain wood dark. These compounds also make the water acidic. Acidic, wet, shaded wood is a welcome home for fungal decay.
Regime One: Tannic Blackwater on the Upper and Middle St. Johns
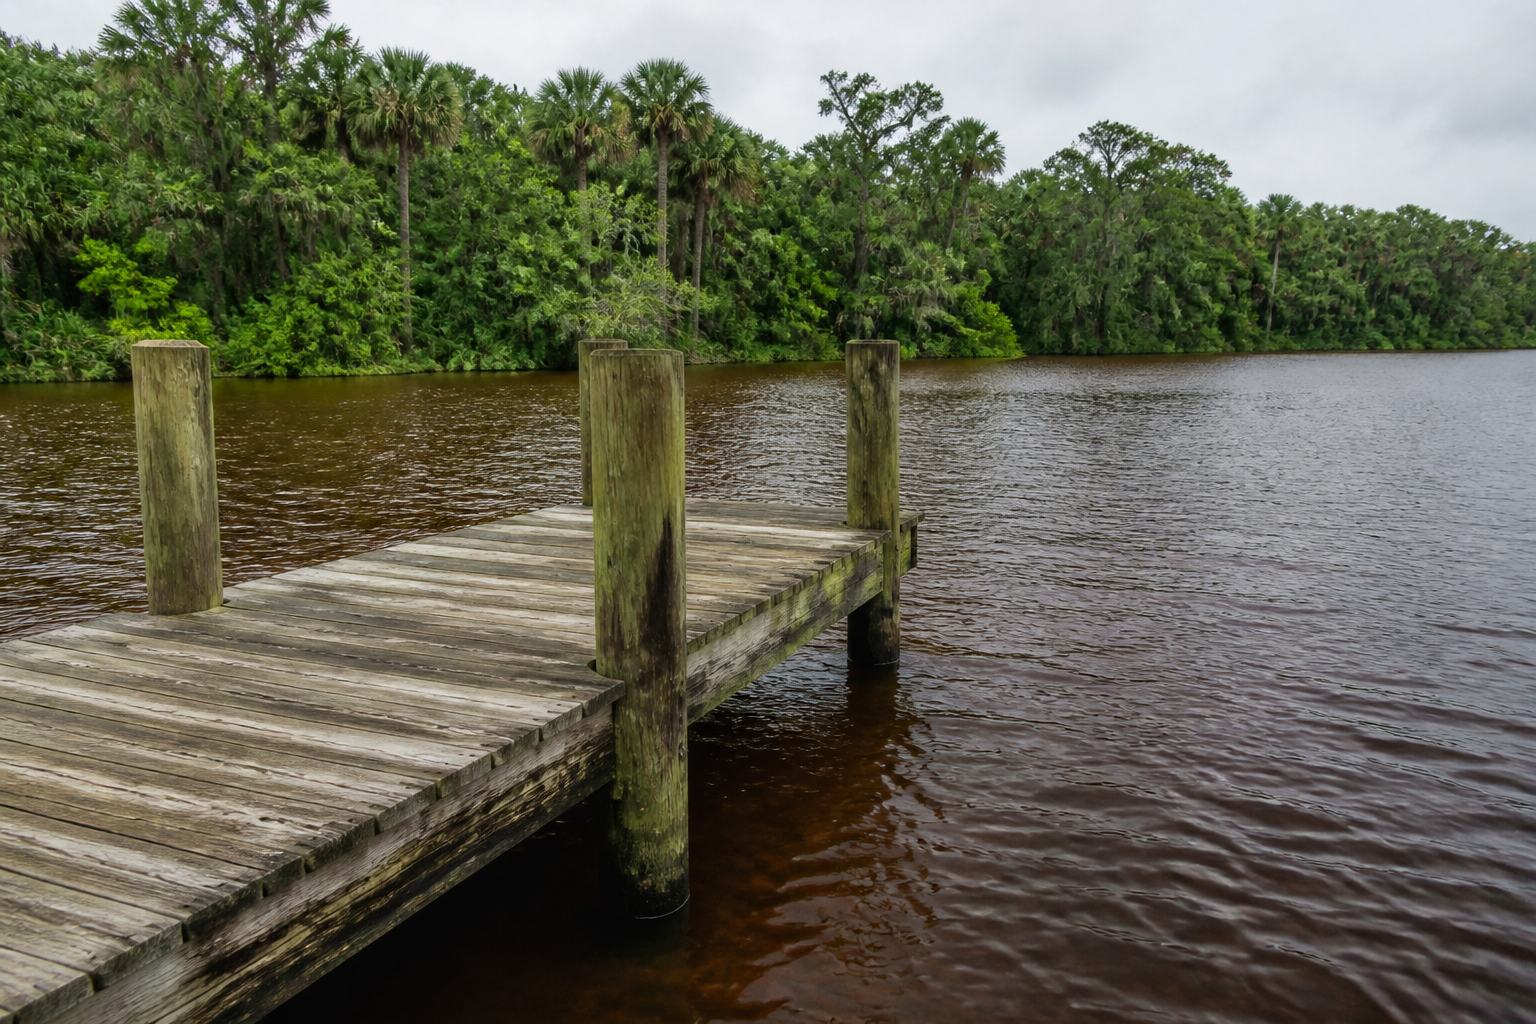
The upper and middle St. Johns and its creeks carry dark, acidic, low-salinity water. Think Putnam County and communities like Bostwick, Fruitland, Satsuma, Hollister, and Federal Point. Here, the water itself looks like weak tea. Tannins stain everything it touches.
Because the water is fresh, marine borers are largely absent. That’s good news for your pilings and stringers. It means your biggest enemies are different. Fungal rot and UV degradation do most of the damage here.
What the Water Does to the Wood
Heavy staining happens at the waterline. Tannins concentrate where water rises and falls, and they leave a dark band on pilings and bracing. Above that band, sun and rain bleach the surface to gray. The combination looks alarming, which is why so many owners panic when they see it.
Shade makes everything worse. A dock under a canopy of oaks or cypress may stay damp for days after a rain. Wood that stays wet above about 20 percent moisture content is ready for decay fungi. On my own shaded section of dock, I learned that a wet board stays wet far longer than one in full sun.
Hardware and Your First Inspection Item
Hardware is less of a worry in fresh, tannic water. Standard hot-dip galvanized fasteners usually hold up well here. Stainless still makes sense for connections you can’t easily replace, but you don’t need the premium grades that salt demands.
In this regime, I check for soft spots at the waterline first. Tannin stain looks similar to rot, so I always probe before I decide anything. The checklist in our DIY Dock Inspection Checklist walks through the probe method step by step.
Regime Two: The Brackish Lower River and Tidal Reaches
The lower river through the Jacksonville area, including Ortega, Mandarin, Lakeside, and Hibernia, is the hardest band to read. Salinity rises and falls with the tide and with drought. A wet season can keep the water nearly fresh. A dry spring can push salt much farther upriver than you’d expect.
This is exactly where borers can reach pilings that were never specified for them. Many older docks were built with treated lumber meant for freshwater or soil contact. Those treatments may not stop marine borers. If your pilings sit in this band, assume the borer risk is real until you prove otherwise.
Marine Borers Are the Real Threat
Teredo shipworm tunnels inside the wood. The surface may look almost perfect while the core is hollow. Limnoria gribble works differently. It grazes the surface and erodes the wood, sometimes a quarter inch or more over several years. Both can destroy a piling from the inside or the outside.
Sealing helps, but it doesn’t make a piling borer-proof. A sealer slows water uptake and buys time. It doesn’t stop a borer that’s already inside. For this regime, I treat sealing as a maintenance layer on top of a piling choice made for marine exposure.
When I see borer damage on a piling, I don’t try to save it with a coating. I’m honest about this with myself. I replace it, and our post on replacing rotted dock pilings without a barge describes how I approached that job on my own dock.
Hardware Corrosion Accelerates
Brackish water is aggressive on metal. Chloride ions attack ordinary steel and even some coated hardware. Hot-dip galvanizing gives you a sacrificial zinc layer, but that layer thins faster in this band than in fresh water. I’ve seen galvanized connections develop rust streaks within a few seasons on my own tidal-influenced structures.
Specify 316 stainless for fasteners, brackets, and connectors that sit at or near the waterline. Type 304 is cheaper, but it can pit in chloride-rich water. On my Gulf dock, 316 deck screws cost roughly twice as much as coated screws. They have also outlasted everything else I’ve tried.
Regime Three: Full Salt and Surf on the Atlantic Side
The Atlantic side and its coastal lagoons carry the harshest exposure in the region. That includes Amelia Island, American Beach, Atlantic Beach, Summer Haven, and the stretch south into Volusia at Osteen, Oak Hill, and Ormond-by-the-Sea. Salt spray reaches your decking even when the water itself is calm. Wind drives it inland.
Sealing intervals shorten here more than anywhere else. Salt crystals hold moisture in the wood. They also make it harder for a sealer to bond. Surface cleanliness matters more than in the other two regimes.
Salt Spray and Wind-Driven UV
Ultraviolet light is always present on open water. Wind makes its effect worse. Sand and salt scour the surface, so the sealer wears off faster than it does on a sheltered dock. On my open Gulf deck, I re-coat every eighteen months. My shaded boat lift area gets done about every two years.
Fastener corrosion dominates this regime. Salt gets into every gap, and it attacks any metal that isn’t up to the job. Blue-stained decking around screws is a classic sign. So is a rust bleed through the wood. Those symptoms mean your fasteners have failed, even if the boards look fine.
The Three Regimes at a Glance
Use this table as a quick reference. The intervals are based on my own Gulf Coast experience with penetrating sealers and should be treated as starting points. Always check the product label and adjust for your specific exposure.
| Regime | Dominant Water Type | Main Threat to Wood | Main Threat to Hardware | Sealing Re-Coat Interval | First Inspection Item |
|---|---|---|---|---|---|
| 1. Upper and middle St. Johns and creeks | Tannic blackwater, low salinity, acidic | Fungal rot at the waterline and in shade; UV graying | Light; standard hot-dip galvanized usually adequate | About 2 years in shade, 18 months in full sun | Probe waterline wood for soft spots that separate from tannin stain |
| 2. Brackish lower river and tidal reaches | Variable salinity driven by tide and drought | Marine borers (teredo, Limnoria) in pilings and bracing | Chloride corrosion; galvanizing thins quickly | About 18 months, with piling inspection every season | Sound pilings at mudline and just below the waterline for borer damage |
| 3. Atlantic side and coastal lagoons | Full salt and surf spray | Salt-laden moisture, wind-driven UV, surface erosion | Fastener and connector corrosion; blue staining and rust bleed | About 12 to 18 months, faster on exposed decking | Fastener heads and connectors for blue staining, rust bleed, and loose fit |
Notice the pattern. As salinity rises, borers and corrosion move up the priority list. As salinity falls, rot and UV take over. The interval shortens with the amount of salt and sun your wood absorbs.
Scheduling Around Humidity and Afternoon Storms
Here’s the real scheduling problem in this region. A penetrating sealer needs dry wood and a dry forecast. Northeast Florida gives you neither easily for much of the year. Humidity stays high, and afternoon thunderstorms build over the river most summer days.
Reading the Moisture Before You Brush
Before I seal anything, I check moisture with a pin-type meter. My personal rule is to wait until readings drop below about 16 percent across the deck. Wood above that level won’t absorb sealer evenly, and trapped water can cause the coating to bubble or peel within a season.
High humidity slows drying. Morning dew can keep boards damp well past sunrise. I start early, once the dew lifts, and I stop before the air gets too humid for the sealer to cure. Product labels set minimum air and surface temperatures. Follow them. They exist because cold and damp conditions ruin coatings.
Planning Around the Thunderstorm Pattern
Summer storms usually build in the early afternoon and move through in an hour or two. That gives you a practical window. Seal in the morning, and check the hourly forecast for a dry stretch of at least 24 to 48 hours. Rain within that window can wash out fresh sealer or leave it tacky.
I learned this the hard way. Early in my dock work, I rushed a sealing job on a hazy morning. The forecast said dry, but the boards were still damp from the night. Three weeks later, the coating was lifting in sheets along the seams. I had to scrape, dry, and re-do the whole deck. That mistake cost me a full weekend and about two extra gallons of sealer.
For the step-by-step on preparing wood and applying the coat, read our guide on how to seal a wood dock. I won’t repeat that process here. The point for this region is timing, not technique.
Hurricane Season Versus Your Sealing Project
The Atlantic hurricane season runs from June 1 through November 30, with the peak usually in late summer and early fall. That overlaps directly with the best drying weather and the longest days. You have to plan around both.
My rule is simple. I don’t start a sealing project when a named storm is forecast to affect the region within the next week or so. I also avoid leaving bare, freshly sanded wood exposed through a storm track. A storm can soak a half-finished deck, and a sealer that hasn’t cured will not survive that water.
The bigger hurricane question is structural. Before peak season, I inspect pilings, bracing, and cleats, and I tighten or replace any loose hardware. A dock that has been sealed but still has a cracked piling is not ready for a storm. Sealing protects wood. It doesn’t add strength.
Tannin Stain or Rot? How to Tell the Difference
This is the question that trips up more owners in the blackwater regime than anything else. Tannin stain and rot both look dark and weathered. Only one of them means your wood is failing. You need to know which one you’re looking at before you decide anything.
The Probe Test
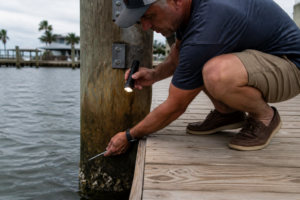
Start with an awl or a flat-blade screwdriver. Press it into the dark area at the waterline, at a right angle to the grain. Sound, stained wood resists. The tip may dent the surface, but it won’t sink. Rotted wood gives way. If the probe goes in more than about an eighth of an inch with light pressure, you have decay.
The Surface and Texture Test
Tannin stain sits on the surface. It feels smooth and hard. Light sanding often reduces it noticeably. Rot changes the texture. The wood turns soft, stringy, or crumbly. Some decay develops cubical cracking, where the wood breaks into small blocks. You won’t see that pattern in tannin stain.
The Dry-Out and Clean-Up Test
Let the area dry completely, then scrub it with a stiff brush and clean water. An oxalic-based wood brightener, the kind sold for removing tannin and iron stains, can lift the discoloration on sound wood. Test a small patch first. If the wood brightens and stays firm, you’re dealing with stain. If the dark color stays, goes deeper, or the wood still feels soft, you’re dealing with rot.
Be careful with the brightener. It can lighten wood and make the surface look fresh even when the core is decayed. Probe again after cleaning. Trust the probe over the look every time.
Permits, Repairs, and the Repair-Versus-Replace Question
Work over water in this region can involve several layers of oversight. Depending on what you’re doing and where your dock sits, a water management district may have a say. The US Army Corps of Engineers can also become involved. County and municipal rules apply on top of both. I’m not going to list specific forms, fees, or office details here, because those change and I don’t want you relying on my memory.
In my experience, the distinction that usually decides whether you need a permit is repair versus replacement. Re-sealing, replacing a few deck boards, or swapping hardware in kind is usually treated differently from replacing a whole structure or changing its footprint. Where exactly that line falls depends on your jurisdiction. Our post on whether you need a permit to repair a dock explains how I sorted that out on my own project, and why I wish I’d asked earlier.
Before you start any structural work, call your county and ask directly. Ask what counts as maintenance in your area and what triggers a review. Ask whether your shoreline falls under rules tied to your property rights, too. If you want background on that, see our piece on riparian rights for new waterfront owners. Get answers in writing when you can.
When to Stop DIY and Hire Someone
I’m a strong believer in doing your own maintenance. Sealing, cleaning, fastener swaps, and surface inspections are well within reach for most homeowners. Some jobs are different, and I’d rather tell you that plainly than let you learn it the way I did.
- Any piling with confirmed borer damage, especially in the brackish regime, where the replacement depends on load and soil.
- Structural bracing or stringers that have separated from pilings or lost bearing.
- Boat lift cables, winches, or hoists that carry a boat’s full weight, especially if you see fraying or uneven loading.
- Anything electrical near the water, including lighting and outlets on the dock.
- Any project where the permit question is unclear and the scope is large.
When you hire, ask for specifics. Ask what species and treatment they plan to use for pilings in your water band. Ask what fasteners and connectors they’ll specify. Ask how they confirm moisture before sealing and what they check at the waterline. A good provider will answer without hesitation.
Your Dock Sealing Northeast Florida Plan
Dock sealing northeast Florida starts with one question: what water is your dock sitting in? Blackwater, brackish tide, and Atlantic salt spray each set a different schedule and a different inspection priority. Get that right, and the rest of your maintenance makes sense.
Here is what I’d do in your position. Identify your regime using the table above. Probe the waterline and the pilings before you buy any sealer. Check moisture with a meter and wait for a dry window of at least a day or two. Use 316 stainless for anything near salt or brackish water. Keep an eye on the hurricane calendar, and inspect structure before peak season.
Finally, keep notes. I log every sealing date, every inspection finding, and every fastener change on my Gulf dock. Those notes have saved me from guessing more than once. Start your own log this season, and you’ll know exactly when your dock needs attention next.
About This Article

Written by Trent Hollis. Waterfront homeowner turned DIY obsessive. After two decades tinkering with my own dock, seawall, and boat lift on the Gulf Coast, I share everything I've learned about waterfront construction, boat lift maintenance, and coastal living projects. More about this site.
Scope and limits. Trent is a waterfront homeowner, not a licensed marine contractor. Structural, electrical, and lift work should go to a licensed marine contractor, and most in-water work needs a permit before you start.
Verify this against a primary source
Specifics change, and your situation may differ from the one described here. These are the authorities worth checking directly:
- ABYC — marine electrical and construction standards
- U.S. Army Corps of Engineers — permitting for work in navigable waters
- NOAA Tides & Currents — tidal range and water level data for your site