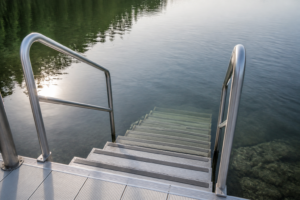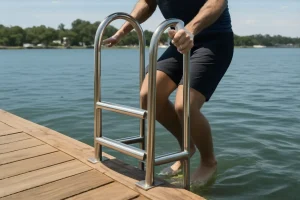
If you want to build a dock ladder, you have probably already shopped for one. I did too. Most docks fit a standard commercial ladder, and most people should simply buy one. Our dock ladder buying guide covers what to look for. This post is for the cases where buying fails: unusual freeboard, a wide tread requirement, or a mounting face that no off-the-shelf bracket fits. I have built two of these on my own dock, and I will walk you through the reasoning behind every measurement.
Start With Freeboard, Measured at Two Water Levels
Freeboard is the vertical distance from the walking surface of your dock down to the water. That single number drives the entire design. Get it wrong and nothing else you do will save the ladder.
I measure freeboard at high water and at low water, every time. On my dock, the difference is roughly 14 inches on an ordinary day. A steady onshore wind can push that gap wider. Use a tape, measure from the deck edge where people actually climb, and write both numbers down.
Why two numbers? The high-water figure tells you how far up the ladder must reach. The low-water figure tells you how far down the bottom rung must sit. Designing from one number is the most common mistake I see in forum posts. Someone measures on a calm afternoon and builds a ladder that dangles uselessly during the next high tide.
Total Length and Submerged Rungs
Total length runs from your top mounting point to the bottom rung. I aim for the bottom rung to sit about 18 inches below the lowest water level I have ever recorded on my dock. That gives a swimmer a solid foot placement even when the tide is out and the wind is down.
Next, count how many rungs stay submerged at high water. At 11-inch spacing, a 44-inch difference between high and low water means roughly four rungs sit in the water at high tide. That is normal. Submerged rungs are the reason you need corrosion-resistant material from top to bottom, not just on the parts you see.
Rung Spacing Matters More Than the Exact Number
Rung spacing should fall in the 10 to 12 inch range. I use 11 inches center to center. Honestly, the exact figure matters less than consistency. Your foot learns the rhythm of the ladder without thinking about it.
Uneven spacing causes missteps. A wet foot reaching for a rung that sits two inches farther than the last one will slip. I mark every rung location from one reference line, then check the set twice before drilling. Consistency is cheap insurance.
Tread Width, Tread Depth, and Why Flat Beats Round
Tread is the part your foot actually stands on. Most commercial ladders use round tube for rungs, which is simple to buy and simple to grip with a hand. For a foot, however, round tube is a poor choice. It rolls under a wet sole, and it gives you almost no surface to balance on.
That is why I build with flat treads. A flat tread gives your foot a stable plane. I keep tread depth, meaning the front-to-back surface you stand on, at no less than 3 inches. Tread width, side to side, should span most of the distance between your stringers, which I space about 16 inches apart.
If your dock needs a wide tread, this is where the homemade route earns its keep. I built one for a neighbor’s grandkids who wanted to stand side by side while climbing out. Flat treads made that possible. Round tube would have made it dangerous.
Choosing Materials for a Saltwater Environment
Material choice decides how long your ladder lives. In my experience, saltwater is unforgiving. It finds every weak spot, especially at cut edges and fastener holes.
6061 Aluminum Tube and Angle
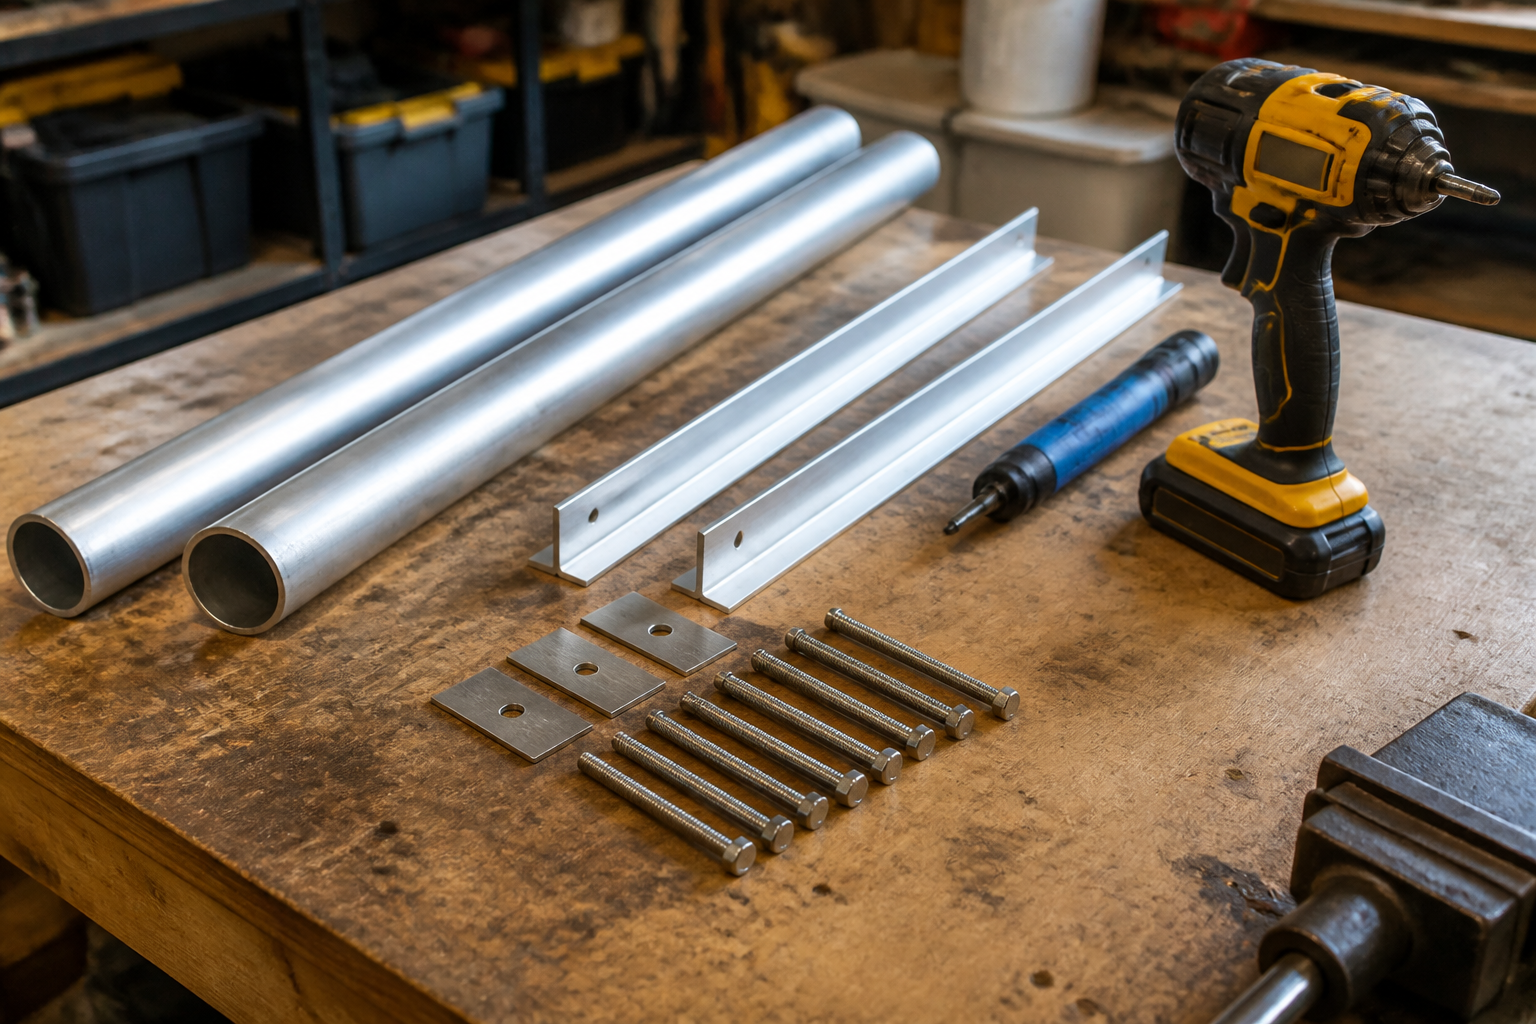
My first choice is 6061 aluminum tube and angle, typically in the T6 temper. It is light enough to lift alone, which matters when you are standing waist-deep trying to position a rung. It resists corrosion well in marine use when properly isolated from dissimilar metals, which I cover below.
My last build, a five-rung ladder with flat aluminum treads, cost me roughly $380 in material. That included the tube, angle, bolts, and washers. The stainless hardware alone added about $65 of that total, and I do not regret a penny of it.
Hot-Dip Galvanized Steel
Hot-dip galvanized steel is the budget alternative. It is heavier, and it is harder to handle in the water. Still, it is strong and inexpensive. A comparable steel version cost me about $240 in material on a previous project.
The catch is the cut edge. Every time you drill, cut, or file galvanized steel, you expose bare metal. I touch up those spots with a zinc-rich cold galvanizing compound. Skip that step and rust starts within months. I learned that from a steel railing I left unfinished for one season.
Why Wood Is a Poor Choice Below the Waterline
I have seen many wooden ladders fail, and I have built one myself that did not last. Wood swells, checks, and rots where it stays wet. Fasteners loosen as the wood moves around them. Below the waterline, marine organisms and constant wetting finish the job quickly.
Pressure-treated lumber has a place on the dock, just not in the ladder rungs. I use it for mounting blocks above the waterline only. Everything that touches saltwater should be metal, and everything metal should be chosen with care.
Bolted Construction Versus Welding
Let me be honest about welding. Joining aluminum well takes TIG equipment, practice, and a clean shop environment. Joining steel takes skill too, and a weld that looks fine can hide poor penetration. Most home shops do not have the setup, and I do not either. Welding is beyond most of us.
Bolted construction is the realistic DIY path. Mechanical fasteners let you assemble, test, adjust, and replace parts. They also let you inspect joints every season. A bolted joint shows you its condition. A weld often does not.
Use bolts sized for the load and the material. On my build, I used 1/4-inch and 5/16-inch stainless bolts through the angle brackets. Choose bolt length so at least two full threads extend past the nut. Short bolts are a quiet failure waiting to happen.
Mounting Through the Stringer, Not the Decking
This is the step that separates a solid ladder from a dangerous one. Never mount a ladder into decking boards alone. Decking is designed to span between joists, not to hold a climbing person’s full weight at the edge. Boards split, screws pull out, and the ladder comes away with them.
Instead, mount through a stringer or a doubled framing member. A stringer is the structural member running under the decking, often a 2×10 or 2×12 on a typical residential dock. A doubled framing member is two boards fastened together to create a stiffer, more robust anchor point. Your mounting bolts should pass through solid structure.
Backing Plates and Load Spread
Backing plates spread the load across more wood fibers. On my dock, I use a stainless or aluminum plate roughly 6 by 6 inches on the underside of the stringer. The bracket bolts through the deck structure into that plate. The plate prevents the bolt head or nut from crushing into the wood under load.
Use washers on both sides of every connection. Put a larger washer under the nut and a fender washer where the bolt meets the plate. That spreads the clamp load and keeps the joint tight through seasonal wood movement.
Hardware, Galvanic Isolation, and the Lesson I Learned
Use 316 stainless steel for fasteners. If you are still deciding between grades, read my 316 vs 304 stainless comparison. The short version: 316 holds up better in chloride-rich salt air and water, and that is what your dock sees every day. The fastener selection details are in my post on best fasteners for saltwater docks, including the ones I threw away.
Now the critical point. Aluminum and stainless steel are dissimilar metals. In saltwater, they form a galvanic couple, and the aluminum corrodes faster where the two touch. Stainless is the more noble metal, so it protects itself while the aluminum sacrifices itself. Galvanic isolation breaks that connection.
I isolate every stainless bolt that passes through aluminum. I use nylon isolation sleeves through the holes, nylon washers under the heads and nuts, and a dielectric compound on threads. I also keep the bracket faces separated from bare aluminum with a nonconductive gasket.
Here is the lesson I learned the hard way. On my first ladder, I ran a stainless bolt straight through an aluminum tube with no isolator. Within one season, the aluminum around that hole was pitted, and the bolt was seized in place. I had to cut the bolt out with a rotary tool. Skip the isolators, and you will pay for it later.
Deburring and Edge Finishing So Nobody Gets Hurt
Sharp edges are the most overlooked hazard on a homemade ladder. A saw-cut tube end can open a shin in one slip. I spend more time on finishing than most people expect, and I think it is worth every minute.
Here is my finishing sequence. First, I file every cut edge with a flat file to remove burrs. Next, I break the corners with 80-grit sandpaper, then move to 120-grit for a smooth feel. Finally, I plug the open ends of hollow tube so water and debris cannot collect inside.
Run your hand along every edge while wearing a glove, then again bare-handed. If you feel a catch, sand it again. Round the tread corners too, because feet and shins find them in the dark.
Flip-Up and Removable Designs for Winter and Storms
A permanent ladder is not always the right choice. On the Gulf Coast, I need my ladder out of the way during storm season and during the cold months when nobody swims. I built mine to flip up on a pin hinge at the top bracket. A spring-loaded locking pin holds it in the down position.
A fully removable design works too. Use two quick-release pins instead of a hinge, and store the ladder on a rack when you are done. Removal is the simplest answer for storm prep. Surge and debris can destroy a ladder left hanging in the water, so I remove mine before a storm threatens.
Whichever design you choose, test the locking mechanism every spring. A flip-up ladder that swings free in a breeze is a hazard. I have caught worn pins and loose clevis fittings this way, and each one was an easy fix when I found it early.
Load Testing, Honest Limits, and Inspection
I need to be direct here. I cannot stamp or certify a homemade ladder, and nobody should imply that a DIY ladder carries a rated capacity. I am a waterfront homeowner, not an engineer or a licensed contractor. What I can offer is a method for reasoning about safety and checking your work honestly.
Static Load Testing
Before anyone climbs the ladder, I load it statically. I use sandbags or five-gallon water jugs, roughly 42 pounds each when full. I load to at least double the weight of the heaviest person who will use the ladder. Then I place the load on individual rungs, at the midpoint, and near the top bracket.
Hold each load for at least five minutes. Watch for visible deflection, creaking, bolt movement, and any gap opening at a joint. Then unload and check again. Anything that changed under load needs correction before the ladder goes in service.
Failure Modes to Watch
In my experience, most homemade ladder failures come from a short list of causes. Watch for these specific problems:
- Bolts pulling through decking because the ladder was never mounted to a stringer.
- Elongated bolt holes from repeated loading, usually in aluminum or cheap steel.
- Cracks at tube ends or near drilled holes, where stress concentrates.
- Galvanic pitting at isolated joints that were not isolated properly.
- Rot or softening in any wood that sits near the mount.
- Rungs that rotate under a foot, meaning the attachment has loosened.
Inspecting After the First Season
Inspect the mounting after the first season, without exception. Remove the bolts, look for elongation and corrosion, and re-torque everything. I also check the backing plates for movement. Mark any joint that shows change, and replace the part instead of hoping it holds.
Also check with your local governing body before you build. Rules for shoreline structures vary by county, city, and harbor authority. Confirm what applies to your property, and ask whether a permit is needed. I cannot tell you what your jurisdiction requires.
When should you hire someone? Call a professional if your stringers look soft, if the dock sits on pilings you cannot inspect, or if the mounting face needs major structural work. Your safety margin shrinks fast in those cases.
Final Checks Before You Build a Dock Ladder
Before you build a dock ladder of your own, run through this sequence. Measure freeboard at high and low water. Set your bottom rung about 18 inches below the lowest water you have recorded. Space rungs consistently at 10 to 12 inches. Use flat treads at least 3 inches deep. Choose 6061 aluminum or hot-dip galvanized steel, and avoid wood below the waterline.
Mount through a stringer or doubled framing member, use backing plates, and isolate every stainless fastener from the aluminum. Deburr and round every edge. Load test well above your heaviest expected user, and inspect the mounting after the first season. Pair the ladder with the gear you keep on hand, as outlined in the safety kit every dock should have. For the broader picture of dock upkeep, see the complete guide to building and maintaining your own dock.
If any step feels uncertain, stop and get help. A ladder that holds a test load today can still fail after a storm, a season of corrosion, or one careless mount. Build it carefully, inspect it honestly, and keep it out of the water when conditions turn.
About This Article

Written by Trent Hollis. Waterfront homeowner turned DIY obsessive. After two decades tinkering with my own dock, seawall, and boat lift on the Gulf Coast, I share everything I've learned about waterfront construction, boat lift maintenance, and coastal living projects. More about this site.
Scope and limits. Trent is a waterfront homeowner, not a licensed marine contractor. Structural, electrical, and lift work should go to a licensed marine contractor, and most in-water work needs a permit before you start.
Verify this against a primary source
Specifics change, and your situation may differ from the one described here. These are the authorities worth checking directly:
- ABYC — marine electrical and construction standards
- U.S. Army Corps of Engineers — permitting for work in navigable waters
- NOAA Tides & Currents — tidal range and water level data for your site