If you are searching for dock ladders for seniors, you probably have a parent, a partner, or yourself who can no longer pull a full body weight up a rung. I hear this question more than any other from people on the water. The honest answer is that a vertical ladder is often the wrong tool. Angled stairs with real handrails usually work better. Here is how I think about the build, with the numbers I use on my own dock.
If you are still comparing ladder models, the Best Dock Ladders for Easy Climb-Out guide covers load ratings, rung counts and corrosion. I won’t repeat that material here. This post covers the other problem: getting in and out when climbing is the thing you can no longer do.
Why a Vertical Ladder Is Usually the Wrong Answer
What a ladder asks your body to do
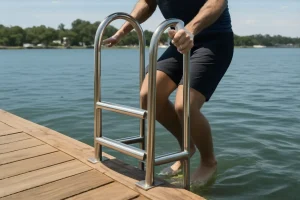
A ladder asks you to lift your entire body with your arms. Your legs push, but your hands do most of the lifting. Every rung also requires you to face the ladder, let go with one hand, and move a foot to a new spot. That is a lot of coordination while wet.
I tested this on my own dock years ago. I climbed my swim ladder using mostly arms, then tried it using mostly legs. Both methods were tiring, and my grip gave out first. Anyone with reduced grip strength or poor balance will struggle the same way. Speaking from my own experience, a ladder becomes a test of upper-body strength.
Where stairs win
Stairs let you face forward. You place each foot on a tread, shift weight through your legs, and keep both hands on rails. You can pause on any step without losing your position. You never have to reverse direction at the top, which is where many people lose their footing on a ladder.
That said, stairs are not free. They take more space, more material and more planning. They also get slippery in exactly the same ways a ladder does. The rest of this post explains how to build them so they actually help.
Step Rise, Run, and Why Ladder Rungs Are Not Stairs
The numbers I design to
Stair geometry uses two measurements. The rise is the vertical height of each step. The run is the horizontal depth of each tread. A ladder uses only one measurement, the spacing between rungs, which usually runs 10 to 12 inches on dock models.
For this reader, I design to a rise of 7 inches or less. The ADA stair provisions set a maximum of 7 inches, and I use that as my ceiling. My treads run 11 to 12 inches deep. A common rule of thumb says twice the rise plus the run should land between 24 and 25 inches. A 7-inch rise and 11-inch run gives you 25, which is comfortable.
Compare that to a rung. A 12-inch rung spacing is roughly 70 percent taller than a 7-inch rise. For someone with a stiff knee or limited hip range, that gap is the difference between a smooth step and a dangerous reach. This is why I say a ladder is not a shorter stair. It is a different geometry entirely.
Tread width and depth
I build stairs at least 36 inches wide between the handrail posts. That leaves room for a person to stand square with a hand on each side. Thirty inches is the practical minimum for one person. Anything narrower feels cramped, and it discourages people from using the rails properly.
Tread depth should be at least 11 inches. I use 12 when the dock layout allows. Keep the nosing projection, the lip that sticks out past the riser, to about 1 1/2 inches or less. A deep nosing catches toes. Specifically, a toe that catches on the lip at dusk is one of the most common falls I have seen on docks.
Handrails on Both Sides, at the Right Height
Height, grip diameter, and extensions
Handrails belong on both sides of the stair. A rail on one side forces the user to turn, and it leaves one hand free to grab nothing. Both hands need something solid. I mount rails so the gripping surface sits 34 to 38 inches above the stair nosing. I aim for 36 inches, which suits most adults.
The grip diameter matters too. The ADA handrail provisions call for a circular grip between about 1 1/4 and 2 inches. I use 1 1/2-inch material because it closes the hand comfortably without requiring a wide reach. Extend each rail at least 12 inches past the top and bottom step, so the user has something to hold before the first step and after the last one.
These ADA numbers are a reference, not a legal requirement for a private dock. A residential dock is not a public facility, so those provisions do not apply to you by law. I use them because they describe what real bodies can grip and reach. That is the only reason I cite them.
Continuous grab rails versus a single assist rope
A single assist rope is the cheapest option, and I see it on many docks. It sags, it stretches, and it twists in the hand. You cannot push or lean on it with confidence. When it gets wet, it can become slick and hard to close a grip around. A rope tied to a cleat is not a substitute for a rigid rail.
A continuous rigid rail runs the full length of the stair on both sides. It stays where it is, and it supports a pull, a push and a lean. I consider the rope a supplement for a rigid rail, never the primary support. Keep a rope if you like, but do not count on it alone.
Hardware: the mistake I made
I learned this the hard way on my own dock. My first rail used deck screws driven into the rim joist. It looked solid. The first time I leaned my full weight on it, the top bracket started to pull out of the wood. Nothing broke, but I found the wiggle with my hand before I found it with my body.
I pulled the whole rail and rebuilt it with through-bolts into the posts, using washers on both sides. Stainless fasteners are non-negotiable in salt air. If you are weighing stainless grades, read 316 vs 304 Stainless before you buy, because the cheaper grade rusted out on me within a few seasons.
How Many Steps Must Stay Submerged
Why standing beats hauling
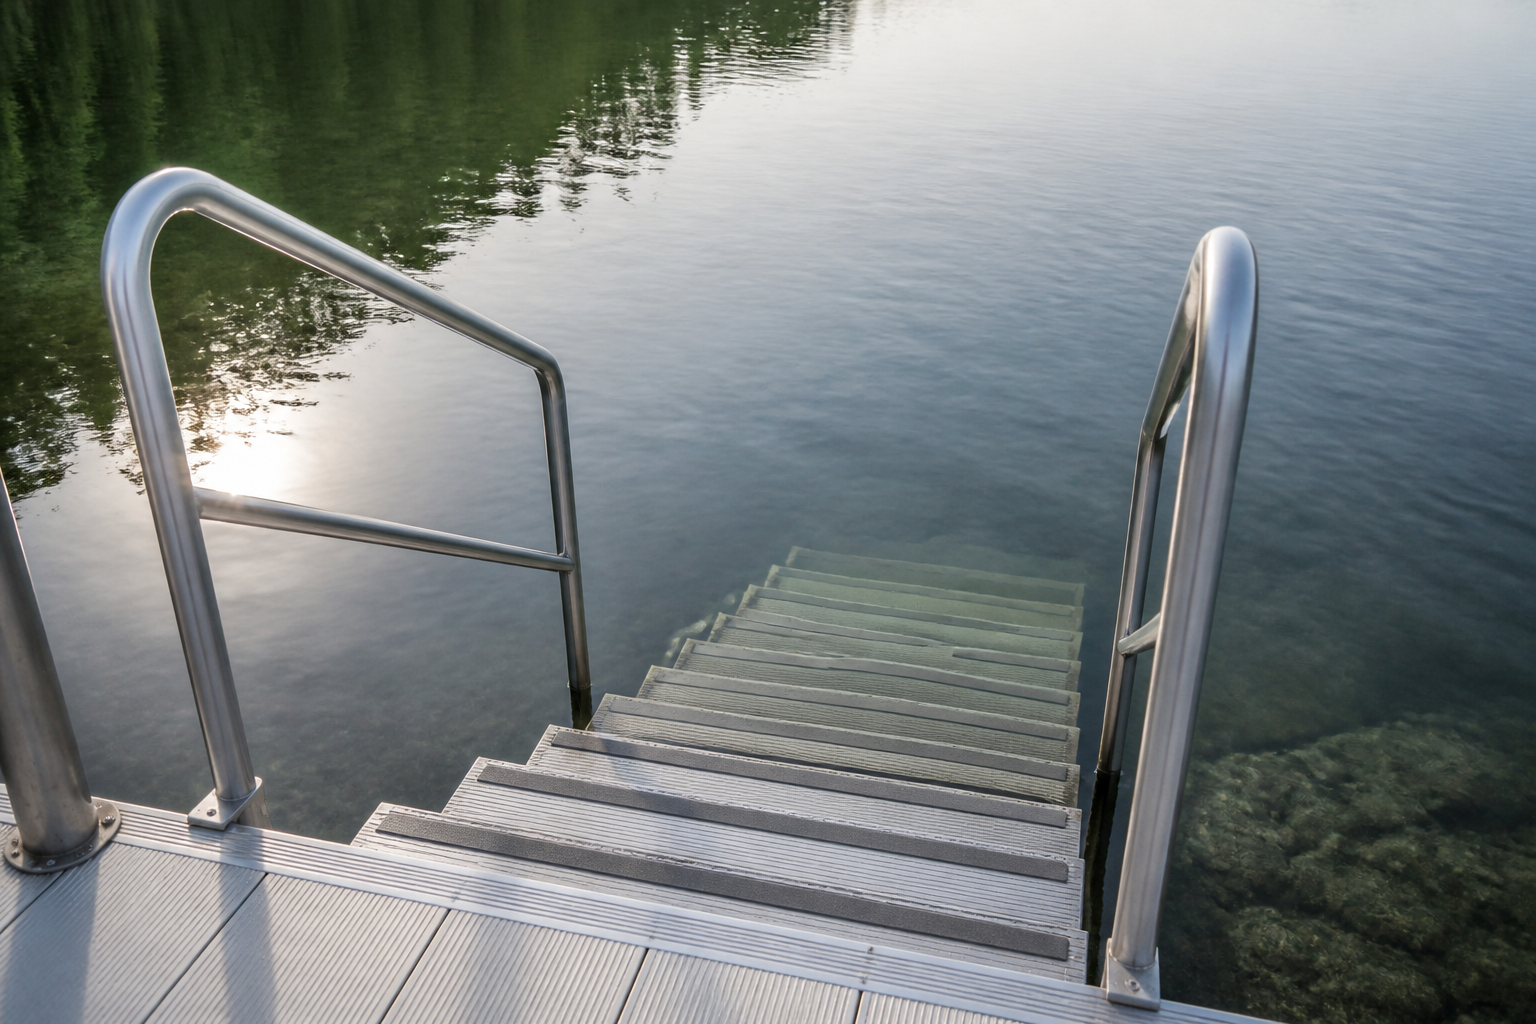
The best stair is one where the user stands in the water and steps up onto a dry tread. Standing uses leg muscles and gives the body a solid base. Hauling out of the water uses the arms and back to lift the full weight, and it is the position where most people lose balance. Your submerged treads decide which one happens.
Setting the bottom tread
Start by measuring the low water on your dock. Check the water level on a calm day at the lowest tide you expect, and note the deck height above it. On my dock, the deck sits about two feet above normal low water. With 7-inch risers, that puts my third tread below the surface at low water.
My target is at least three treads submerged at the lowest water level I expect. The bottom tread should sit at least 12 to 18 inches under that low line. That gives a user something solid to stand on, with water around the legs, before the first step up. Specifically, you want the water to hold the body up at the bottom, not drop someone into soft silt.
The Gulf Coast water in my cove moves about a foot between typical low and high levels. Wind can push it further. That is why I design for the low end. A stair that works at a flat calm may leave the bottom tread exposed during a spring low, and it may bury the bottom tread in mud at a high tide.
Non-Skid Surfaces That Stay Grippy When Wet
What fails first
Smooth treads fail first. Capped composite and sealed hardwood can feel fine when dry, then turn slick under a film of algae. Painted wood is worse. Once the paint wears through in one spot, the surface is unpredictable. Algae grows fastest on shaded, low, wet steps, which describes most dock stairs.
I look for two things: a textured surface that stays rough as it wears, and a surface that drains water fast. Grooved boards help with drainage. Grit-embedded coatings, usually aluminum oxide in a range around 60 grit, add grip on boards that would otherwise be slick. Nosing strips in a contrasting color help the eye find the edge of each tread at dusk.
Keeping it grippy
Grip fades without maintenance. I scrub the treads every four to six weeks through warm months with a soft brush and a mild cleaner, then rinse well. I skip pressure washers on grit coatings because they strip the texture. In my experience, a monthly scrub keeps the treads safer than any coating alone.
Surface temperature is a separate issue. Dark composites can get hot enough to hurt bare feet by midday. I covered that in The Decking Mistake That Cooks Your Bare Feet by Noon, and the same material choices apply to stair treads.
A Transfer Platform and Bench Before the Water
Why a sitting point matters
Many people need to sit before they enter the water or after they leave it. A transfer platform gives them a stable place to do that. Without one, they stand on a wet deck edge and turn their body around, which is exactly the motion that causes falls. A bench lets them sit first, then swing their legs over the edge.
I build benches at the top of the stair, not at the water. The bench should be level with or slightly below the dock deck, so the user does not step up or down to reach it. My standard seat height is 17 to 19 inches, which matches a typical chair. A bench that is too low forces a hard rise to stand, and one that is too high forces a drop.
Dimensions and anchoring
Plan at least 36 inches wide and 24 inches deep for the bench footprint. Add a backrest and at least one armrest if the layout allows. Anchor the bench through the deck into the framing, not into the decking boards alone. I tested mine by standing on the edge and rocking it side to side before I trusted it.
Whether a bench suits a particular person is a question for their own clinician or therapist. I can tell you how I build one. I cannot tell you whether it is right for someone’s body or condition.
Lighting the Steps for Dusk
Low-voltage LED, placed carefully
Dusk is when most dock falls happen. Shadows hide the nosing, and wet treads reflect sky instead of showing texture. Light each tread edge, not the water. I use low-voltage LED strips or puck lights under the handrails, pointing down onto the treads. Warm white around 2700 to 3000 Kelvin reads better for edges than harsh cool light.
Place a switch at the top of the stair, within easy reach from the deck. I use a dusk sensor on mine, so the lights come on before anyone needs them. A basic low-voltage kit for a short stair runs roughly $150 to $300 in my experience, and the fixtures add to that cost. Expect the whole job to take a weekend if the wiring route is simple.
Wiring near salt water is where I stop being a homeowner and start being careful. Connections need to be sealed and protected, and the power supply needs proper ground-fault protection. I am not an electrician. Have a licensed electrician do the connections and confirm the layout meets your local rules.
Where DIY Stops and a Contractor Starts
Retrofits that need a professional
Some jobs are past the point where I would pick up a drill. Cutting into a stringer changes the load path of the whole stair, and a bad cut can fail under weight. Widening a dock to fit a stair run changes the framing, the footings and possibly the pilings. Those jobs need an engineer or a qualified marine contractor, not a weekend project.
Ask a contractor before you start if your stair will land on a new footing, change the deck’s support, or sit close to the seawall or lift. Permits are a real factor. Your local building department or harbor authority decides what needs approval. Confirm the requirements locally before you order materials.
Rough costs
These are ballpark figures from the pricing I have gathered, and they vary widely by region and materials. A prefabricated aluminum stair kit with rails often runs $400 to $1,200 before installation. A DIY stainless and composite build with rails, treads and bench might run $1,200 to $3,000 in materials. A contractor install for a full stair with rails commonly lands somewhere from $3,000 to $8,000 or more.
If you are planning the whole dock around this change, the Complete Guide to Building and Maintaining Your Own Dock walks through framing, decking and the sequence I use. Read it before you commit to a layout.
Bottom Line on Dock Ladders for Seniors
For most people who cannot pull their own weight up a vertical rung, the right answer is not a better ladder. It is an angled stair with a 7-inch rise, 11 to 12-inch treads, at least 36 inches of width, and rigid handrails on both sides at about 36 inches high. Those numbers come from the ADA reference, and from years of trial and error on my own dock.
Get the submerged treads right first. Count at least three under water at your lowest normal level, so the user stands in the water instead of hauling out of it. Add a textured, wet-safe surface, a bench at the top, and lighting that shows every nosing at dusk. Use stainless hardware through-bolted into the posts, and never rely on a single rope.
Know where your skills end. Keep the layout and the simple rails in your own hands if you are comfortable with them. Bring in a contractor for stringer cuts, dock widening, new footings and any electrical work. Check local rules before you start, because the governing body in your area decides what needs approval.
Dock ladders for seniors work best when they become stairs, with rails you can trust and steps you can stand on. Build for the body that will use it, not the one that built it.
About This Article

Written by Trent Hollis. Waterfront homeowner turned DIY obsessive. After two decades tinkering with my own dock, seawall, and boat lift on the Gulf Coast, I share everything I've learned about waterfront construction, boat lift maintenance, and coastal living projects. More about this site.
Scope and limits. Trent is a waterfront homeowner, not a licensed marine contractor. Structural, electrical, and lift work should go to a licensed marine contractor, and most in-water work needs a permit before you start.
Verify this against a primary source
Specifics change, and your situation may differ from the one described here. These are the authorities worth checking directly:
- ABYC — marine electrical and construction standards
- U.S. Army Corps of Engineers — permitting for work in navigable waters
- NOAA Tides & Currents — tidal range and water level data for your site