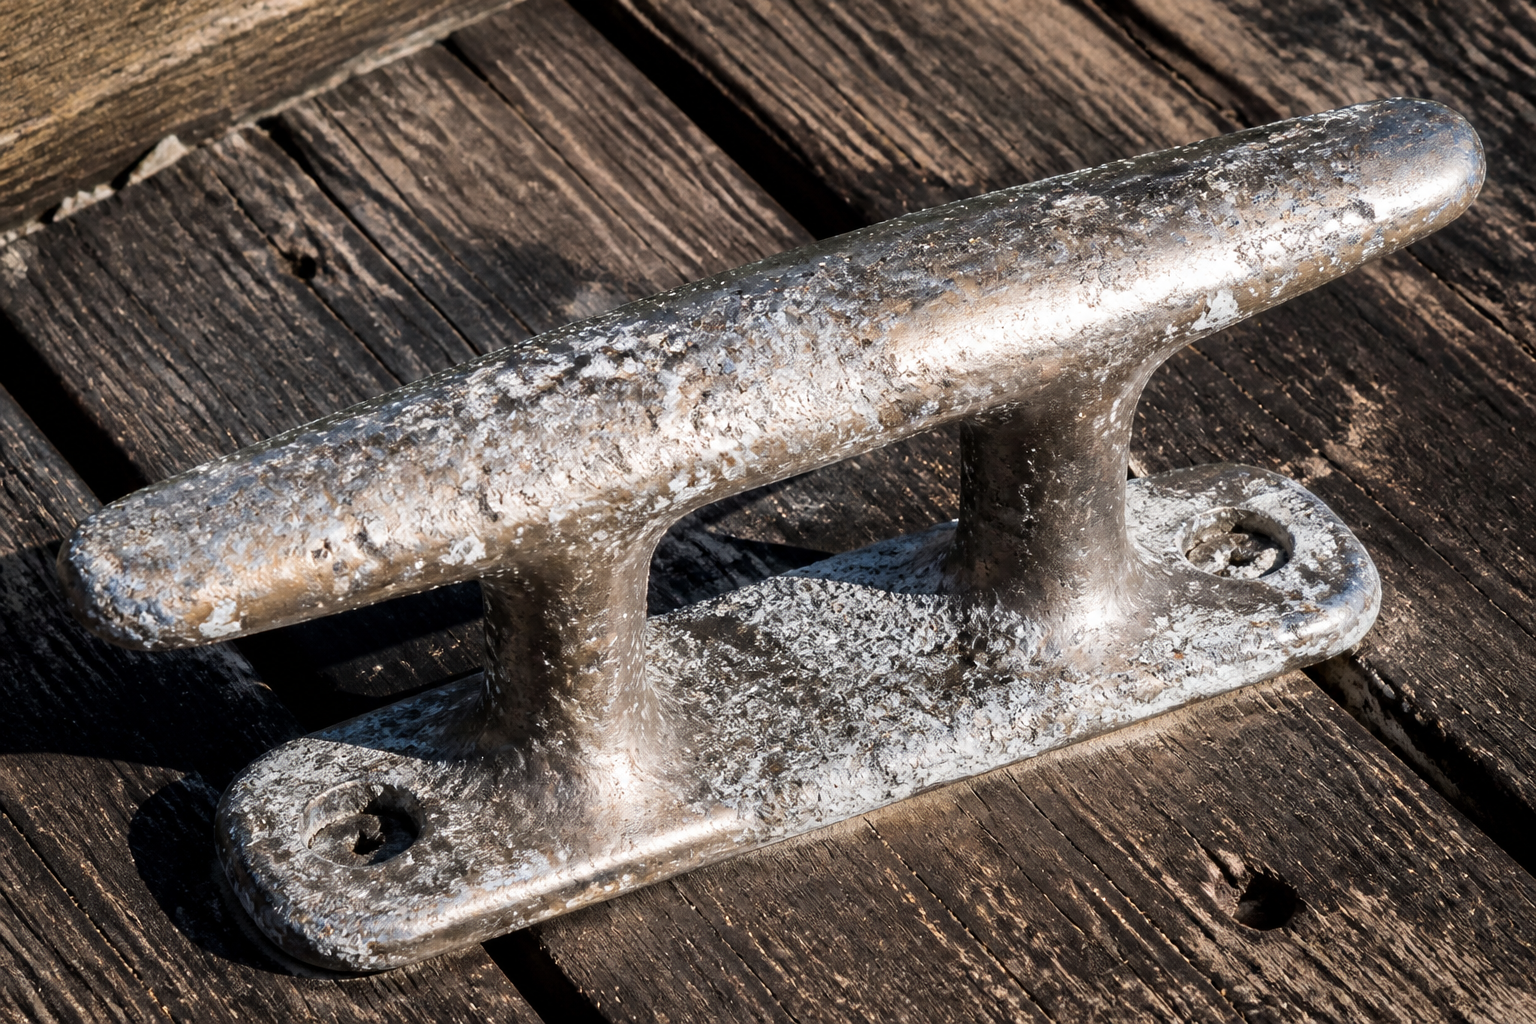
Dock hardware fails silently until the moment it doesn’t. A cleat pulls free under a boat’s weight. An eye bolt snaps in a storm. A bitt cracks and suddenly your mooring system is compromised. By then, you’re either lucky enough to catch it during routine tie-up, or you’re facing a more serious problem.
The good news: corrosion on cleats, eye bolts, and bitts announces itself weeks or months before catastrophic failure, but only if you know what to look for.
Why Dock Hardware Corrodes Faster Than You Think
Salt air and saltwater are relentless. Even stainless steel—the default for most dock hardware—corrodes when exposed to marine environments for years without maintenance. Galvanized steel fails faster. Mild steel fails quickest of all.
The corrosion doesn’t happen uniformly. It starts as microscopic pitting, invisible at first glance. Over time, pitting deepens, stress concentrates, and the metal’s load-bearing capacity shrinks. Eventually, a fastener that was rated for 500 pounds of tension can’t handle 200.
The irony is that corrosion is often invisible until it’s advanced. You can’t see subsurface degradation. But you can see the warning signs on the surface—and that’s your window to act before failure occurs.
The Three Signs of Hardware Corrosion
1. White Powder or Chalky Coating
This is galvanic corrosion at work. When dissimilar metals touch in a salty environment—say, a stainless steel cleat bolted to a galvanized backing plate—electrons flow and oxidation accelerates.
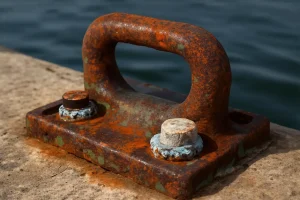
Look for a white, gray, or sometimes bluish powdery residue around bolt heads, under fasteners, and where hardware meets wood or metal. Wipe it away; it returns quickly. This powder is aluminum oxide, magnesium hydroxide, or zinc oxide, depending on which metals are involved. Its presence means active corrosion is underway.
2. Pitting and Surface Cratering
Run your hand (carefully—sharp edges) over the surface of a cleat, eye bolt, or bitt. You’ll feel the difference between smooth metal and pitted metal. Pitting looks like small craters or dimples, sometimes clustered, sometimes scattered across the surface.
Light pitting is cosmetic for another season or two. Deep, dense pitting—where craters merge or you can clearly see into them—signals that corrosion has penetrated the protective layer and is consuming base metal. This is where strength degrades.
Pay special attention to the base of cleats where they meet the dock structure, and to the neck of eye bolts where the eye transitions to the shaft. These stress-concentration zones corrode faster and fail first.
3. Discoloration and Rust Staining
Rust staining below hardware isn’t always a sign the hardware itself is failing, but it often is. Look for orange, brown, or reddish streaks running down from a cleat or bitt onto the surrounding wood or concrete.
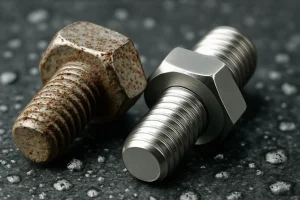
Similarly, if the hardware has lost its bright metallic sheen and taken on a dull, dark, or mottled appearance, the protective oxide layer has been compromised. Stainless steel should look, well, stainless. If it looks patchy or discolored, corrosion is active.
Black or dark brown corrosion on stainless hardware is especially concerning because stainless can fail suddenly without obvious pitting; the corrosion happens subsurface and underneath.
How to Inspect Your Dock Hardware Systematically
Start at the mooring points. Every cleat, eye bolt, and bitt that’s regularly under load should be inspected at least twice yearly—spring and fall.
Check three zones for each piece:
- The mounting surface — where the hardware meets the dock. Lift or peer underneath. Look for white powder, corrosion product, or discoloration.
- The working surface — the part that receives rope or makes contact. Cleats should be smooth and bright. Corrosion here affects rope grip and accelerates wear.
- Fasteners and welds — the bolts, nuts, and welds holding the hardware down. These are the first-failure points. They’re exposed to salt spray, and dissimilar metals often meet here.
Brush away any loose corrosion product with a stainless steel wire brush (do not use carbon steel; it’ll leave behind iron particles that accelerate further corrosion). If new corrosion returns within a few weeks, replacement is coming soon.
Document what you see. Take photos of discolored areas, pitting, or rust staining. Compare photos month to month. Rapidly accelerating corrosion is a red flag that replacement can’t wait until next season.
Material Options for Replacement
When corrosion dictates replacement, you have choices that affect longevity:
| Material | Pros | Cons | Best For |
|---|---|---|---|
| Stainless Steel (316) | Highest corrosion resistance; low maintenance; looks professional | Higher cost; can pit in severe salt exposure; dissimilar-metal corrosion if bolted to other metals | Primary mooring points; visible hardware; long-term planning |
| Hot-Dip Galvanized Steel | Moderate corrosion resistance; affordable; thick protective layer | White powder corrosion; shorter lifespan than stainless; heavier; requires periodic maintenance | Secondary hardware; budget-conscious owners; freshwater or lower-salinity environments |
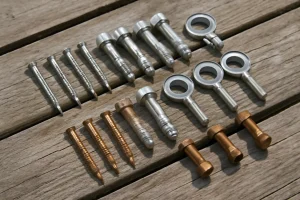
| Aluminum Bronze or Silicon Bronze | Extremely corrosion-resistant; develops protective patina; won’t corrode other metals nearby | Expensive; less common (harder to source); can be brittle | High-end installations; areas with severe galvanic issues |
I’d lean toward 316 stainless for primary cleats and bitts, with the understanding that even stainless requires inspection and occasional freshwater rinsing. It’s the practical middle ground between cost and longevity.
The Replacement Process
Replacing a corroded cleat, eye bolt, or bitt doesn’t require a licensed professional, but it does require care.
- Secure the dock. Remove or deflect any load on the hardware being replaced. If a cleat is under tension from a boat line, move the boat first.
- Remove fasteners. Use the correct wrench or socket size—stripped fasteners are frustrating and weaken the replacement’s hold. Penetrating oil (applied 30 minutes prior) helps loosen stubborn bolts.
- Extract the old hardware. Cleats and bitts are usually bolted or bolted-and-welded. If welded, you’ll need to cut them out or call a licensed welder.
- Clean the mounting surface. Wire-brush the area where the new hardware will sit. Remove all corrosion and loose material. This ensures tight contact and prevents new galvanic corrosion from forming underneath.
- Install the replacement. Use new fasteners (don’t reuse old ones—they’ve lost integrity). Apply a thin coat of waterproof grease or marine-grade sealant under bolt heads and around the base. Hand-tighten first, then use a wrench to achieve snug (not over-tight) tension.
- Test before loading. Give the new hardware a few days to settle, then test it under light load before trusting it with your boat’s full weight.
Prevention Between Replacements
Corrosion can’t be stopped, but it can be slowed:
- Rinse hardware with fresh water monthly during heavy-use seasons. Salt deposits accelerate pitting.
- Avoid mixing metals unnecessarily. If you’re replacing a cleat, replace its fasteners with stainless-steel bolts and washers too.
- Apply a thin coat of marine grease to fasteners and the base of hardware annually. This creates a barrier to salt spray and slows oxidation.
- Keep the dock surface clear so water doesn’t pool around hardware bases.
When to Call a Professional
If hardware is welded to the dock structure, or if replacing it requires cutting, grinding, or re-welding, call a licensed welder or marine contractor. Improper welding weakens the structure or creates new corrosion vectors.
Similarly, if you’re unsure about load ratings for replacement hardware (especially for primary mooring points), consult a licensed marine contractor or dock engineer. Undersized hardware can fail under storm loads or full-boat weight.
The Bottom Line
Corroded dock hardware is a warning, not a death sentence—if you catch it early. White powder, pitting, discoloration, and rust staining are all signals to begin planning replacement within the next season. Addressing these issues proactively means no surprises during a storm, no frayed rope searching for a failed cleat, and no costly emergency repairs.
Inspect twice yearly, document changes, and replace hardware before it fails. Your dock, and your boat, will thank you.
About This Article

Written by Trent Hollis. Waterfront homeowner turned DIY obsessive. After two decades tinkering with my own dock, seawall, and boat lift on the Gulf Coast, I share everything I've learned about waterfront construction, boat lift maintenance, and coastal living projects. More about this site.
Scope and limits. Trent is a waterfront homeowner, not a licensed marine contractor. Structural, electrical, and lift work should go to a licensed marine contractor, and most in-water work needs a permit before you start.
Verify this against a primary source
Specifics change, and your situation may differ from the one described here. These are the authorities worth checking directly:
- ABYC — marine electrical and construction standards
- U.S. Army Corps of Engineers — permitting for work in navigable waters
- NOAA Tides & Currents — tidal range and water level data for your site