Every spring, a neighbor stands on my ramp at dusk and asks the same question: what color should the dock lights be? I’ve answered it for twenty years on the Gulf Coast, and the honest answer is that dock lighting color matters more than wattage, brightness, or fixture style. The wrong color can blind you on your own deck, pull insects into your face, and disturb wildlife you’re legally required to protect. The right color makes the dock safer and more pleasant to use. This post covers what I’ve learned about picking color for above-water, deck-level, and piling-mounted lights. One quick note first: if you’re looking for lights to attract fish below the surface, that’s a different topic. Read my post on green vs white underwater dock lights instead. This article is about the lights above the waterline.
I’m a waterfront homeowner, not a licensed electrician, lighting designer, or marine contractor. Everything here comes from my own dock, seawall, and boat lift, plus informal help for neighbors. Check your local rules before you buy anything.
Kelvin Explained Without the Physics Lecture
Color temperature is measured in Kelvin, abbreviated K. The idea comes from heating a metal object. Heat iron to a low temperature and it glows deep red. Push it hotter and it turns orange, then yellow, then white, then bluish white. Lighting manufacturers borrowed that scale to describe their bulbs and LEDs.
The number runs backward from what most people expect. A low Kelvin number means a warmer, redder light. A high number means a cooler, bluer light. Here are the practical bands I use on my own dock:
- About 2200K: amber. Very warm, with almost no blue content.
- 2700K to 3000K: warm white. Looks like a good incandescent bulb.
- About 4000K: neutral white. Closer to a clean office fluorescent.
- 5000K and above: cool or daylight white. Bright, bluish, and harsh over water.
Kelvin is only part of the story. Two fixtures labeled 3000K can still look different depending on the LED chip and diffuser. Still, the number gives you a reliable starting point when you compare products.
Why Cool White Fails Over Water
Cool white looks fantastic in a driveway. It makes a parking lot feel safe and makes your car’s paint look crisp. I made the mistake of putting 5000K floods on my seawall in my first year. I thought brighter meant safer. I was wrong, and it took me a few months of squinting to figure out why.
The Glare Problem
Water reflects light in a mirror-like way. A wet deck reflects it too. Cool white has a lot of blue-spectrum energy, and that energy bounces off wet boards and moving water right back into your eyes. Your pupils constrict to handle the brightness. Then you step off the lit area into darkness, and your eyes need many minutes to readjust.
That is the trap. On a dark dock, the edge is the most important thing to see. A bright, cool surface hides the edge because the contrast between the lit deck and the black water is what tells your eye where the dock stops. Flood the surface with cool light and that contrast collapses. I’ve nearly stepped off the end of my T-head twice in the first year, and both times the cause was glare, not darkness.
Cool light also makes the water look blacker and deeper than it is. Gulf water at night is already hard to judge. Adding glare on top of that is a bad combination for anyone walking a dock barefoot.
Why Warm White at Low Height Reads the Deck Better
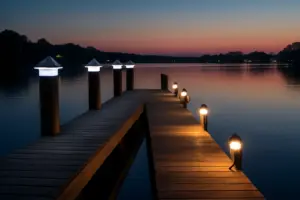
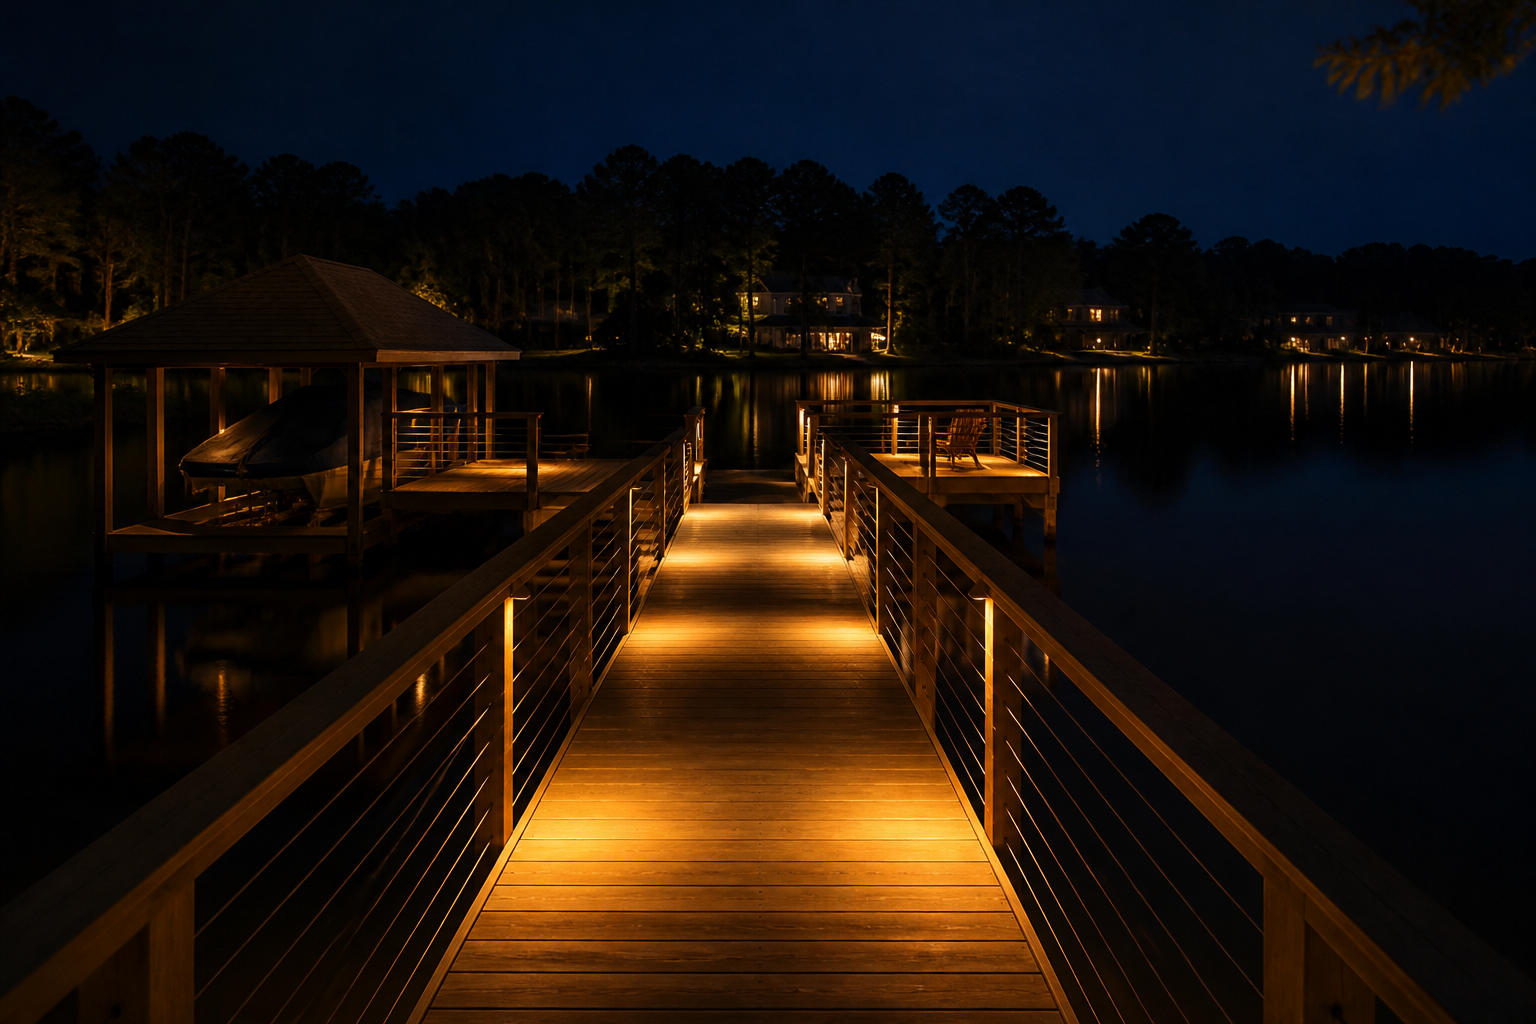
Warm white at 2700K to 3000K gives the eye a softer, lower-glare light. It reflects off wet wood without the sharp sparkle that cool light produces. The boards show grain, texture, and the slight slope of the surface. You can see a loose board or a wet patch before you put your weight on it.
Mounting height matters as much as color. I mount deck-level fixtures low, usually between 12 and 18 inches above the deck surface, and aim them down and back toward the walkway. Light at a steep downward angle from a high mount creates a glare ring on the water. Light at low height grazes the deck and gives you shadows that show texture. As a result, a modest 3000K fixture at knee height outperforms a bright 5000K fixture on a pole.
Amber: The Bug-Repelling, Turtle-Friendly Option
Amber lights sit around 2200K, and they are the most underrated choice on any waterfront. If you live near still water, you already know the problem. A white light on a dock is a bug magnet by sundown. Mosquitoes, midges, moths, and caddisflies swarm toward the glow and then pile up on the fixture, the railing, and you.
Why Amber Attracts Fewer Insects
Most night-flying insects navigate by shorter wavelengths, meaning blue and ultraviolet light. Amber emits very little of that part of the spectrum, which is why it draws far fewer bugs. I switched the ramp and the pier lights to amber in my second summer. The change was obvious within a week. Instead of cloud-thick clusters around the fixtures, I saw a handful of insects at most. I could sit on the end of the dock with a drink and actually enjoy it.
Amber is not perfect. It is dim for its wattage, and it makes everything look orange. That is why I use it selectively. I put amber on the path and ramp where I need insect relief, and I keep warm white on the deck where I need to read the surface.
Sea Turtle Lighting: The Three Rules
If your property is oceanfront or beach-adjacent in Florida or another southeastern coastal state, lighting is more than a comfort issue. Sea turtles nest on many beaches in that region. Hatchlings find the ocean by moving toward the brightest horizon, which is normally the sky over open water. Artificial light on the beach or visible from the beach can pull them inland. Nesting females can also be deterred by bright light.
Regulation of this lighting varies widely. It depends on your municipality, your county, and your state wildlife agency. I will not cite a specific statute or certification here, because I don’t want you relying on a number I might have wrong or that has changed. Call your local government and your state wildlife agency before you buy fixtures. Ask what applies to your specific shoreline.
The principle is consistent across most jurisdictions I’ve read about. Whatever the local rule, I follow three rules of thumb on my own property:
- Keep it low. Mount fixtures close to the deck or walkway so light stays on your property and does not spill across the beach.
- Keep it shielded. Use fixtures with opaque hoods or cutoff optics so the bulb or LED is not visible from the sand.
- Keep it long-wavelength. Use amber, around 2200K, because turtles are far less responsive to long wavelengths than to white or blue light.
Following all three rules also helps with insects and glare. Low, shielded, amber lighting is simply better lighting for a dock. That overlap is why I recommend it so often.
Red Light for Pre-Dawn Launches and Night Fishing
Red is the color I use when I’m working on the boat lift at 4:30 in the morning. Your eyes have two kinds of light receptors. Cones handle color and detail in bright light. Rods handle low light, and they take a long time to adapt. Rods are much less sensitive to long red wavelengths. A dim red light lets you see your gear and your footing without wrecking the dark adaptation that makes your eyes useful on the water.
I keep a red-mode headlamp and a couple of low-output red deck lights on a separate switch. The red lights are on a dimmer and never run at full power. When I need to find a line, check a tide chart, or load a cooler before a launch, the headlamp does the job. The deck lights stay dark until I need them. In my experience, that setup takes about two minutes to get used to and saves a lot of frustration on early mornings.
Color Rendering: When You Need to See True Colors
Color temperature tells you how warm or cool a light looks. Color rendering tells you how accurately it shows colors. The metric is the Color Rendering Index, or CRI, on a scale from 0 to 100. For dock work, I want a CRI of 90 or higher. Anything lower makes it hard to judge what you are actually looking at.
I need good rendering in two situations. The first is inspecting corrosion. Stainless hardware, aluminum rails, and galvanized brackets all show early corrosion as subtle color shifts. Under poor-rendering light, a green-white crust on a bolt can look like ordinary grime. I learned this the hard way. I missed early galvanic corrosion on a lift cable clamp because my old lights made the metal look uniform. Once I switched to higher-CRI fixtures, I could spot those changes at a glance.
The second situation is matching stain or paint. Amber light shifts every color toward orange and brown. Last year I tried to touch up a cedar rail under amber fixtures. The new stain looked right at night and wrong in daylight. Do any color-matching work under a light close to daylight, around 4000K to 5000K with a high CRI, or do it outside in daylight.
How Above-Water Color Interacts With Your Underwater Fish Lights
Above-water and underwater lights do not operate in isolation. Colors on both sides of the surface affect how the whole dock looks at night. Strong cool white overhead can wash out the glow of green underwater fixtures, so the fish lights look dim even when they’re working. Warm or amber overhead lights leave the underwater glow as the dominant color, which is usually what you want when you’re watching baitfish.
My recommendation is simple. Put the above-water lights on separate circuits from the underwater lights. Use warm white or amber above the surface. Then you can switch the deck lights off without losing the fish lights, or dim one set without affecting the other. Keep the wiring of submersible fixtures correct as well, using the approach in my guide on how to wire a submersible dock light safely, which covers the ABYC-based details.
Wired Dock Lights: Decide Color Before the Conduit Goes In
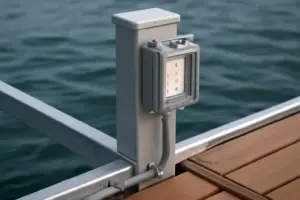
Color is easy to change on a 12-volt system and hard to change on a 120-volt one. That is the main reason I recommend deciding your color plan before any trenching starts. Once conduit is buried, your options are fixed unless you dig again.
If you’re weighing wired lighting against solar, I compared both in my post on solar vs wired dock lighting and what survived my winter. That post covers reliability. This section focuses on color and control.
12V Low Voltage Gives You More Color Choice
A 12-volt system runs from a DC driver or transformer. The low-voltage cable carries the power to the fixtures, which are typically LED. Because the LEDs are driven at low voltage, you can choose among warm white, neutral white, amber, RGB color-changing fixtures, and tunable white fixtures on the same run. Many of these fixtures are dimmable with a compatible controller, which lets you set a warm evening color and a brighter working color.
The catch is voltage drop. Low voltage over long runs loses brightness and can shift color, especially on RGB fixtures. My main run from the house to the end of the T-head is about 90 feet. I kept the home run as short as the layout allowed and used heavier-gauge cable than the minimum. I also checked the manufacturer’s voltage-drop guidance before buying. Do that math first. Don’t guess.
What My Setup Cost and Why Timing Matters
For my 12-volt deck and ramp system, I spent roughly $380 on the driver, low-voltage cable, connectors, and eight fixtures. Fixtures ran about $25 to $45 each for the simple ones and more for tunable white. A separate controller added around $60. The real cost was the trench. I did the low-voltage run during the first project and sized the conduit for later expansion. That decision saved me from a second dig.
I did not do that the first time. Two years later I wanted a 120-volt circuit for a receptacle and a floodlight near the boat lift. I had to trench again. The second conduit run and fittings cost me about $600 in materials, plus a rented trencher and a weekend of hard labor. Plan the whole color and power map before the first shovel goes in.
On the power side, any 120-volt work on a dock needs ground-fault protection, and that is non-negotiable near water. My guide on adding GFCI power to a dock safely and legally covers the protection side in detail. Read it before you plan any new circuit.
When to Stop DIY and Hire a Licensed Electrician
I’m comfortable doing low-voltage fixture swaps, aiming fixtures, and mounting deck-level lights. I am not comfortable doing panel work, new 120-volt circuits near water, or anything that touches a service connection. Those jobs belong to a licensed electrician who knows your local code and has the right tools. I don’t claim to be one, and I’d rather pay a professional than explain a shock to my family.
Before any project, I also keep basic safety gear on hand. Tools, insulated gloves, and a working ground-fault tester matter more than most people realize. My post on the safety kit every dock should have lists what I actually keep in my dock box.
Final Word: Choosing Dock Lighting Color Job by Job
There is no single best color for every dock. The right choice depends on the job. Here is how I’d map dock lighting color to your actual needs:
- Deck and walkway safety: warm white around 2700K to 3000K, mounted low and aimed down to reduce glare and show the edge.
- Insect relief and wildlife-sensitive shorelines: amber around 2200K, shielded, and mounted low.
- Pre-dawn launches and night fishing: dim red on a separate switch, so your night vision survives.
- Inspecting corrosion or matching finishes: high-CRI light near daylight color, or daylight itself.
- Fish lights below the surface: handled separately, in the color and wiring described in my underwater posts.
Cool white belongs on a driveway, not over water. Warm white belongs at low height on the deck. Amber belongs wherever bugs and wildlife matter. Red belongs on a dimmer for early mornings. Decide your dock lighting color plan before you dig, because the wiring you bury today sets the options you’ll have for the next twenty years.
About This Article

Written by Trent Hollis. Waterfront homeowner turned DIY obsessive. After two decades tinkering with my own dock, seawall, and boat lift on the Gulf Coast, I share everything I've learned about waterfront construction, boat lift maintenance, and coastal living projects. More about this site.
Scope and limits. Trent is a waterfront homeowner, not a licensed marine contractor. Structural, electrical, and lift work should go to a licensed marine contractor, and most in-water work needs a permit before you start.
Verify this against a primary source
Specifics change, and your situation may differ from the one described here. These are the authorities worth checking directly:
- ABYC — marine electrical and construction standards
- U.S. Army Corps of Engineers — permitting for work in navigable waters
- NOAA Tides & Currents — tidal range and water level data for your site