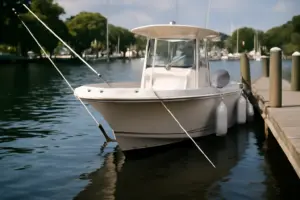
A few years back, I got a call from a marina owner down in Pensacola. He’d had a DIYer wire up a set of outlets on a floating dock — no GFCI, no weatherproof enclosures, just standard indoor receptacles stapled to the decking. Nobody got hurt, but it was one bad rainstorm away from a tragedy. That job reminded me why GFCI power on dock electrical code compliance isn’t just bureaucratic box-checking. It’s genuinely life-or-death stuff. Water and electricity don’t negotiate. They just kill.
I’ve spent 20 years building and repairing docks along the Gulf Coast. In that time, I’ve roughed in hundreds of dock electrical runs, pulled permits in five states, and failed a few inspections along the way. What I’ve learned is that most DIYers get the basic concept right — GFCI outlets near water, sure — but miss the specifics that actually keep the installation legal and safe. The devil is completely in the details here.
This guide covers what the National Electrical Code actually requires, how to choose the right GFCI outlet, how to run the circuit correctly, and where most people make mistakes. If you’re adding power to a residential dock, pier, or floating platform, this is the starting point you need.
Why GFCI Power on Dock Electrical Code Requirements Are So Strict
The NEC — specifically Article 553 for floating buildings and Article 682 for natural and artificially made bodies of water — doesn’t mess around. Every single receptacle on a dock must be GFCI-protected. That’s not a suggestion. It’s a hard requirement with zero exceptions for residential dock applications.
Here’s the underlying reason. Electrical current leaking into water doesn’t behave like a shock you’d get from a household outlet. It disperses in a gradient through the water. A swimmer who enters that zone can experience Electric Shock Drowning (ESD), where low-level AC current causes muscle paralysis. The victim can’t swim. They go under silently. ESD has killed swimmers in marinas and private docks across the country, and in most cases the wiring wasn’t up to code.
GFCI protection trips at 4–6 milliamps of ground fault current. That’s fast enough to prevent electrocution in most scenarios. However, it only works if the outlet is rated correctly for the environment. A standard indoor GFCI installed outdoors will fail within one season in a marine environment. Salt air, humidity, and UV exposure destroy unrated components fast. I’ve seen it firsthand.
Understanding the NEC Requirements for Dock Wiring
Let me give you the specific code references you’ll need when talking to an inspector or pulling a permit. NEC Article 682 covers “Natural and Artificially Made Bodies of Water.” Section 682.15 requires GFCI protection for all receptacles on piers, wharves, and docks. Section 682.11 covers overhead conductor clearances — a minimum of 18 feet over water in most residential applications.
For floating docks specifically, Article 553 adds requirements around bonding and grounding. Every metal structural component needs to be bonded together and connected to the grounding system. This is the part most DIYers skip. Bonding prevents metal components from sitting at different voltage potentials — which is exactly what creates ESD hazards.
In my experience, local jurisdictions sometimes layer additional requirements on top of the NEC. Florida, for example, has adopted stricter marina electrical standards under NFPA 303 — the Fire Protection Standard for Marinas and Boatyards. Always pull a permit and check with your local AHJ (Authority Having Jurisdiction) before starting any dock electrical work. A permit costs between $75 and $250 in most Gulf Coast counties. Skipping it is never worth it.
Circuit Sizing and Wire Type
For a standard dock outlet circuit, a 15-amp or 20-amp circuit is typical. Use 12 AWG wire minimum for a 20-amp circuit, 14 AWG for 15-amp. That said, I always run 12 AWG as a baseline on docks. The extra capacity costs maybe $30–$40 more in wire, and it gives you flexibility if someone adds a power tool or a bigger bilge pump charger later.
Wire type matters enormously in a marine environment. Use UF-B (Underground Feeder) cable inside conduit for buried runs, and always run it through Schedule 40 PVC or rigid metal conduit where exposed. Never use standard NM-B (Romex) anywhere near a dock. It isn’t rated for moisture or direct burial, and it will fail.
Choosing the Right GFCI Outlet for Dock Use
Not all GFCI outlets are created equal. For dock applications, you need three things: weather-resistant (WR) rating, tamper-resistant (TR) rating, and a self-test function. The WR rating means the internal components are sealed against moisture ingress. The TR rating means the slots are spring-loaded to prevent foreign object insertion. The self-test function automatically monitors the GFCI circuit and alerts you if protection has failed.
After trying several brands over the years, the outlet I keep coming back to is the Leviton GFCI Weather-Resistant Outlet, 15 Amp, Self Test, Tamper-Resistant with LED Indicator Light (Model GFWT1-W). I’ve installed this unit on probably 30 docks at this point. It checks every box the NEC requires and then some.
The LED indicator is the feature I appreciate most in a dock application. It gives you a visible status check from a distance — green means protected, amber means it needs attention. On a floating dock that moves with the water, connections can loosen over time. That LED is an early warning system. The self-test function runs automatically, so you’re not relying on the homeowner to press the test button monthly. In my experience, homeowners never press the test button.
Budget Alternative Worth Considering
If you’re outfitting multiple outlets on a longer dock and budget is a factor, I’d take a look at the ANKO GFCI Outlet 20 Amp, UL Listed, LED Indicator, Tamper-Resistant, Weather Resistant Receptacle. It’s UL Listed, weather and tamper resistant, and comes with wall plates included. The 20-amp rating is actually an advantage if you’re running a single circuit with multiple loads. It’s a solid unit. That said, I still reach for the Leviton first on any job where I want the self-test automation. The ANKO is a strong runner-up, especially for interior dock utility areas where it’s less directly exposed to the elements.
How to Install a GFCI Outlet on a Dock: Step-by-Step
Before touching any wiring, kill the circuit at the breaker and verify it’s dead with a non-contact voltage tester. Always. I learned the hard way on a job in 2009 — someone had wired two circuits into one junction box, and killing one didn’t kill the other. I caught it with the tester. Without it, I would have taken the hit.
Installation Steps
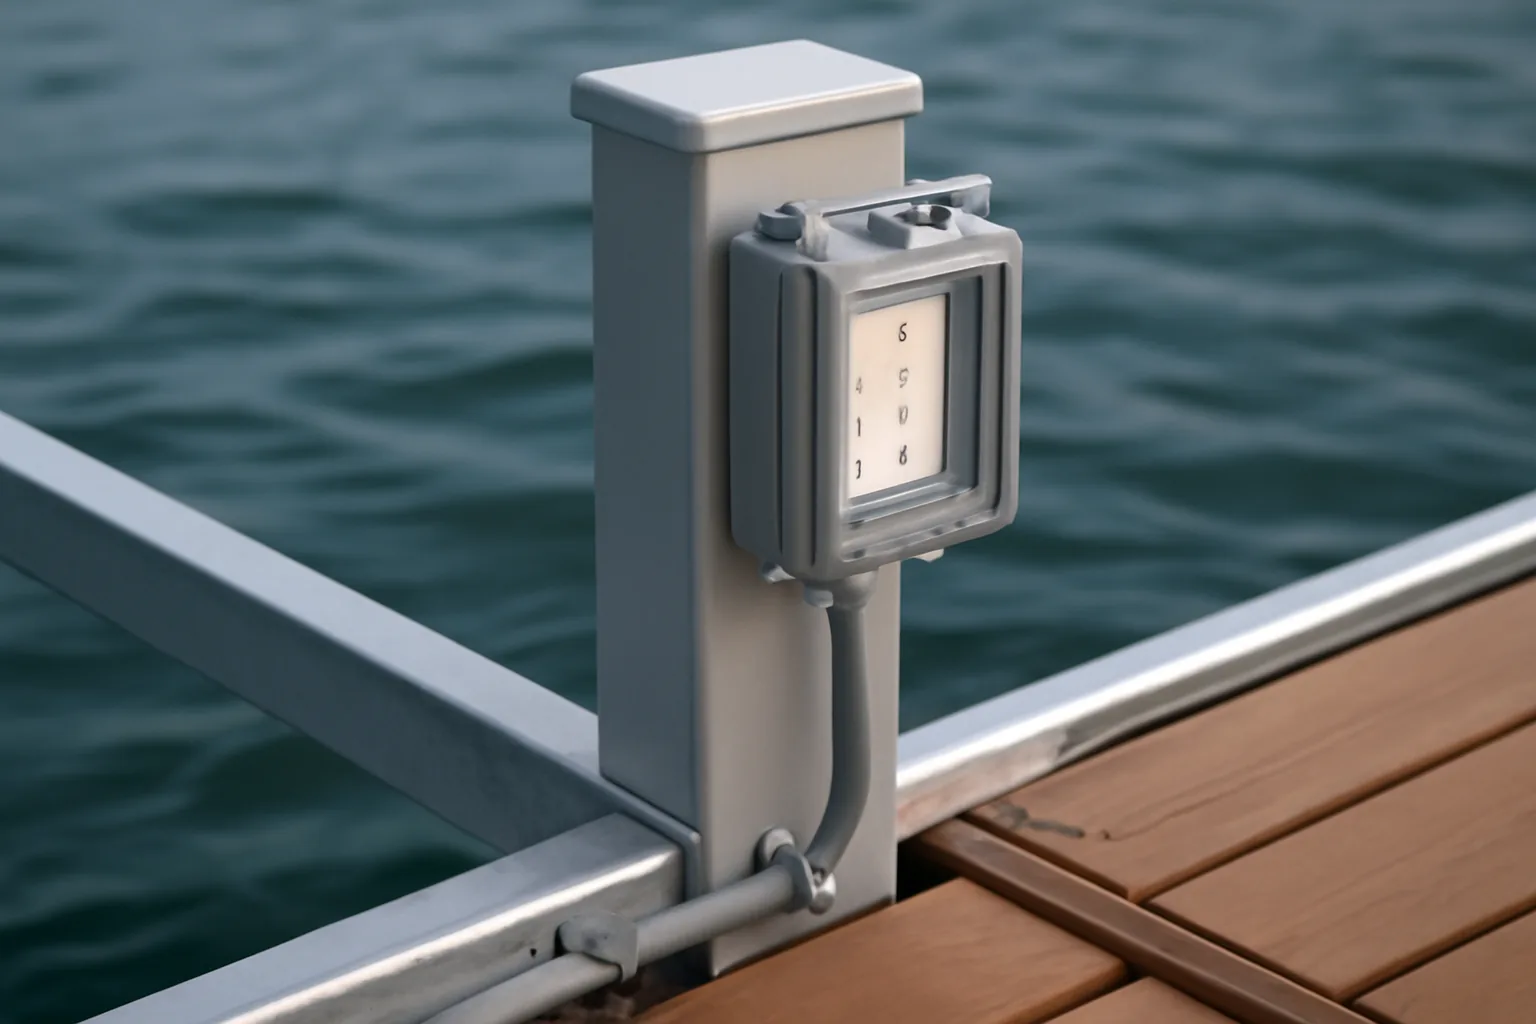
- Mount a weatherproof in-use cover box. Use a while-in-use cover rated for wet locations — not a standard flip-lid cover. The while-in-use design keeps cords protected even with something plugged in. These run about $8–$15 at any hardware store.
- Feed your conduit to the box. All wiring runs to dock outlets must be in conduit. Use weatherproof conduit fittings where the conduit enters the box. No open knockouts.
- Connect to the LINE terminals only. The Leviton GFWT1-W is clearly marked LINE and LOAD. For a single outlet installation, connect only to LINE. Use the LOAD terminals if you’re daisy-chaining downstream outlets and want them GFCI-protected from this device.
- Torque your terminals. This step gets skipped constantly. Terminal screws on 15-amp receptacles should be torqued to 12 in-lbs. Use a torque screwdriver. Loose connections at dock outlets are one of the leading causes of arcing and ground faults.
- Test before closing up. Restore power and press the TEST button. The outlet should go dead. Press RESET — power should return. Verify with a plug-in outlet tester that confirms correct wiring polarity and ground.
- Apply exterior-grade silicone. Run a bead around the base of the cover plate where it meets the mounting surface. On a dock, this joint will see rain, spray, and condensation constantly. The silicone is your last line of defense against moisture intrusion.
Total materials cost for a single outlet installation — including the GFCI, weatherproof cover, conduit fittings, and a short conduit run — typically runs $60–$110 depending on how much new conduit you’re adding.
Common Mistakes That Fail Inspection (and Create Hazards)
Here are the mistakes I see most often on DIY dock electrical work. Some are code violations. Others are safety hazards that code doesn’t fully capture. Most are both.
- Standard indoor GFCI outlets on a dock. A regular GFCI without the WR rating will pass initial testing but fail within 12–18 months in a marine environment. The test/reset mechanism corrodes. You end up with a GFCI that looks fine but provides no protection.
- Skipping the bonding system. Every metal component — cleats, ladders, railings, conduit, motor mounts — needs to be bonded together with 8 AWG solid copper wire minimum and connected to the grounding system. Skipping this is the single biggest ESD risk factor I encounter.
- Using standard flip-lid covers instead of while-in-use covers. Code requires while-in-use covers in wet locations. A standard flip-lid is a dry location cover. If an inspector sees one on your dock, you’re getting a red tag.
- Wiring GFCI to LOAD terminals without protection at the panel. If the circuit breaker feeding the dock isn’t also GFCI-protected (or isn’t a GFCI breaker), a ground fault upstream of the outlet won’t trip. Use a GFCI breaker at the panel as your first line of defense, then GFCI outlets at the dock.
- No conduit on exposed wire runs. I’ve seen Romex stapled along the underside of dock decking. That’s a code violation and a chew-through hazard. All exposed wiring on a dock must be in conduit. No exceptions.
When to Call a Licensed Electrician
I’m a DIY advocate. However, I’ll be straight with you: dock electrical work has a higher skill ceiling than most home projects. There are scenarios where hiring a licensed electrician isn’t just advisable — it’s the only reasonable choice.
Call a pro if you’re running a new circuit from your main panel to the dock. Panel work is where amateurs get into serious trouble. Specifically, if your panel is older than 20 years, if it’s a Federal Pacific or Zinsco panel, or if you’re not completely comfortable working around live bus bars, hire an electrician. The cost for a new 20-amp circuit run from a house panel to a dock typically ranges from $400 to $900 depending on distance and local labor rates. That’s not a lot of money against the risks.
Also call a pro if your dock is a floating dock connected to shore power. Floating dock electrical systems have specific bonding and isolation requirements that go beyond standard dock wiring. An incorrectly bonded floating dock with shore power is an ESD risk to every swimmer in the surrounding water. For this application, I’d insist on a licensed marine electrician — not just a general electrician. Look for someone certified by ABYC (American Boat and Yacht Council). They know the specific marine standards that a general residential electrician may not.
Final Thoughts on GFCI Power on Dock Electrical Code Compliance
Here’s my bottom line after two decades on the water: GFCI power on dock electrical code compliance is the single most important safety system on any dock with electricity. It’s not complicated in concept. The execution, however, requires attention to detail that most general DIY guides gloss over.
Use weather-resistant, tamper-resistant GFCI outlets — specifically rated for wet locations. Run everything in conduit. Bond every metal component. Pull a permit and get it inspected. Install while-in-use covers. Use a GFCI breaker at the panel as a backstop. These aren’t suggestions. They’re the difference between a dock that’s safe and one that isn’t.
The Leviton GFWT1-W is the outlet I trust for this application. The self-test function, the LED indicator, and the proven WR/TR ratings make it the right choice for a dock environment. It’s around $18–$22 per unit. Spending that versus a generic no-name outlet is a decision that makes itself.
Do this job right. The water doesn’t forgive shortcuts.
This post contains affiliate links. As an Amazon Associate, I earn from qualifying purchases at no extra cost to you.