Gulf Coast spring tides expose a problem that snap hooks and fixed loops can’t solve. When water levels swing two to three feet between dawn and dusk, a boat held rigid to a piling will either chafe itself to pieces or pull free entirely. That’s what happened to a center-console owner near Pensacola—his lines were locked down with no give, no adjustment, no way to adapt as the tide dropped. By morning, his 26-footer had worked loose and cracked its gunwale against a piling. The rigging method he thought was secure turned out to be nothing more than nylon optimism tied in a knot. This is exactly the kind of call that drives home why a properly rigged spring line with real adjustability matters so much.
Over twenty years building and maintaining docks across the Gulf, from the Texas coast to Pensacola Bay, I’ve had rope in my hands during dead-flat calm mornings and middle-of-the-night tropical systems. What I want to walk you through today isn’t some exotic knot—it’s a practical rigging approach: how to build a fully adjustable spring line loop without buying a single piece of hardware. No snap hooks, no cam cleats, no mechanical adjusters. Only rope, load mechanics, and a technique I’ve spent two decades refining on actual water with real boats.
Why Adjustable Spring Lines Matter More Than You Think
The fundamental job of a spring line is to stop the thing that bow and stern lines let happen: movement along the dock. Tie up a boat with only forward and aft lines, and wind, current, and wake will still push it back and forth continuously. That constant surging wears through chafe protection, loosens cleats, and overstresses fittings. Spring lines run at an angle—forward cleat to midship or aft piling, then another line running the opposite direction. They create cross-tension that pins the boat in one spot along the dock.
Most recreational boaters overlook something critical: a spring line that requires you to untie it every time the water level changes is a spring line nobody actually uses right. The Gulf Coast gives you tidal ranges of two to three feet in a single rotation. Set a spring line at high tide and it’ll strangle the boat by the time low tide hits—or go slack and useless. That’s precisely why I always include a repositionable loop in every spring line I tie. No complicated technique. Just the right method applied correctly.
When This Rigging Method Makes Sense
The adjustable spring loop works for specific situations, and knowing which ones separates good rigging from wasted effort.
Where It Works Best
- Fixed pilings with changing water level: Any setup where the boat rises and falls means you need a loop that can migrate up or down the piling without the whole rigging coming apart.
- Boats staying tied for days at a time: The longer a boat sits, the more tides it rides through. Tension management over that duration is non-negotiable.
- Hurricane season and pre-storm prep: When a weather system is approaching, I want every single line movable quickly as the forecast changes and conditions deteriorate.
- Vessels from 20 to 45 feet overall: This technique scales correctly in that size range. I typically spec 1/2-inch double-braid nylon for the 25-to-40-foot range specifically.
- Pilings without attached hardware: When you’re looping around a bare piling rather than threading through a cleat, this method gives you options that fixed knots simply don’t provide.
Situations Where You Should Choose Something Else
But I’m not going to tell you this works everywhere, because it doesn’t. If you’re stopping for a quick 20-minute fuel dock run, a standard cleat hitch is faster and works fine for that duration. If your pilings are buried under marine growth or rough-textured barnacles, a sliding loop will fray from chafing—I’d use a fixed bowline instead and take the trade-off. Also—and this matters—if you’re tying down a 40-plus-foot boat or expecting loads over 2,000 pounds in rough conditions, dedicated hardware on the piling and cleat is what you actually need, not a rope-only system.
How to Rig the Adjustable Spring Loop
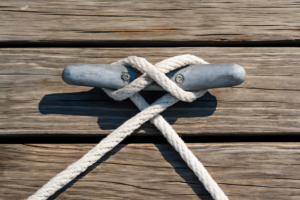
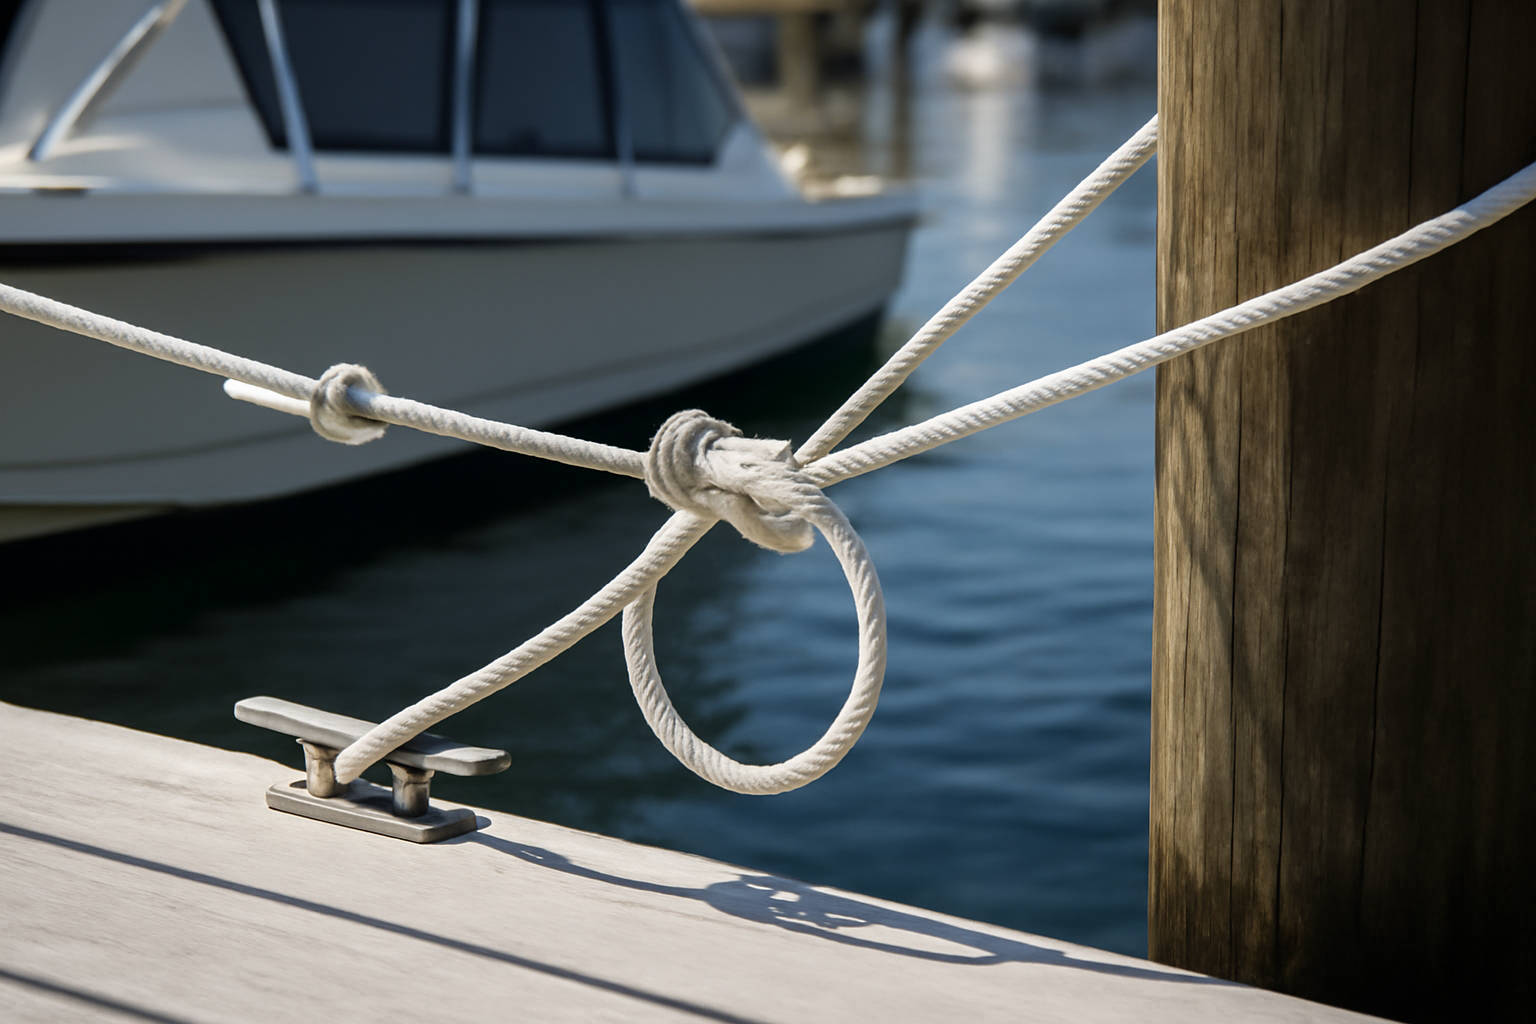
The technique relies on what I call a “traveling loop” that cinches around the piling, with the bitter end locked off to the boat’s cleat using a non-slip hitch. The loop can slide up or down to track tidal movement, but it cinches tight under load so it won’t creep when the boat pulls. Here’s the exact process.
The Rope That Lets You Actually Hold a Loop Without It Slipping
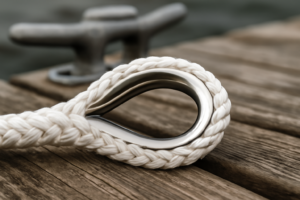
A proper spring line needs to grip surge loads and wind forces while remaining completely repositionable—which means using rope engineered to hold a loop securely under real-world tension. SEACHOICE double-braid nylon is what I reach for when building adjustable spring lines because it grips a loop tightly enough to keep working.
Why This Works
- Half-inch diameter means the loop knot grips securely enough that you can slide the loop along the line to adjust tension—all without any slippage or creep under load.
- The double-braid design shrugs off chafing where the loop rides against the piling or passes through a cleat, which is essential on a spring line that moves with every tide cycle.
- Visibility is excellent—the gold and white pattern makes the line easy to spot before sunrise and lets you catch any fraying or damage immediately.
Where It Falls Short
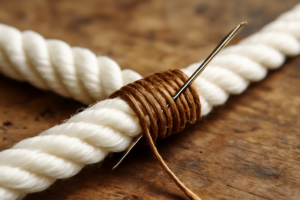
- At 20 feet per spool, you might end up needing two sections spliced together for a complete spring line on bigger vessels—advance planning of knot position is necessary.
- Nylon will stretch noticeably in the first week you rig it, so loop adjustment and retensioning are going to happen daily at first—it’s not a defect, it’s just how nylon behaves initially.
I almost ditched the spring loop idea entirely after my first attempt with cheap braided line that just spun around itself whenever I tried to secure the loop—but switching to SEACHOICE rope made the whole rig actually work. If you’re serious about adjustable spring lines, grab a SEACHOICE Double-Braid Nylon Dock Line 1/2″ x 20′ (Model 40241, Gold/White).
Frequently Asked Questions
What size dock line do I need for an adjustable spring loop?
I use 1/2-inch double-braid nylon for the 25-to-40-foot range, which is what I spec for vessels in that size. The SEACHOICE Double-Braid Nylon Dock Line comes in 1/2″ x 20′ sections, though you might need two spliced together for bigger boats depending on your setup.
How much can Gulf Coast water levels change in one day?
Gulf Coast spring tides expose swings of two to three feet between dawn and dusk. That kind of tidal range means a fixed spring line will either strangle the boat at high tide or go slack at low tide, which is exactly why an adjustable loop matters.
Will an adjustable spring loop work on my 45-foot boat?
This technique scales correctly for vessels from 20 to 45 feet overall. However, if your boat is 40-plus feet or you’re expecting loads over 2,000 pounds in rough conditions, you should use dedicated hardware on the piling and cleat instead of a rope-only system.
How long does nylon dock line take to stop stretching?
Nylon will stretch noticeably in the first week you rig it, so loop adjustment and retensioning are going to happen daily at first. It’s not a defect—it’s just how nylon behaves initially with any new rigging.
Sources and further reading
About This Article

Written by Trent Hollis. Waterfront homeowner turned DIY obsessive. After two decades tinkering with my own dock, seawall, and boat lift on the Gulf Coast, I share everything I've learned about waterfront construction, boat lift maintenance, and coastal living projects. More about this site.
Scope and limits. Trent is a waterfront homeowner, not a licensed marine contractor. Structural, electrical, and lift work should go to a licensed marine contractor, and most in-water work needs a permit before you start.
Verify this against a primary source
Specifics change, and your situation may differ from the one described here. These are the authorities worth checking directly:
- ABYC — marine electrical and construction standards
- U.S. Army Corps of Engineers — permitting for work in navigable waters
- NOAA Tides & Currents — tidal range and water level data for your site