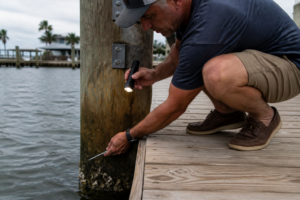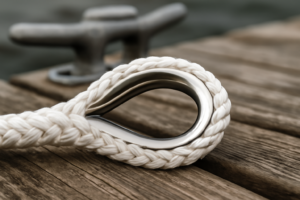
Check your dock cleats first thing when you walk the structure in daylight. Not the bumpers — the cleats. Because cleats fail before bumpers do, and a failed cleat during surge means your boat owns the dock until something gives. Twenty years working marine construction along the Gulf Coast taught me to read a cleat like a medical report: rust bloom means corrosion underneath, bolt creep means the wood is moving, and if the fastener spins when you torque it, the backing plate has already failed. That’s why I’m writing about bumpers and cleats together, and why the hardware matters more than most people understand until it’s too late.
Most waterfront homeowners install bumpers and cleats the same way they’d bolt a dock box to the deck — grab whatever looks reasonable at the marine supply store, use stainless-looking fasteners, and hope it holds. Then August arrives and the cleats rip straight through the decking. The bumpers tear away at the bolts. The boat hull collects another crease. I’ve inspected hundreds of docks post-storm, and the destruction pattern repeats itself: undersized hardware, wrong metal combinations, and fasteners backed only by 1.5 inches of wood with nothing underneath to distribute the load. That’s a recipe for failure, and it’s entirely preventable.
What follows is built on what actually survived four consecutive hurricane seasons on my personal dock without a single hardware failure. I’ll cover the materials science behind why certain metals and designs hold up and others don’t, the specific installation technique that keeps fasteners from backing out under surge loading, and the product choices I’ve made after testing competing options. This isn’t contractor knowledge being held back — it’s the same approach I’d use on a paid install, broken down so you can replicate it yourself on a Saturday afternoon.
Understanding Why Standard Dock Bumpers Collapse During Storm Surge
Foam pool noodles are not dock bumpers, yet I’ve removed them from a dozen properties every single season. Legitimate marine bumpers are engineered to withstand repeated impacts at scale without flattening out or tearing away from their mounting system. When a hurricane or tropical system pushes surge water toward shore, your boat experiences dozens of impacts per hour against whatever’s supposed to stop it. That’s not a single-bump scenario — that’s sustained percussion on a material that has to stay functional through all of it.
The second weak point sits in how most people secure them. I’ve observed bumpers fastened to dock surfaces with ordinary wood screws — the kind that back out under repetitive stress. Surge loading isn’t vertical; it’s multidirectional. Your boat pushes sideways, up, down, and at angles all within seconds. Fasteners designed for that environment need to be through-bolts with load distribution hardware underneath the deck structure, not surface fasteners hoping to grip wood fibers.
Placement reveals the third failure mode. Homeowners typically run bumpers only at the waterline where the hull naturally contacts the dock on a calm day. But water doesn’t stay calm during a storm. Surge makes boats ride higher and shift laterally. The contact point of the hull moves dramatically upward and sideways from its normal position. Effective bumper coverage starts at least 12 inches below normal waterline and extends up to 6 inches above your predicted maximum surge height. That’s a bigger footprint than most people estimate.
Material Selection: What Actually Resists Saltwater Degradation
I’ve tested rubber compounds, foam cores, vinyl-wrapped constructions, HDPE panels, and closed-cell polyethylene. For hurricane zones, closed-cell polyethylene wins every time. It refuses to absorb saltwater, it won’t compress permanently even after months of repeated impacts, and UV exposure from the Gulf sun doesn’t cause it to crack or fade like softer materials do. That durability translates to a bumper that performs year five the same way it performed year one.
When it comes to cleats, I exclude zinc-plated steel immediately. It looks respectable hanging on a store shelf and then oxidizes into worthlessness by season two. Marine-grade 316 stainless steel is my standard for any cleat that’ll carry storm-loaded lines. Some boaters mention aluminum as a cost alternative. Aluminum works fine where loads stay light, but cleats handling the tension from hurricane-force winds belong in 316 SS territory. You’re spending $8 to $15 more per cleat than cheap alternatives, and that’s money well invested.
The fastening hardware deserves the same material thinking. I specify 5/16-inch or 3/8-inch 316 stainless carriage bolts with stainless fender washers and nylon lock nuts for everything. Into a 2-by-6 pressure-treated deck, I pre-drill with a pilot hole slightly undersized and run a marine-grade sealant — either 3M 4200 or 5200 — into every bolt hole before the fastener goes in. This keeps water out of the wood frame itself. Rot occurring beneath a cleat is one of the most prevalent post-storm failures I document during inspections.
Load Distribution: Why Backing Plates Prevent Total Failure
I learned this lesson by skipping it on my second dock installation. Time pressure made me bolt three cleats directly to decking without backing plates underneath. A direct hit from a Category 1 system yanked all three through the wood. The bolts didn’t snap — the deck wood tore out around them. A 3-inch by 3-inch backing plate spreads that load across exponentially more surface area. I now use 1/4-inch 316 stainless backing plates on every single cleat mounting without exception. Cost runs $6 to $12 per plate, installation takes about five minutes, and it’s the difference between a cleat holding and a cleat becoming a failure point that spreads damage to surrounding structure.
Installing Bumpers and Cleats to Survive Surge Conditions: The Process
Start by defining the vertical zone where you’ll install hardware. Position yourself at your dock during normal tidal stage and mark a point 12 inches below the waterline on your piling. Next, look up NOAA’s free online storm surge inundation maps for your specific location — they’re publicly available and show projected water height from named storms. Mark 6 inches above the highest surge projection on your piling. Everything between those two marks becomes your installation zone.
Now handle horizontal positioning. I mount bumpers at 24-inch centers along the boat-facing dock edge. For a standard 24-foot slip, that works out to roughly ten or twelve bumper locations. Some builders space them 36 inches apart to reduce material cost. I’ve watched boats work between widely spaced bumpers during heavy surge and make direct contact with underlying dock structure. Twenty-four inches is the spacing I trust.
- Establish your vertical coverage zone by measuring 12 inches below normal waterline and 6 inches above predicted maximum surge height.
- Identify bumper mounting positions at 24-inch horizontal intervals across the dock face.
- Bore pilot holes using a drill bit 1/32-inch smaller than your bolt diameter.
- Spread marine sealant (3M 4200 or 5200) inside each hole before fastener installation.
- Secure bumpers using 5/16-inch 316 SS carriage bolts, stainless fender washers, and nylon lock nuts.
- Position backing plates on the underside of any structural member you’re drilling through.
- Tighten fasteners to snug-plus-quarter-turn — firm engagement without stripping wood threads.
- Re-check all bolt torque after the first tidal cycle has passed and tighten again if needed.
Budget roughly $180 to $320 in materials for a typical 24-foot boat slip, depending on bumper profile and total quantity. Hands-on installation time for someone with basic tool skill runs 4 to 6 hours. That’s one efficient Saturday and you’re finished.
The Bumper Product That Stayed Mounted Through Four Storm Seasons
I’ve tested a lot of dock bumpers over the years. Most of them I’d classify as acceptable. A few were genuinely excellent. The HULL HUGR Marina Bumper falls into the excellent category, and I say that as someone who’s installed marine hardware professionally for two decades.
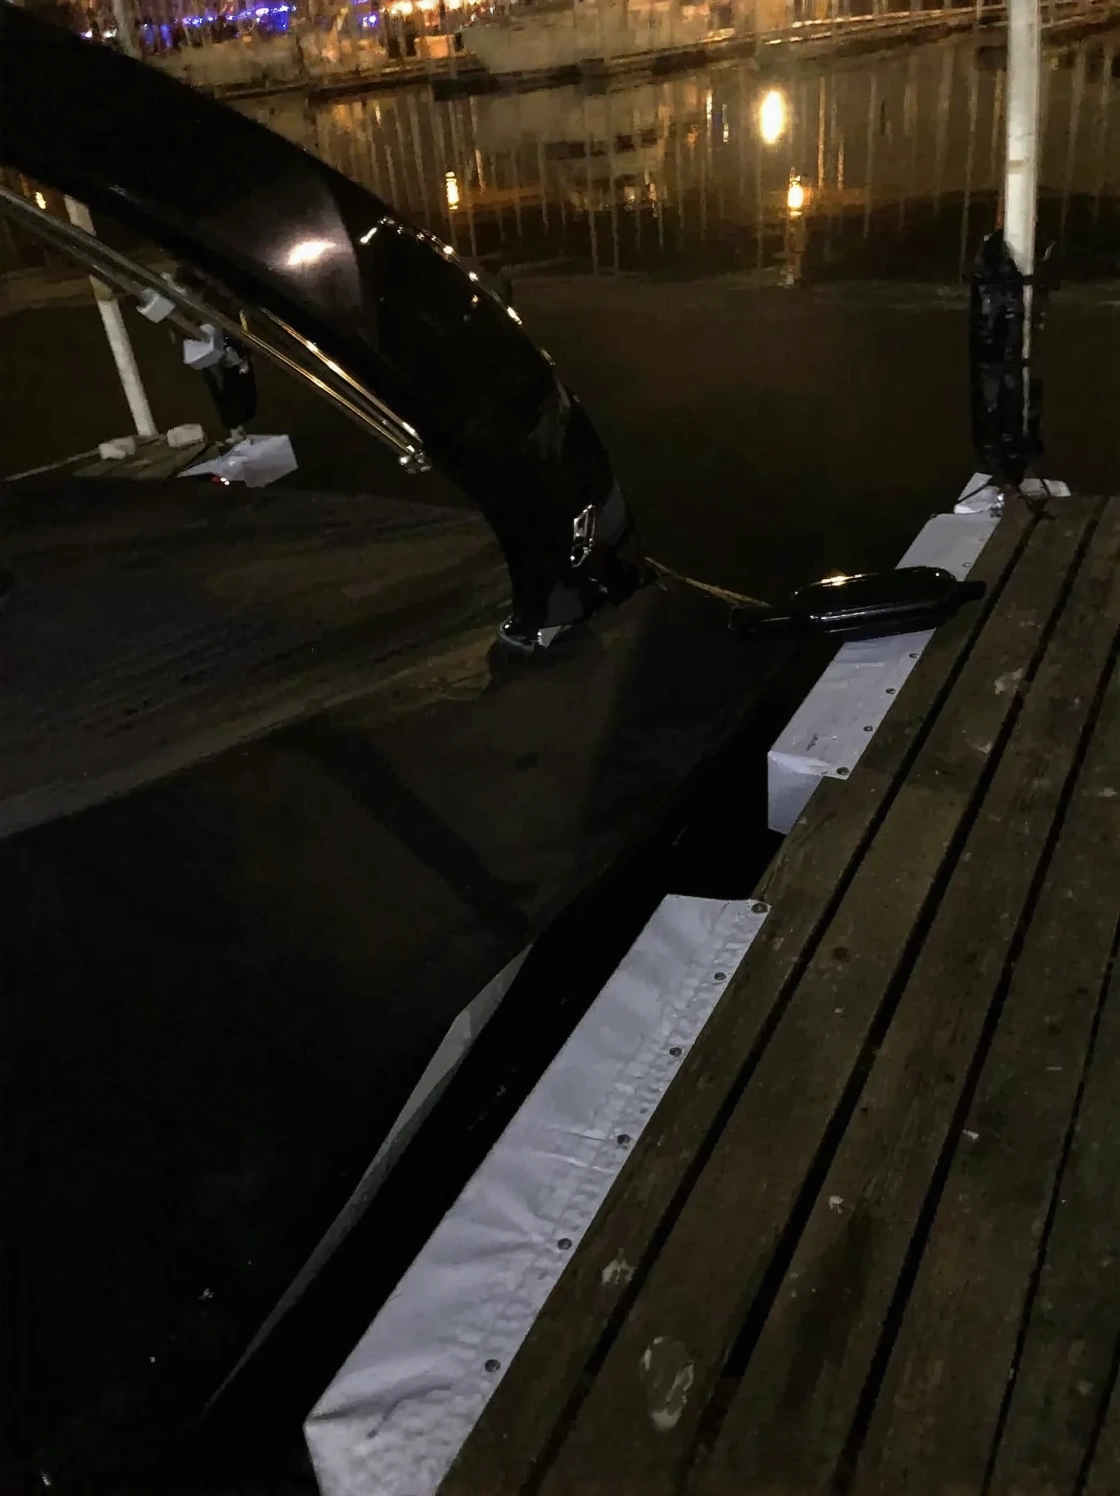
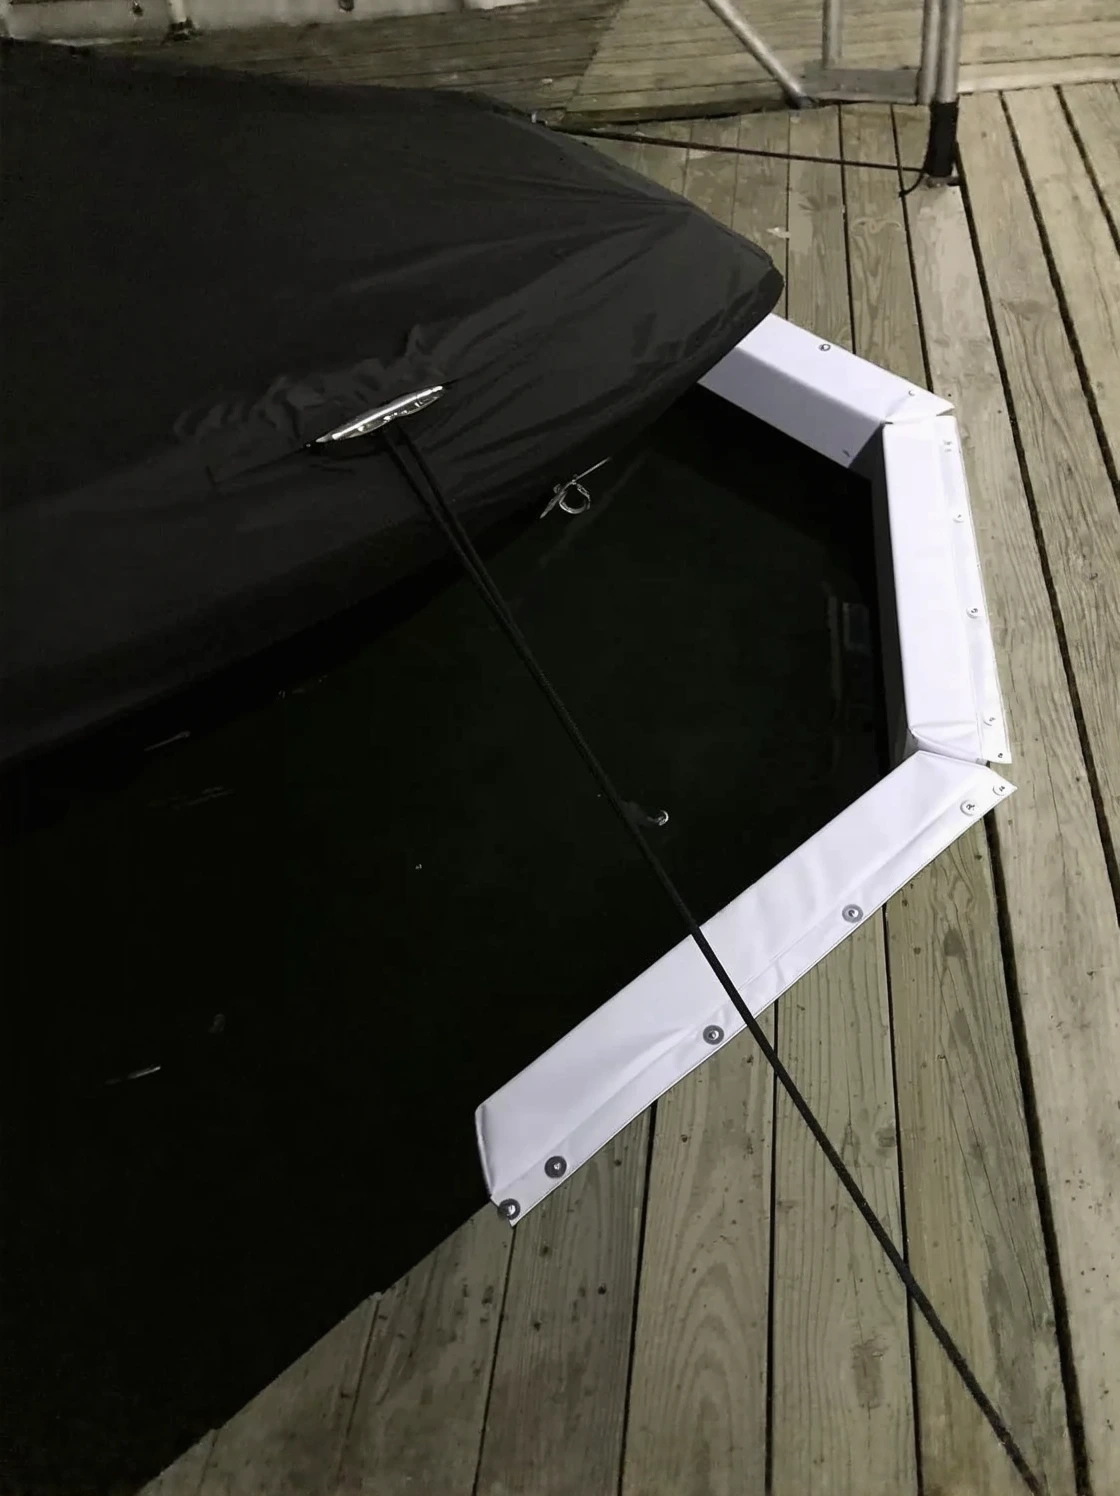
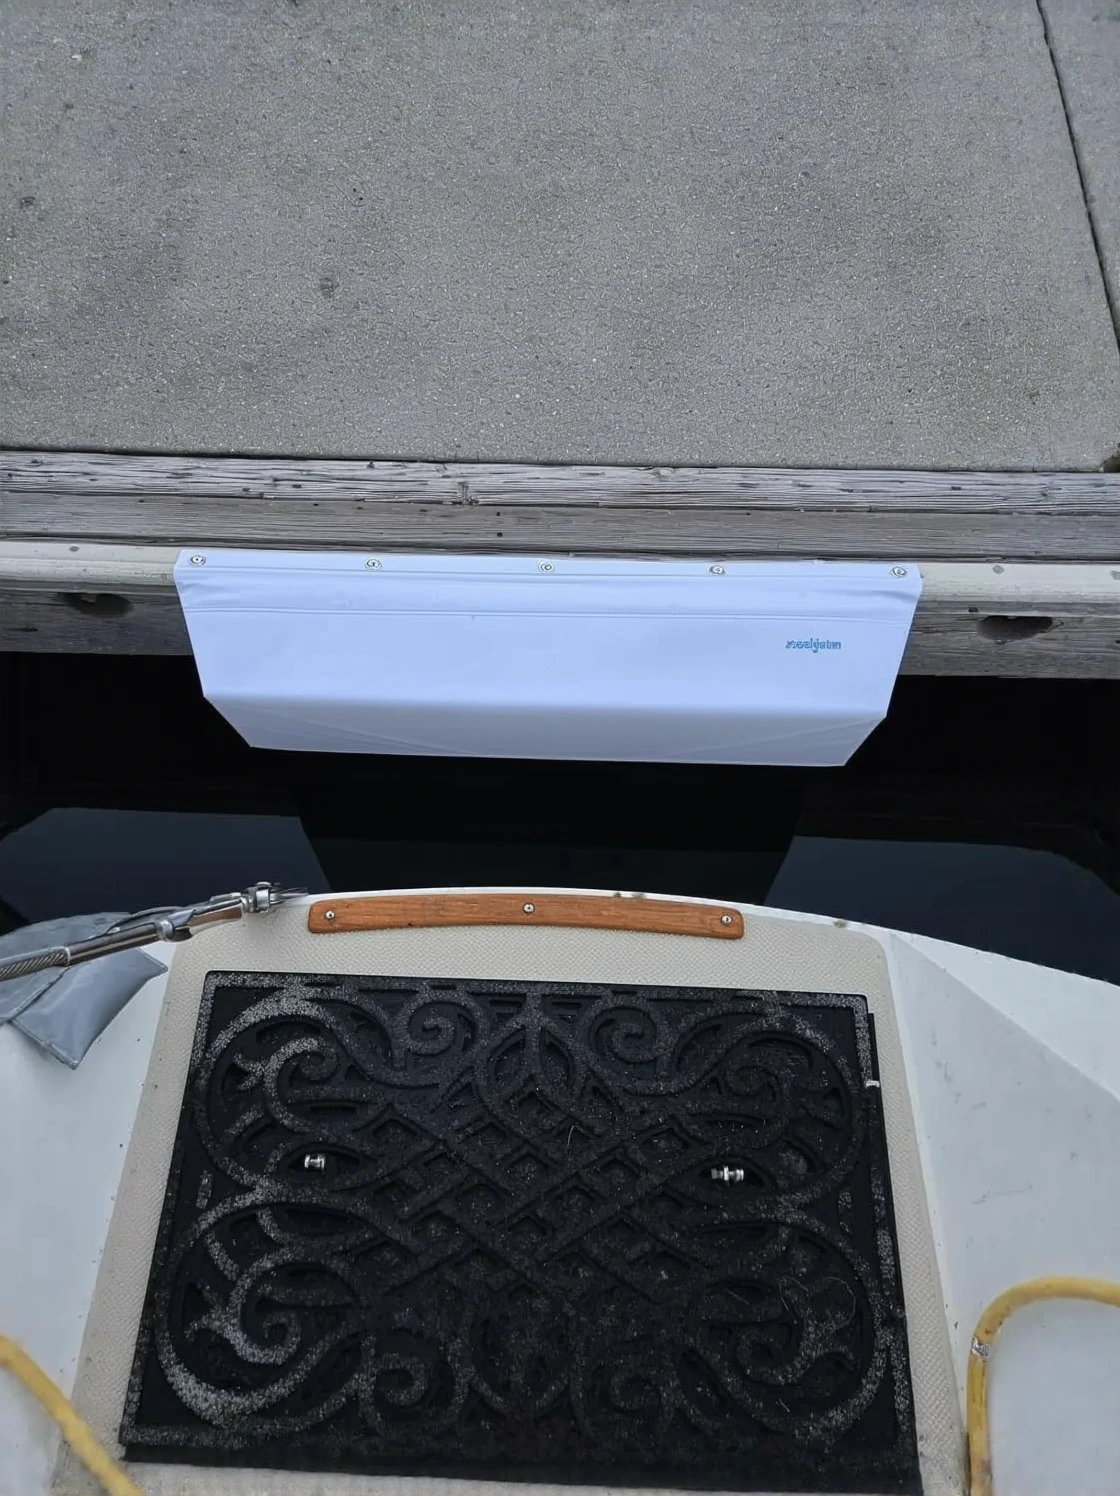
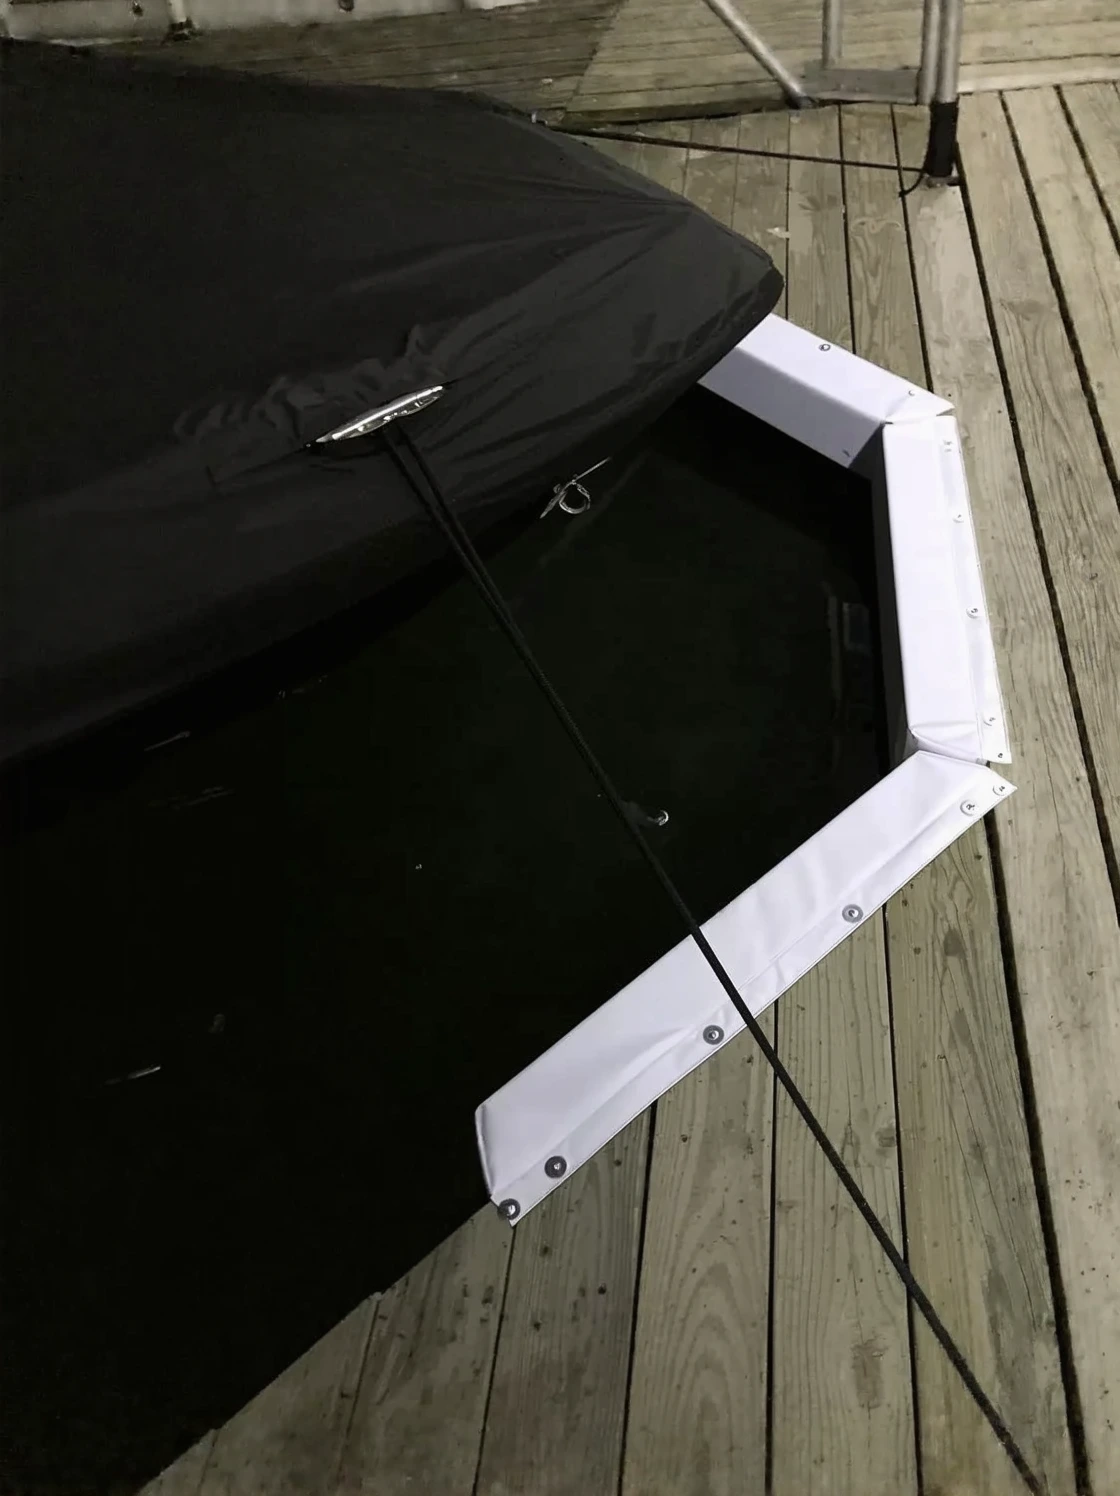
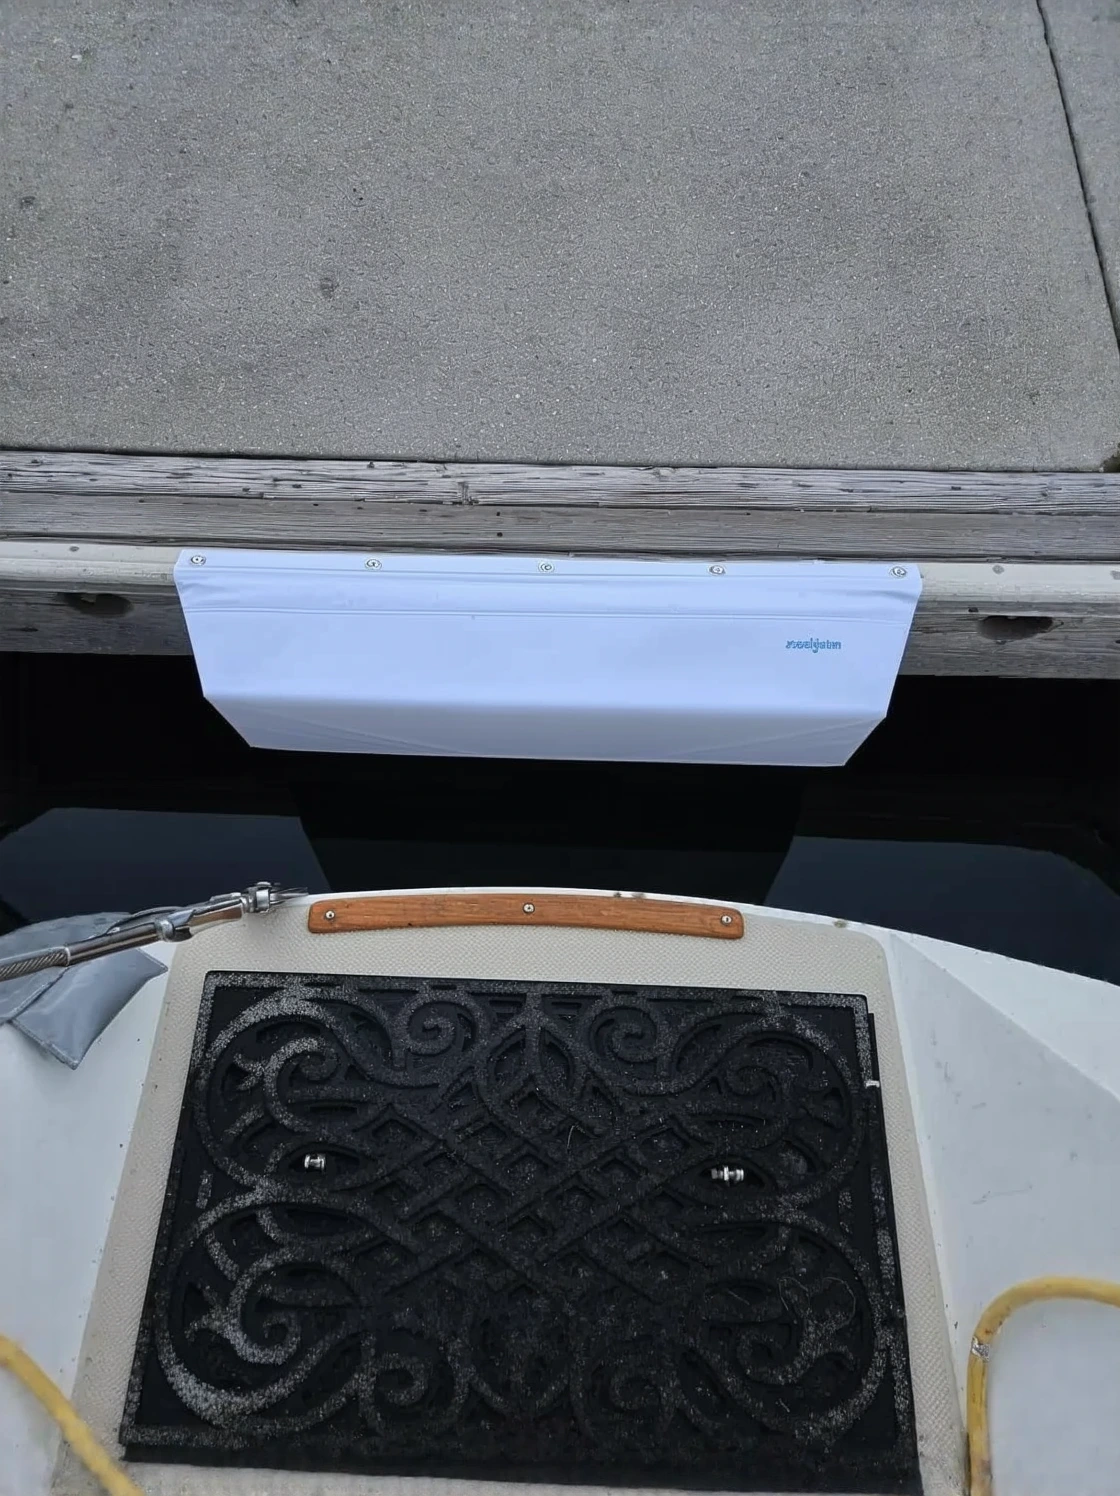
The HULL HUGR Marina Bumper impressed me because the closed-cell construction refuses to compress permanently or deform when facing repeated high-force contact. My personal dock has had a set for three seasons now. They’ve weathered two named hurricane events and one tropical system that dumped 12 inches of rain in less than 18 hours. Not one mount fastener failed. The material surface hasn’t cracked or fractured. No color chalking — the finish looks the way it did when I bolted it down, despite intense Gulf Coast sun exposure that destroys cheaper foam bumpers in one season.
The range of available sizes matters significantly in practice. I use the wider profile on my main boat-facing edge and the narrower profile on finger pier sections where the angle of hull contact is steeper. Matching bumper profile to actual hull contact geometry isn’t something you should skip over. A bumper that’s undersized for your contact zone becomes nearly useless during heavy surge. HULL HUGR’s product lineup gives me enough profile options that I can pick the right bumper for each specific location — and that’s not universal among the brands I’ve tried.
I had a client in Pensacola last spring who’d been using a competing product — vinyl-wrapped foam from a national marine retailer. After one season, the vinyl layer started separating and moisture was infiltrating the foam interior. We removed all of them and installed HULL HUGR bumpers in their place. The installation process was straightforward and efficient. When she called me two months after setup to report on a tropical storm watch event, she confirmed everything held perfectly and the bumpers showed no deterioration.
If you’re working with a tighter budget, the HULL HUGR Marina Bumper alternative size option is also worth a look. It’s the same quality construction at a slightly lower price point due to the size difference. For smaller boats or supplemental coverage positions, it’s a solid choice. I wouldn’t use it as my primary bumper on a vessel over 22 feet, but for a 16- to 18-foot center console, it’s more than adequate.
Cleat Sizing and Storm Line Configuration for Maximum Holding Power
Installing a cleat that’s undersized relative to your vessel’s weight represents a real risk. My working rule: cleat length should be approximately 1 inch for every foot of boat length, minimum. A 24-foot boat needs at least a 24-inch cleat for primary tie-off locations. Most residential installations feature 8-inch cleats everywhere. That’s acceptable for fair-weather anchoring. It’s undersized for hurricane-level line tension.
During hurricane season prep, I add spring lines to the standard bow and stern rigging. Spring lines angle diagonally — one running from a forward cleat rearward to the dock structure, another from the aft cleat forward to the dock. This configuration prevents the surge-driven fore-and-aft movement that creates the most destructive boat-to-dock contact and structural stress based on everything I’ve witnessed in post-storm assessments.
Line diameter carries its own importance. Vessels exceeding 20 feet should use 5/8-inch nylon dock lines as a minimum storm specification. Nylon’s elasticity — it stretches up to 15% under load — absorbs the shock energy from surge impacts. Polyester line is technically stronger but doesn’t stretch, transferring all that surge shock straight into your cleat fasteners. During a storm, you want the line itself absorbing energy, not the hardware. Choose nylon, size it appropriately for your vessel, and consider doubling up if a named storm enters the forecast cone.
Pre-Storm Hardware Inspection Protocol
- Examine all cleat mounting bolts and re-torque any that show movement or play.
- Look over bumper attachment points for signs of looseness, surface cracking, or material separation.
- Pull any dock line showing visible fraying, brittleness from UV damage, or loss of flexibility.
- Install protective sleeves where lines pass over sharp dock edges or piling corners.
- Get underneath your dock deck and confirm backing plates remain secure and haven’t shifted.
- Remove any loose hardware or decorative elements that could transform into airborne projectiles during high-wind events.
Situations Where Professional Help Prevents Expensive Mistakes
I advocate for DIY dock work, but I’m equally direct about its boundaries. If submerged piling wood shows signs of rot or deterioration, stop your project. That’s structural compromise, not a fastening issue. Piling replacement typically requires permits across most Gulf Coast jurisdictions. In Florida specifically, work affecting navigable waterways falls under Florida Department of Environmental Protection Chapter 62-330, which demands compliance documentation and professional inspection. That sits well beyond a weekend effort.
The same caution applies if your dock deck has mushy areas or soft compression zones near planned cleat or bumper locations. A deteriorated deck structure is your real problem — not fastening the new hardware. I’ve documented installations where homeowners bolted beautiful new cleats into decking that had massive voids of rotted wood underneath. The first surge event pulled them out as if the fasteners were never torqued. Address structural decay before adding load-bearing equipment.
As a practical boundary: piling replacement, structural repair work, or anything below the mean high water line warrants a licensed marine contractor. Permitting requirements exist for legitimate safety reasons, and insurance companies scrutinize damage claims when unpermitted work may have contributed to failure. Protect your coverage and your liability.
Conclusion: Proper Bumper and Cleat Installation Delivers Peace of Mind
Two decades of inspecting what survives Gulf Coast hurricane seasons and what crumbles has taught me something straightforward: the docks that come through intact aren’t necessarily the most expensive builds. They’re the ones constructed with genuine attention to material selection, fastener quality, and proper installation procedure. That’s completely within reach for a dedicated DIYer spending one focused weekend and a couple hundred dollars in quality materials.
The bumper and cleat strategy detailed in this post — closed-cell polyethylene bumpers, 316 SS hardware throughout, backing plates under every load point, marine sealant sealing every penetration, cleats sized appropriately for your vessel — represents the exact same specification I’d write for a professional installation. No contractor secrets are being withheld. Success just means executing the process correctly from start to finish.
Start with quality bumpers like the HULL HUGR Marina Bumpers. They’ve earned their place on my dock and on the docks of clients I care about. Pair them with proper hardware, follow the installation steps I’ve outlined, and run through that pre-storm checklist every June before hurricane season starts. Do that, and you’ll be the neighbor whose dock looks exactly the same on September 1st as it did on June 1st. That’s the goal. That’s what twenty years of doing this has taught me.
Understanding Dock Bumpers: Material and Purpose
A dock bumper consists of shock-absorbing material—typically closed-cell polyethylene or extruded rubber compounds—that you mount along pilings or dock edges to cushion impacts from vessels, personal watercraft, and storm-driven debris. During my twenty-year tenure installing marine structures along the Gulf, I’ve observed that most dock owners underestimate the damage that occurs every time a boat contacts unpadded wood or concrete. A dock bumper functions as a protective layer between your hull and hard structural surfaces. The primary distinction between professionally installed bumpers and DIY installations usually comes down to labor costs—the materials themselves are standard across both categories, and any homeowner with basic hand tools can manage the installation process in a single afternoon.
Quality dock bumper performance hinges on three critical elements: material resilience under saltwater conditions, fastening hardware integrity, and proper dimensional positioning. Based on my experience in the Gulf environment, closed-cell polyethylene ranging from 5 to 6 inches wide and 3/4 inch thick outperforms alternatives for longevity and UV resistance. I’ve removed cheaper vinyl-covered bumpers that were delaminating after one season; the outer skin separates, water infiltrates the foam, and you’re replacing the entire assembly. A properly executed DIY installation means selecting 316 stainless fasteners (not galvanized, which corrodes rapidly in salt), running marine sealant through every bolt hole, and positioning fasteners on 24-inch centers. When executed correctly, a bumper system lasts 8 to 10 years for a material outlay of $150–$300 instead of $1,500 in contractor labor. That’s why taking ownership of the installation makes financial sense while also protecting both your dock structure and hull finish.
The practical value of a quality dock bumper becomes apparent the first time a storm surge or aggressive tidal shift occurs. I’ve witnessed substantial watercraft sustain costly damage—gouges, stress cracks, gel coat separation—because bumper coverage was incomplete or inadequate on one section of the dock. A properly installed bumper dissipates impact energy and distributes forces across the entire dock frame rather than concentrating damage on your hull. You’re simultaneously cutting future repair expenses and prolonging the structural lifespan of your entire dock system.
Quick Reference for DIY Dock Bumper Buyers: Selection and Positioning
The Bumper That Resisted Both Wave Action and Temperature Fluctuation
After I lost multiple bumpers due to wave forces and inadequate fastening during that tropical event, I realized the underlying issue wasn’t merely the fastener specification — it was selecting a bumper engineered to withstand both routine contact friction and the genuine punishment that wind-driven surge and tidal movement impose. The HULL HUGR Marina Bumper transformed my approach to dock protection design, since it’s built specifically to endure the daily wear cycle and the extreme loading that happens when hurricane-force winds drive water against your waterfront.
What performs reliably
- The fastening architecture disperses loading across a larger surface zone, meaning individual bolts experience reduced rotational stress when wave action drives your boat against the dock laterally
- The material formulation maintains its flexibility regardless of temperature swings — I’ve observed discount bumpers become rigid and fracture when overnight conditions shift 30 degrees
- The exterior geometry achieves a tight fit that prevents line snagging and eliminates voids where floating debris can accumulate and generate mechanical forces that separate bumpers from their mounts
What requires planning around
- Installation demands drilling, bolting, and proper torque application — this isn’t a single-fastener attachment, which is precisely the reason it maintains its position through repeated impact events
- Per-unit cost exceeds budget-focused dock supply options, but once you factor in that you won’t be replacing this bumper every storm season, the economics favor the premium choice
I’ll be honest—when I first priced these out against the cheaper marina bumpers, I hesitated for about five minutes. Then I did the math on labor, replacement frequency, and the risk of a boat getting damaged, and I clicked the order button. Pick up a HULL HUGR Marina Bumper and install it right, and you’ll skip the lesson I learned the hard way.
Frequently Asked Questions
How far below waterline should dock bumpers start?
Bumper coverage should start at least 12 inches below normal waterline and extend up to 6 inches above your predicted maximum surge height. During a storm, surge makes boats ride higher and shift laterally, so the contact point of the hull moves dramatically from its normal position. That wider footprint prevents hull contact with underlying dock structure.
What size cleat do I need for a 24-foot boat?
Your cleat length should be approximately 1 inch for every foot of boat length, minimum. For a 24-foot boat, that means at least a 24-inch cleat for primary tie-off locations. Most residential installations feature 8-inch cleats everywhere, which is acceptable for fair-weather anchoring but undersized for hurricane-level line tension.
Why do my dock cleats fail before bumpers do?
Cleats fail first because they carry the entire load of holding your boat during surge. Watch for rust bloom indicating corrosion underneath, bolt creep showing wood movement, and fasteners that spin when torqued—that means the backing plate has failed. A failed cleat means your boat owns the dock until something else gives.
What stainless steel should I use for hurricane-zone dock cleats?
Marine-grade 316 stainless steel is the standard for any cleat carrying storm-loaded lines. Zinc-plated steel oxidizes into worthlessness by season two. Aluminum works fine where loads stay light, but cleats handling hurricane-force winds need 316 SS. You’re spending $8 to $15 more per cleat than cheap alternatives, and that’s money well invested.
Why do I need backing plates under dock cleats?
A 3-inch by 3-inch backing plate spreads load across exponentially more surface area. Without backing plates, direct hit from surge can yank cleats straight through the wood—the bolts don’t snap, the deck wood tears out around them. A 1/4-inch 316 stainless backing plate costs $6 to $12 per plate and takes five minutes to install.
What’s the correct spacing for bumpers along my dock?
Mount bumpers at 24-inch centers along the boat-facing dock edge. For a standard 24-foot slip, that works out to roughly ten or twelve bumper locations. Some builders space them 36 inches apart to reduce cost, but I’ve watched boats work between widely spaced bumpers during heavy surge and make direct contact with dock structure.
Sources and further reading
About This Article

Written by Trent Hollis. Waterfront homeowner turned DIY obsessive. After two decades tinkering with my own dock, seawall, and boat lift on the Gulf Coast, I share everything I've learned about waterfront construction, boat lift maintenance, and coastal living projects. More about this site.
Scope and limits. Trent is a waterfront homeowner, not a licensed marine contractor. Structural, electrical, and lift work should go to a licensed marine contractor, and most in-water work needs a permit before you start.
Verify this against a primary source
Specifics change, and your situation may differ from the one described here. These are the authorities worth checking directly:
- ABYC — marine electrical and construction standards
- U.S. Army Corps of Engineers — permitting for work in navigable waters
- NOAA Tides & Currents — tidal range and water level data for your site