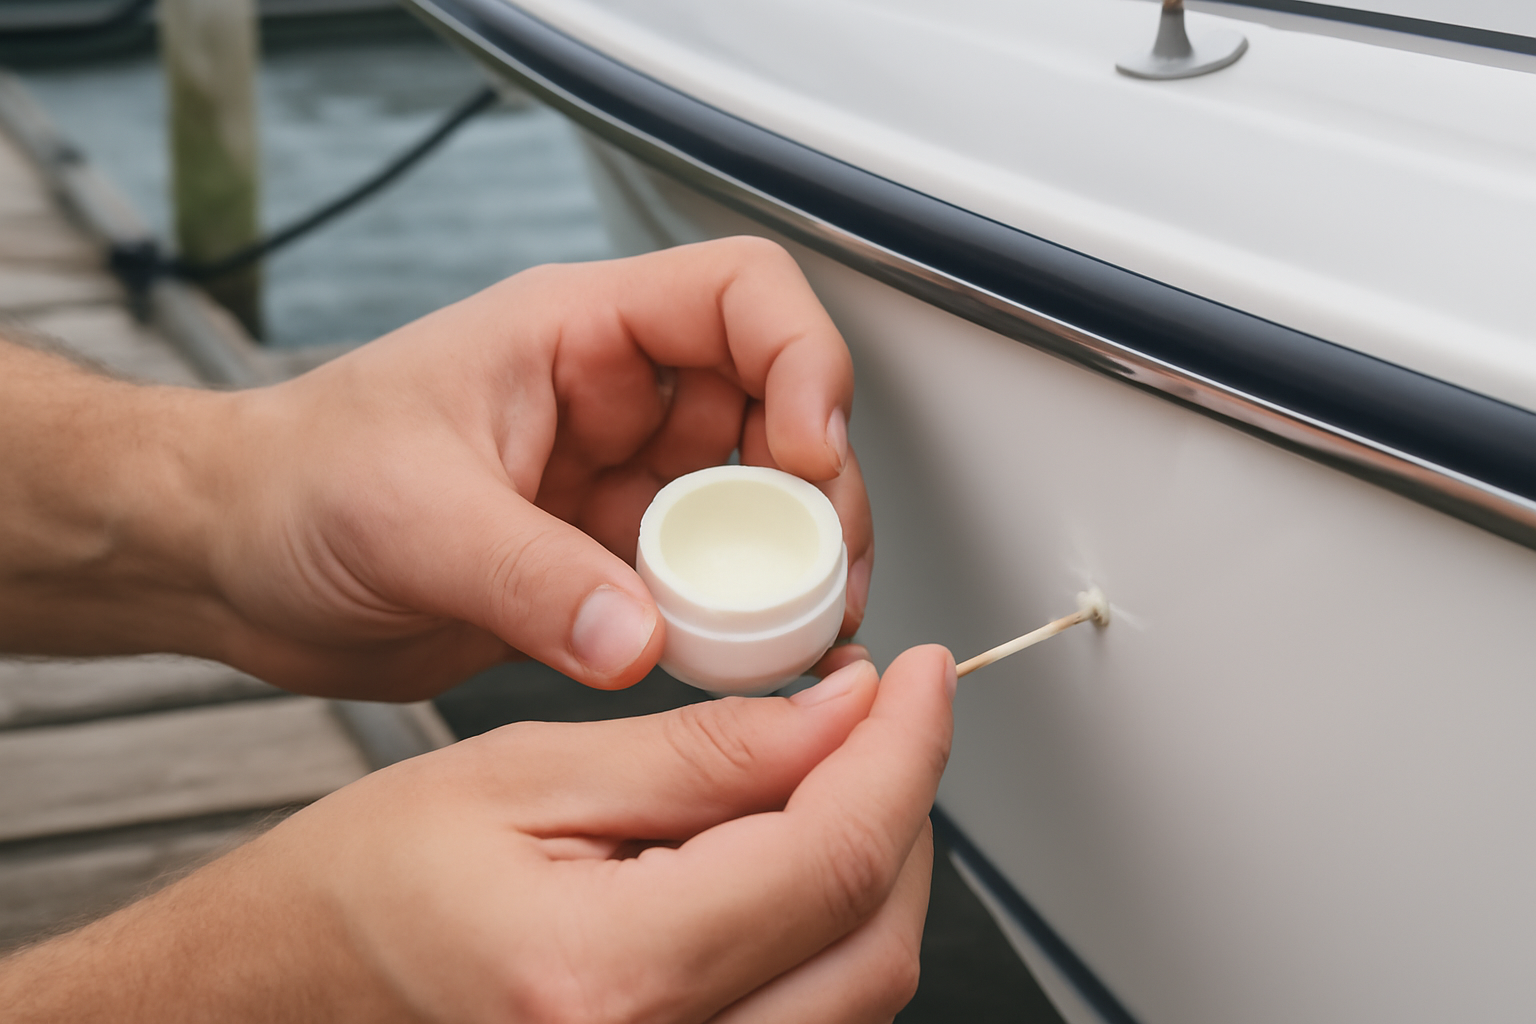
That moment when you spot a fresh gouge in your gel coat hits different when you know what it costs to ignore it. A neighbor of mine put off fixing a dime-sized chip for two seasons — moisture worked underneath, delamination spread, and when he finally called a shop, the quoted repair ran $1,200 and took three weeks. The chip itself would have taken an afternoon and forty bucks in materials. Gel coat chip repair at the dock as a DIY skill separates boat owners who hold their investment steady from those who watch small damage metastasize into major headaches. Twenty years working Gulf Coast docks have taught me one thing with certainty: most chips are entirely manageable for someone willing to follow the right steps and use the right materials, and the overwhelming majority of boat owners never bother learning how.
Where I see people stumble most often: they identify a chip, grab whatever filler is closest at the hardware store, and rush through prep work like it doesn’t matter. Predictably, six months pass and the repair is yellowed, separating at the edges, or webbed with fine cracks. Then I get called. I’ve extracted more failed DIY gel coat work from hulls than successful attempts, frankly. The actual repair task isn’t hard — but surface preparation and material selection are the real job, and that’s where most attempts fail.
This post covers exactly how I perform gel coat chip repair, starting with what tools you need and finishing with the polish that makes the work invisible. I’ll share where my own mistakes taught expensive lessons, which shortcuts actually cost you money instead of saving it, and the honest moment when calling a professional beats doing it yourself. Let’s walk through this together.
What Gel Coat Actually Is — and Why It Chips
Gel coat sits as the topmost resin layer on fiberglass hulls, typically measuring between 0.015 and 0.020 inches thick — imagine a credit card sliced into thirds, and you’ve got the thickness. This thin barrier is your boat’s main line of defense: it blocks UV rays, stops water from penetrating the laminate below, and prevents the osmotic blistering that ruins expensive fiberglass. Strip that layer away with a chip, and you’ve exposed the underlying structure to moisture damage.
The reasons chips appear vary. Direct impact from a dock corner, floating debris, or another boat creates the most common damage I encounter. Thermal stress — endless cycles of Gulf heat expanding and winter cool shrinking the fiberglass — generates tiny fractures that eventually pop. Moisture already trapped in the laminate can push up from underneath and fracture the gel coat layer outward. Understanding which damage you’re facing actually matters, since a chip from internal moisture points to a deeper problem that needs fixing before you waste time on cosmetic patching.
Press a coin edge or screwdriver shaft gently around the damaged spot. Solid contact and a firm tone mean your laminate beneath is healthy. A hollow, dead-sounding tap suggests delamination, which is delamination — a completely different repair conversation. For this guide, I’m working with the assumption you have impact damage with sound laminate underneath — the situation I see in roughly four of every five repairs I’m asked about.
Assembling Your Materials and Tools Before You Touch the Hull
Gathering everything before you start means you’re not halfway through the job hunting for acetone or running to town for sandpaper. Here’s what ends up in my tool bag for a typical chip repair:
- Shade-matched gel coat in paste or pourable form (I’ll explain color matching next)
- MEKP hardener — the catalyst that makes gel coat cure — normally bundled with kits
- Acetone to strip wax and contaminants from the surface
- Five sandpaper grits: 80, 220, 400, 800, and 1500 — all wet/dry type
- Spreaders and mixing implements made from plastic or wood
- Disposable mixing vessels with roughly 1 oz volume
- Painter’s tape for edge control
- A rubbing compound designed for marine surfaces, applied with a buffer or cloth pad
- Polyvinyl alcohol release agent to seal the surface during the hardening phase
Plan to spend somewhere between $40 and $80 when starting completely fresh with materials. If acetone and sanding supplies are already in your shed, that number drops to around $25. Your color-matched gel coat carries the bulk of the expense. By comparison, a professional repair quote for even a modest chip in this region typically sits between $150 and $300, so the financial case for doing this yourself is quite strong.
Matching Your Boat’s Gel Coat Color Correctly
This detail trips up more DIYers than any other. Gel coat oxidizes and lightens over years, so pulling a fresh factory color off a shelf produces a mismatch with your older, weathered hull. Nearly all major boat manufacturers — Glastron, Grady-White, Mako, Boston Whaler — publish their OEM gel coat color codes that identify exactly what was applied at the factory. Use that as your starting point. But if your boat has seen more than three seasons of sun, you’ll usually need to adjust the new gel coat slightly warmer or slightly lighter to blend with the faded surrounding area. Make test mixes on white cardboard scraps, allow them to cure under a release coat, and compare them in natural sunlight against the hull before you commit to the permanent repair.
Gel Coat Chip Repair Dock Side DIY — The Complete Procedure
I’ve completed this process several hundred times — ranging from hairline chips on recreational fishing boats to more extensive cosmetic work on commercial-use vessels. The core steps stay consistent regardless of damage size. The real variable is how much patience you’re willing to invest, and that’s absolutely essential to getting results that matter.
Step 1 — Strip and Scuff the Repair Area
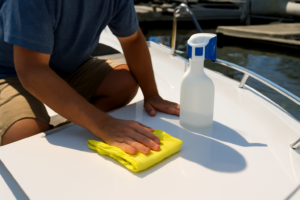
Scrub the affected zone with acetone on a lint-free cloth, working methodically. You’re dissolving wax, removing salt spray residue, eliminating oils, and clearing away anything that blocks adhesion. Repeat this cleaning pass one more time. Then grab your 80-grit sandpaper and roughen both the interior of the chip and approximately half an inch of gel coat radiating outward. This roughening creates surface texture so the new material can mechanically grab and hold. Clean one final time with acetone once sanding is complete, and let the solvent evaporate fully — you’re looking at about 5 minutes on a warm afternoon.
Step 2 — Blend, Pour, and Seal the Repair
Combine your gel coat with MEKP catalyst using the manufacturer’s specified ratio — you’re typically mixing 1.5–2% MEKP by volume. On an 80-degree day, you’ll have roughly 10–15 minutes before the material hardens too much to work with. Use your plastic spreader to press the gel coat into the damaged area, slightly overfilling so it rises above the surrounding surface plane. Without delay, coat the fresh repair with PVA mold release — either spray or brush application — because gel coat needs oxygen exclusion to fully harden, and PVA creates that barrier. Allow at least 2–3 hours of cure time before you attempt any further work.
Step 3 — Progressive Sanding for a Seamless Blend
Once fully cured, water rinses away the PVA layer. Begin wet-sanding using 220-grit to level the raised repair surface, advancing through 400, 800, and finally 1500 grits in sequence. Maintain constant moisture on the paper, and use a sanding block to preserve a flat, even cutting plane. This graduated grit progression is what separates an invisible repair from one that announces itself — this is where the real artistry lives. Many first-timers rush or skip intermediate grits, which is the single most common performance killer. Patient progression matters: every grit stage eliminates the microscopic scratches left by the previous stage.
Step 4 — Buff and Protect the Finished Surface
After 1500-grit sanding, the area will appear chalky and dull rather than shiny. Work a marine-grade polishing compound across the repaired zone with a foam buffing pad — by hand or electric tool, whatever access allows — using tight circular motions. Continue until the polished section achieves the same gloss as the surrounding original finish. Seal everything with UV-resistant marine wax applied per product instructions. This final layer is genuinely important: fresh gel coat completely lacks factory wax protection, leaving it vulnerable to immediate UV fading without a topcoat barrier.
The Mistake That Taught Me Everything About Doing This Right
Back when I tried this on my personal 1993 Wellcraft Coastal, I decided PVA was optional and opted for wax paper as a substitute — an internet suggestion I should have ignored. The repair hardened solid in the middle but remained gummy at the perimeter where wax paper failed to seal properly. I had no choice but to grind out the entire repair and start from scratch — miserable hours spent on finished fiberglass that I’ll never get back.
PVA is mandatory, not negotiable. A single spray can costs roughly $12 and handles dozens of repairs, stocked everywhere that marine supplies are sold. There’s no creative substitution here. That Saturday taught me to stock PVA as a permanent inventory item alongside all my gel coat materials — it’s standard equipment now, not an afterthought. The time and frustration that single mistake cost me is why I’m telling you: don’t improvise when a thirteen-dollar product does exactly what you need.
Bottom Paint, Laminate Protection, and Why Your Repair Needs a Bigger Strategy
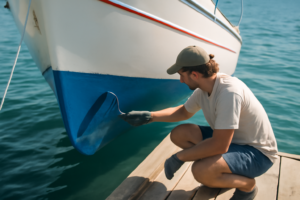
Most gel coat repair guides ignore this entirely: if your boat spends serious time in water — especially along the Gulf where marine growth and fouling organisms work overtime — your bottom paint is equally important as your gel coat in defending the fiberglass structure. A flawless gel coat touch-up becomes meaningless if bottom paint is deteriorating and water is seeping into the laminate from below the waterline.
Last spring a Pensacola owner brought me his 26-footer after he’d done solid work repairing several waterline chips himself. Problem: he hadn’t refreshed his bottom paint in three years. When we hauled the boat, osmotic blistering was already starting below the waterline — exactly the kind of moisture penetration that proper bottom paint prevents. Patching gel coat chips while ignoring the bottom is like fixing roof shingles while your gutters rot out underneath.
The Protective System That Keeps Small Chips From Becoming Laminate Problems
Gel coat chips aren’t just an appearance issue. Moisture infiltrates, settles under the damaged spot, and what began as a minor ding evolves into serious delamination that demands expensive intervention. I needed something that would actually adhere to compromised gel coat and form a protective seal that persists through constant dock environment exposure and wild temperature swings.
What delivers results
- Ablative technology means the coating gradually wears away as your boat moves, instead of sitting static and trapping water underneath the repair — I’ve watched this material shed predictably without generating moisture pockets like traditional coatings do.
- Adheres dependably to damaged or compromised gel coat regions where conventional marine paint simply peels; I’ve sealed chips right at the waterline through two consecutive seasons of tidal stress and severe weather without failure.
- Dark shade naturally disappears into hull shadows and contours, making repairs fade into the background instead of screaming “I fixed this myself” — surprisingly important if you’re eventually selling or just want the boat looking factory-correct.
What creates extra work
- Demands real surface prep first — you can’t just brush this over wet, dirty, or inadequately prepared damage and expect good results; the foundation has to be solid, which adds another layer of labor before the can even opens.
- Represents overkill for minor above-waterline scratches; you’ll end up with leftover product gathering dust for years, and a gallon container exceeds what most individual dockside repairs actually consume.
I’ll admit the first time I used this I second-guessed whether an ablative paint was really necessary for a stationary dock-side repair—wouldn’t standard epoxy work fine? But after watching two previous quick-fix attempts fail within a season, I realized I was being penny-wise and pound-foolish. Grab a TotalBoat JD Select Ablative Antifouling Bottom Paint — Black, Gallon and actually solve the problem instead of creating a revolving-door repair cycle.
Frequently Asked Questions
How thick is gel coat on a fiberglass hull?
Gel coat typically measures between 0.015 and 0.020 inches thick — imagine a credit card sliced into thirds. This thin barrier blocks UV rays, stops water from penetrating the laminate below, and prevents osmotic blistering that ruins expensive fiberglass.
What materials do I need for gel coat chip repair?
You’ll need shade-matched gel coat in paste or pourable form, MEKP hardener catalyst, acetone, five sandpaper grits (80, 220, 400, 800, and 1500), plastic spreaders, disposable mixing vessels, painter’s tape, marine rubbing compound, and polyvinyl alcohol release agent. Plan to spend between $40 and $80 starting completely fresh.
Why is polyvinyl alcohol release agent mandatory for gel coat repair?
Gel coat needs oxygen exclusion to fully harden, and PVA creates that barrier. Without it, the repair hardens solid in the middle but remains gummy at the perimeter. A single spray can costs roughly $12, handles dozens of repairs, and is not negotiable.
How long does gel coat cure before sanding and polishing?
Allow at least 2–3 hours of cure time before you attempt any further work. Once fully cured, water rinses away the PVA layer, and you can begin wet-sanding with 220-grit sandpaper in progression through finer grits.
Sources and further reading
About This Article

Written by Trent Hollis. Waterfront homeowner turned DIY obsessive. After two decades tinkering with my own dock, seawall, and boat lift on the Gulf Coast, I share everything I've learned about waterfront construction, boat lift maintenance, and coastal living projects. More about this site.
Scope and limits. Trent is a waterfront homeowner, not a licensed marine contractor. Structural, electrical, and lift work should go to a licensed marine contractor, and most in-water work needs a permit before you start.
Verify this against a primary source
Specifics change, and your situation may differ from the one described here. These are the authorities worth checking directly:
- ABYC — marine electrical and construction standards
- U.S. Army Corps of Engineers — permitting for work in navigable waters
- NOAA Tides & Currents — tidal range and water level data for your site