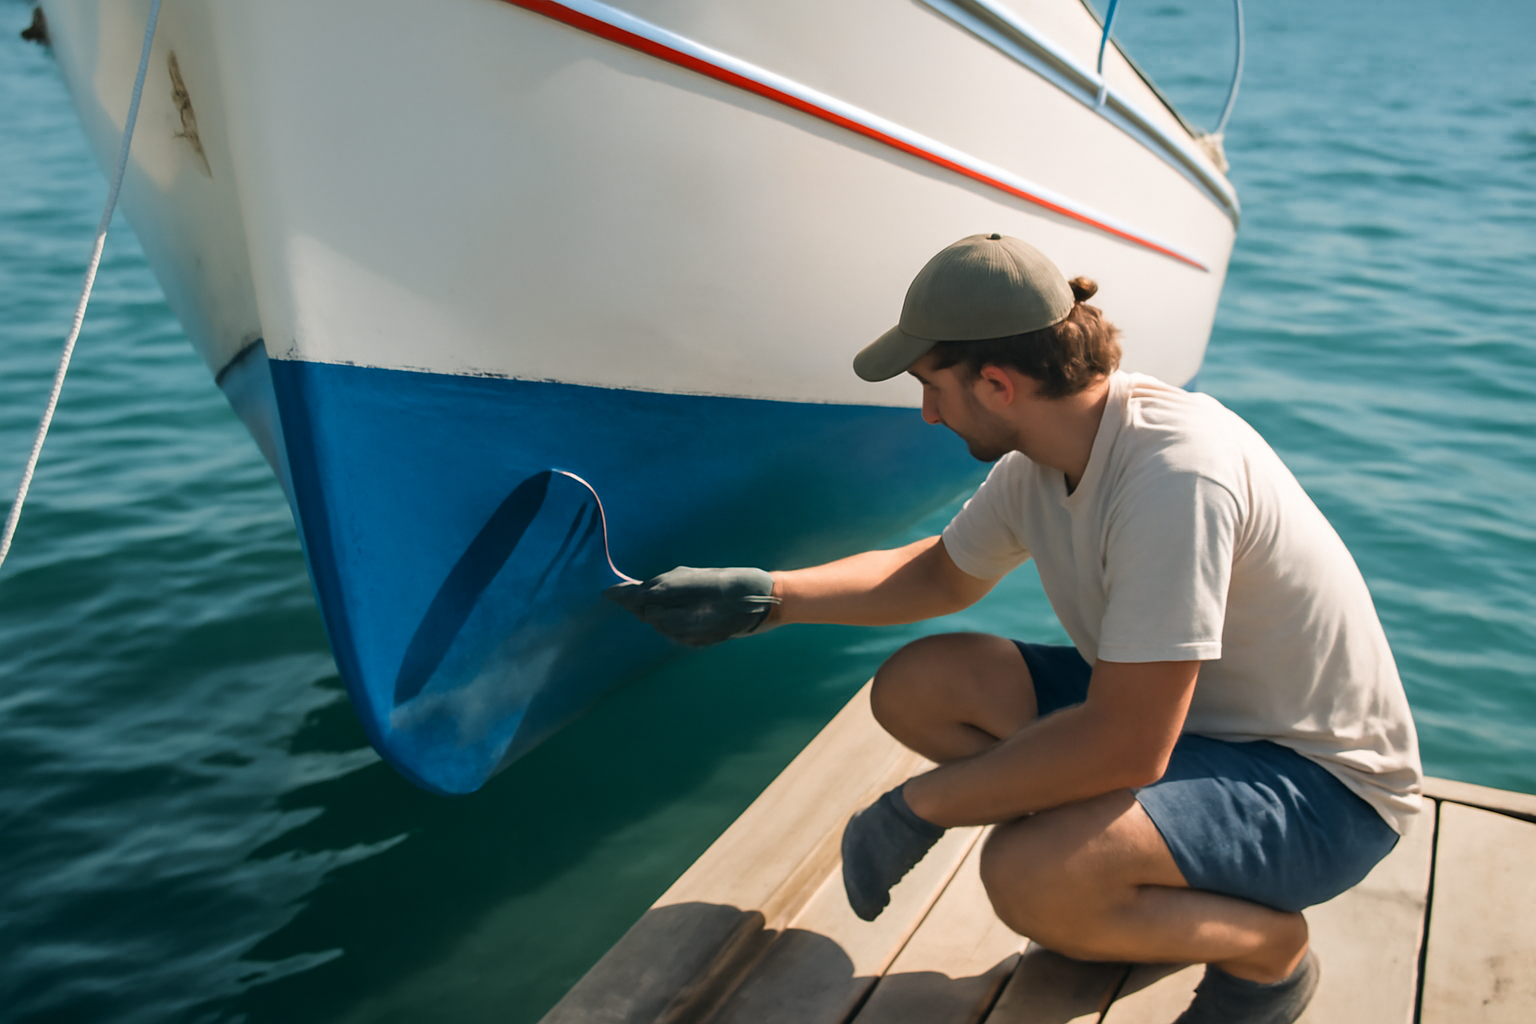
Hurricane season along the Gulf reminds boat owners of something basic and hard to ignore: a hull fouled with growth becomes a liability. What starts as a thin slime coat thickens into weed and barnacle buildup that slows your boat, burns extra fuel, and eventually puts stress on your engine and steering systems. For twenty years, I ran a marine contracting operation doing hull work from Pensacola to Galveston, and every June, the same conversation repeats itself — owners calling around for haul-out quotes, shocked by the numbers, convinced they have no other choice. The truth is different. Applying bottom paint without a travel lift is entirely within reach for most recreational boat owners, and I’ve been doing it myself for longer than I care to count. You need method, materials, and realistic expectations — but the heavy-duty boatyard bill? That’s optional.
My own evolution on this started with a 19-foot center console moored at a private slip near Pensacola Bay. The hull was collecting growth faster than I wanted to admit, performance was dropping, and the local yard wanted $300 just to haul and block her for paint work. Instead, I borrowed techniques I’d seen Gulf Coast working fishermen employ for decades and built a repeatable sequence that delivers solid results on boats up to roughly 26 feet. That first pass taught me as much through mistakes as through successes.
What follows is the exact process I still use, broken down into sections covering tools, materials, technique, and the genuine boundaries where you should hand the job to a professional. Not every boat fits this approach, and I’ll be straight about which ones don’t.
Why Dock-Side Bottom Painting Is a Legitimate Option
Boatyards depend on haul-out revenue — and there’s nothing wrong with that business model. For trailerable or shallow-draft vessels stored at a private dock, though, the yard becomes unnecessary overhead. The operative word is dock-side, which in practice means working in sections, tilting your boat deliberately to expose the submerged hull portions in manageable stages. This is careenage, a method that predates modern marinas by centuries.
I’ve found it works reliably on hulls between 15 and 26 feet with moderate or relatively flat deadrise. A high-V bottom becomes increasingly difficult to access safely from a dock. Sailboats fitted with keel appendages fall outside the practical range — you simply can’t reach the keel root and lower sections without hydraulic lifting equipment.
Regulatory terrain matters too. Check with your regional Army Corps office and your state’s environmental division about application protocols near waterways under federal or state jurisdiction. The Gulf Coast states maintain restrictions on copper-dense paints in freshwater environments. Verify your chosen product meets discharge standards for your water body before opening the can.
Materials and Protective Equipment: What You Absolutely Cannot Skip
Bottom paint formulations contain biocides designed to kill. That’s the entire reason you’re using them. These chemicals demand respect. In my routine, I double-glove with nitrile, wear a respirator cartridge-rated for organic solvents (not a basic paper dust mask), protection for the eyes, and single-use Tyvek covering. Budget $40–$60 for a complete PPE setup if you’re starting from scratch. This isn’t the place to economize.
Beyond personal protection, gather these supporting supplies:
- Bumpers or fender boards capable of supporting your vessel’s weight safely
- A minimum of four dock lines, preferably six, for managing the controlled tilt
- A working bilge pump you’ve operated recently and trust completely
- 3-inch foam rollers compatible with solvent-based finish systems
- A 2-inch brush for waterline margins and transom corners
- Marine-grade masking tape in blue (3M brand is reliable)
- Wet/dry sandpaper in 80 and 120 grits
- A disposable paint container you can discard after the job finishes
The entire toolkit costs between $80–$120 out of pocket. Set that against a typical boatyard invoice of $250–$500 and the decision becomes straightforward.
Dock-Side Application Without a Travel Lift: Complete Procedure
Here’s the sequence as I execute it. These steps evolved through seasons of trial and adjustment.
Step 1 — Allow Complete Evaporation of Hull Moisture
Position the boat at the dock in normal configuration. Give the hull a minimum of 24–48 hours to lose surface moisture before any sanding or paint application begins. In Gulf humidity, I rarely proceed faster than 48 hours, and longer is better when your schedule permits. A damp substrate rejects paint adhesion. During this drying window, examine the existing coating for blistering, soft zones, or evidence of osmotic intrusion beyond just surface paint. Should you find any, repair those issues before applying new material — fresh paint only masks underlying damage.
Step 2 — Abrade and Cleanse the Hull Surface
My 23-foot Mako taught me this lesson in 2009. I convinced myself the existing coating was in good enough shape to skip heavy sanding. By midsummer, the new paint was separating in patches. Since then, I approach every hull with 80-grit abrasive to strip the surface completely, finishing the pass with 120-grit for superior paint bite. After sanding, use a tack cloth and a solvent appropriate to your paint system. Omitting this step guarantees disappointment.
Step 3 — Tilt the Hull to One Side Systematically
This maneuver unlocks the entire dock-side method. Move weight deliberately toward one side of the boat — stow coolers, water containers, and gear to create a list of approximately 25–35 degrees. This tilting exposes the underwater portion on the high side. Use spring lines to secure the boat against unintended movement. Bring a helper. An uncontrolled roll carries genuine risk.
Once the hull is tilted and stable, apply your first paint coat over the exposed zone. Wait for tack-dry conditions per product directions (typically 2–4 hours), then apply coat number two. After completion on that side, carefully rebalance the boat and repeat on the opposite side. Waterline and stern sections remain accessible without tilting.
Step 4 — Mask and Paint the Waterline and Boot Stripe
Apply marine masking tape along your waterline with precision and care. This detail separates a polished job from a sloppy one. Position the tape along the existing boot stripe, press thoroughly, and trim a clean perimeter with a utility knife if necessary. The waterline experiences the highest concentration of fouling organisms and mechanical wear, so your coverage and paint thickness matter here more than anywhere else on the hull.
Selecting Ablative Bottom Paint for Long-Term Durability Between Lifts
When you’re painting from the dock without boatyard access, your paint choice becomes critical. Ablative bottom coats continuously shed a thin microscopically thin layer as your boat moves through water, revealing fresh biocide-loaded material underneath. This self-polishing action maintains protective performance even when dock-side application methods fall short of boatyard standards.
The advantages
- Maintains protective capacity across multiple seasons without requiring a haul-out cycle—essential if you’re managing maintenance personally rather than relying on annual yard visits.
- Tolerates surface irregularities and preparation limitations inherent in dock-side work—no drips or sags like hard-shell antifouling paints demand.
- Container sizes suit recreational applications perfectly—large enough for thorough coverage but manageable when you’re positioned on a ladder above water.
The limitations
- Per-gallon cost exceeds hard-shell paint substantially, though extended intervals between applications recover the difference in labor and material economy.
- Narrow weather and environmental window for application—you need clear skies and patience, conditions dock schedules don’t always accommodate.
I had one season where I stretched a cheap hard-shell job too long between haul-outs and watched the bottom get fouled faster than I could manage it—that’s when I switched to ablative and never looked back. If you’re serious about dock-side maintenance, grab a gallon of TotalBoat JD Select Ablative Antifouling Bottom Paint (Black, Gallon) and budget the extra time for proper curing between coats.
Frequently Asked Questions
How long should I let my hull dry before sanding and painting?
I give the hull a minimum of 24–48 hours to lose surface moisture before any sanding or paint application. In Gulf humidity, I rarely proceed faster than 48 hours, and longer is better when your schedule permits, since a damp substrate rejects paint adhesion.
What angle should I tilt my boat to paint the bottom?
I move weight deliberately toward one side of the boat to create a list of approximately 25–35 degrees, which exposes the underwater portion on the high side. Use spring lines to secure the boat against unintended movement and bring a helper, since an uncontrolled roll carries genuine risk.
What’s the total cost for dock-side bottom painting tools and supplies?
The entire toolkit costs between $80–$120 out of pocket. Set that against a typical boatyard invoice of $250–$500, and PPE alone runs $40–$60 if you’re starting from scratch.
Which boat sizes work best for dock-side bottom painting?
I’ve built a repeatable sequence that delivers solid results on boats up to roughly 26 feet with moderate or relatively flat deadrise. A high-V bottom becomes increasingly difficult to access safely from a dock, and sailboats fitted with keel appendages fall outside the practical range.
Sources and further reading
About This Article

Written by Trent Hollis. Waterfront homeowner turned DIY obsessive. After two decades tinkering with my own dock, seawall, and boat lift on the Gulf Coast, I share everything I've learned about waterfront construction, boat lift maintenance, and coastal living projects. More about this site.
Scope and limits. Trent is a waterfront homeowner, not a licensed marine contractor. Structural, electrical, and lift work should go to a licensed marine contractor, and most in-water work needs a permit before you start.
Verify this against a primary source
Specifics change, and your situation may differ from the one described here. These are the authorities worth checking directly:
- ABYC — marine electrical and construction standards
- U.S. Army Corps of Engineers — permitting for work in navigable waters
- NOAA Tides & Currents — tidal range and water level data for your site