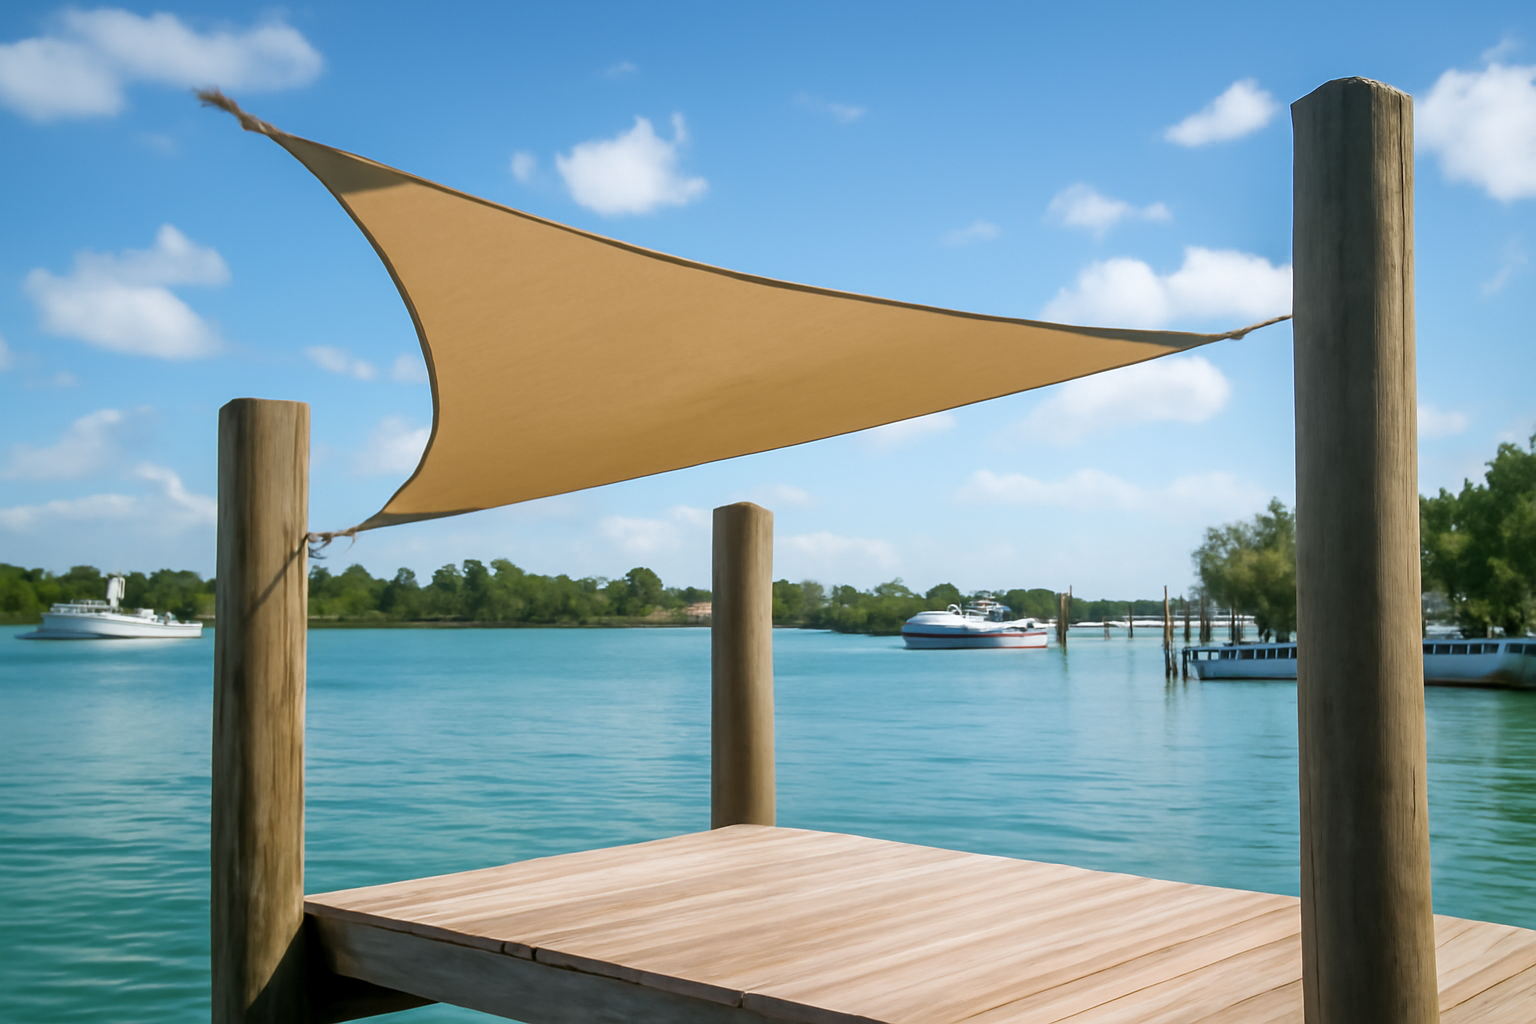
Two summers back, a shade sail tore loose from a dock a quarter mile up the canal. The homeowner had fastened standard eye bolts directly into pressure-treated 4×4 posts that were also supporting his dock canopy structure. One afternoon brought a squall, and suddenly two of those posts were bent nearly 15 degrees off vertical, the sail tangled around a neighbor’s boat lift, and he was facing roughly $2,400 in damage bills. That’s when he reached out to me. Getting your shade sail dock rigging attachment points wrong isn’t simply a cosmetic problem. On the Gulf Coast, it’s a structural hazard that’s just waiting for the right wind to activate it.
Two decades of building, fixing, and reinforcing docks stretching from Pensacola all the way to Port Aransas have shown me hundreds of shade installations — fabric sails, wood pergolas, anodized aluminum frames, tensioned canvas systems. The error I encounter most often from homeowners tackling this themselves is treating dock shade rigging as if it were a residential patio job. It’s fundamentally not. Salt spray, moisture load, wind pressure, and the perpetual motion of floating dock platforms produce stresses that will exploit any attachment weakness you’ve overlooked. This guide takes you through execution that actually works.
Whether you’re anchoring a simple three-corner sail or constructing a comprehensive overhead system, the fundamentals remain consistent. Sound attachment locations, marine-appropriate hardware, balanced force distribution, and a clear-eyed appraisal of your dock’s structural capacity. Let’s dig in.
Why Shade Sail Dock Rigging Attachment Points Fail (And How to Read Your Dock First)
Before you even think about ordering hardware, you have to understand what you’ll be anchoring to. This is precisely where DIY installations unravel. Docks aren’t fixed, inert structures — even permanent pilings show movement, and floating platforms exhibit substantial vertical and lateral motion during surge and boat wake conditions. That motion creates cyclical stress on attachment fasteners, which operates completely differently from the static pressure a residential fence post experiences.
Three critical factors demand your attention. First, what material comprises your dock substructure — pressure-treated timber, composite decking, or welded steel? Second, how long has it been in service, and has maintenance been consistent? Third, what wind velocity does your jurisdiction require structures to withstand? My region of the Gulf Coast operates under Florida Building Code standards that mandate 130 mph design loads across many coastal zones. That’s a requirement, not guidance. Should your dock sit within a V-zone or AE designation — which the majority do — your shade installation may demand permitting and professional engineering certification. Contact your local building authority to verify before breaking ground.
Experience taught me this lesson in 2009 when I was still establishing myself as an independent contractor. I engineered and installed a sophisticated shade sail system over a floating dock platform in Navarre Beach — excellent fasteners, proper rigging knots, ideal geometric angles. What escaped my assessment was internal decay lurking within the posts themselves. The exterior showed no signs of trouble. The heartwood, though, had deteriorated from years of moisture entrapment inside the timber. The sail performed flawlessly. The posts failed. That project instilled in me the discipline to always probe every timber with an awl before trusting it to carry load-bearing connections.
Selecting Marine-Grade Hardware for Saltwater Conditions
When operating in a saltwater environment, your fastener selection cannot be compromised. Standard zinc-coated hardware sourced from general contractors’ suppliers will develop visible corrosion within twelve months when exposed to coastal salt air. I’ve documented rust blooming within less than a year. You must specify 316 stainless steel fasteners, not the 304 grade. This distinction carries real consequences. Grade 316 incorporates molybdenum as an alloying element, which provides substantially superior resistance to chloride-induced corrosion (which is what saltwater does).
For shade sail connection hardware, I source forged 316 stainless eye bolts carrying a minimum rated capacity of 500 pounds per attachment location on a typical 12×12-foot sail configuration. This might appear excessive. However, when you factor in the 3:1 safety multiplier that the American Boat & Yacht Council standards mandate for marine applications, combined with the dynamic nature of wind-generated forces, that reserve capacity is genuinely justified. My suppliers of choice are West Marine and Defender International — budget somewhere between $18 and $35 for each quality stainless eye bolt. Galvanized fasteners work fine in interior applications, but saltwater service will degrade them in roughly 24 months.
Don’t overlook the turnbuckles, carabiners, and shackles in your system either. Every single connection joint must operate at the same hardware specification tier. Installing a 316 stainless eye bolt into a zinc-plated carabiner means your assembly is only as capable as that weaker carabiner. Every shade project in a marine context demands stainless hardware across all components. A basic three-point 12×12 sail installation typically requires $150 to $250 in hardware expenses before the sail fabric cost.
Rigging Geometry and How Corner Angles Affect Load Distribution
This surprises many property owners doing their own installation: the geometry of your sail configuration profoundly impacts the force magnitude at each anchor point. Shade sails with corner angles below 90 degrees amplify the tensile forces substantially. Should your corners form 60-degree angles, each attachment experiences load greater than the combined sail weight and environmental wind pressure multiplied together. I consistently design corner angles in the 90 to 120-degree range and pitch the sail surface at 20 to 30 degrees to shed standing water.
Dock Post and Frame Attachment Strategies That Actually Endure
Let me detail the installation techniques I employ on actual projects. On permanent pilings constructed from pressure-treated 4×4 or 6×6 timber, I install eye bolts by boring completely through the post diameter and securing them with backing plates positioned on the inner face. Lag fasteners should never serve as your primary connection for a sail system — lag fasteners embedded in aged, moisture-saturated wood are inherently unreliable. My standard is a 3/8-inch stainless through-fastener with a 2×2-inch backing washer countersunk into the post’s interior surface.
Floating dock platforms require a different methodology due to continuous platform movement. I employ movement-accommodating hardware — specifically swivel-eye bolts or hinged deck attachment plates — permitting the connection joint to articulate as the platform moves vertically and horizontally. Inflexible connections on floating platforms will accumulate fatigue damage and eventually fracture. That’s mechanics, pure and simple. I have replaced numerous rigid connections on floating installations designed by installers who didn’t account for platform movement.
When existing dock posts prove inadequate for the design loads, I construct independent shade support posts. These install 18 to 24 inches into the dock platform using through-bolted footings — surface-mounted footing plates alone are insufficient for marine settings. The Corps of Engineers and most coastal permitting agencies classify any structure built out over navigable waters as part of your dock’s permitted configuration. Never assume your existing dock authorization automatically covers new shade attachments. Phone your area permits office to verify — it’s a five-minute conversation and prevents eventual enforcement action shutdowns.
The Fastening System That Resolved My Shade Sail Slippage Problem
Witnessing that neighbor’s sail catastrophe forced me to reconsider whether standard eye bolts could handle the shearing and lateral forces generated during wind events. Superior fastening hardware had to accommodate stress distribution over greater areas and maintain its grip on the underlying structural member.
Why this design succeeds
- The wider bearing surface—roughly 5 inches spanning the attachment—disperses the sail tension load across a substantially larger footprint of the post material, which prevents localized wood crushing or post fiber separation that occurs when all force concentrates at a single fastener location.
- Marine-specification 304 stainless provides reliable corrosion defense in saltwater and tidal canal environments, avoiding the pitting and material loss that lower-grade hardware experiences within two to three seasonal cycles.
- Boring completely through the post rather than relying on threaded fastener bite ensures your connection anchors into the solid post interior, avoiding the gradual loosening and failure that occurs when threaded fasteners compress the surrounding wood fibers over time.
Where this design creates complications
- The drilling operation requires precision — holes that deviate even fractionally from perpendicular create assembly headaches and potentially demand extended underneath-the-dock wrenching to align fasteners for threading.
- Per-attachment-point expense surpasses basic eye bolts, which stings when your installation involves four or six connection nodes across an expansive shade configuration.
I’ll admit I second-guessed spending this much on hardware when I first priced it out, but after two full seasons of summer storms and the sail staying exactly where I tensioned it, that doubt disappeared fast. Grab the FZENeast Shade Sail Hardware Kit — 5 Inch Super Heavy Duty 304 Marine Grade Stainless Steel and you won’t be rewiring your dock posts next summer.
Frequently Asked Questions
What stainless steel grade should I use for dock shade sail hardware?
You must specify 316 stainless steel fasteners, not 304 grade. Grade 316 incorporates molybdenum, providing substantially superior resistance to chloride-induced corrosion from saltwater. Standard zinc-coated hardware develops visible corrosion within twelve months on the Gulf Coast.
What angle should shade sail corners be to reduce attachment stress?
Design corner angles in the 90 to 120-degree range. Shade sails with corner angles below 90 degrees amplify tensile forces substantially—at 60-degree angles, each attachment experiences load greater than the combined sail weight and environmental wind pressure multiplied together.
How do I attach a shade sail to floating dock platforms?
Floating dock platforms require movement-accommodating hardware—specifically swivel-eye bolts or hinged deck attachment plates—permitting the connection joint to articulate as the platform moves vertically and horizontally. Inflexible connections on floating installations will accumulate fatigue damage and eventually fracture.
Do I need a permit before installing a dock shade sail system?
The Corps of Engineers and most coastal permitting agencies classify any structure built out over navigable waters as part of your dock’s permitted configuration. Contact your area permits office to verify whether your existing dock authorization covers new shade attachments—it’s a five-minute conversation that prevents enforcement action.
Sources and further reading
About This Article

Written by Trent Hollis. Waterfront homeowner turned DIY obsessive. After two decades tinkering with my own dock, seawall, and boat lift on the Gulf Coast, I share everything I've learned about waterfront construction, boat lift maintenance, and coastal living projects. More about this site.
Scope and limits. Trent is a waterfront homeowner, not a licensed marine contractor. Structural, electrical, and lift work should go to a licensed marine contractor, and most in-water work needs a permit before you start.
Verify this against a primary source
Specifics change, and your situation may differ from the one described here. These are the authorities worth checking directly:
- ABYC — marine electrical and construction standards
- U.S. Army Corps of Engineers — permitting for work in navigable waters
- NOAA Tides & Currents — tidal range and water level data for your site