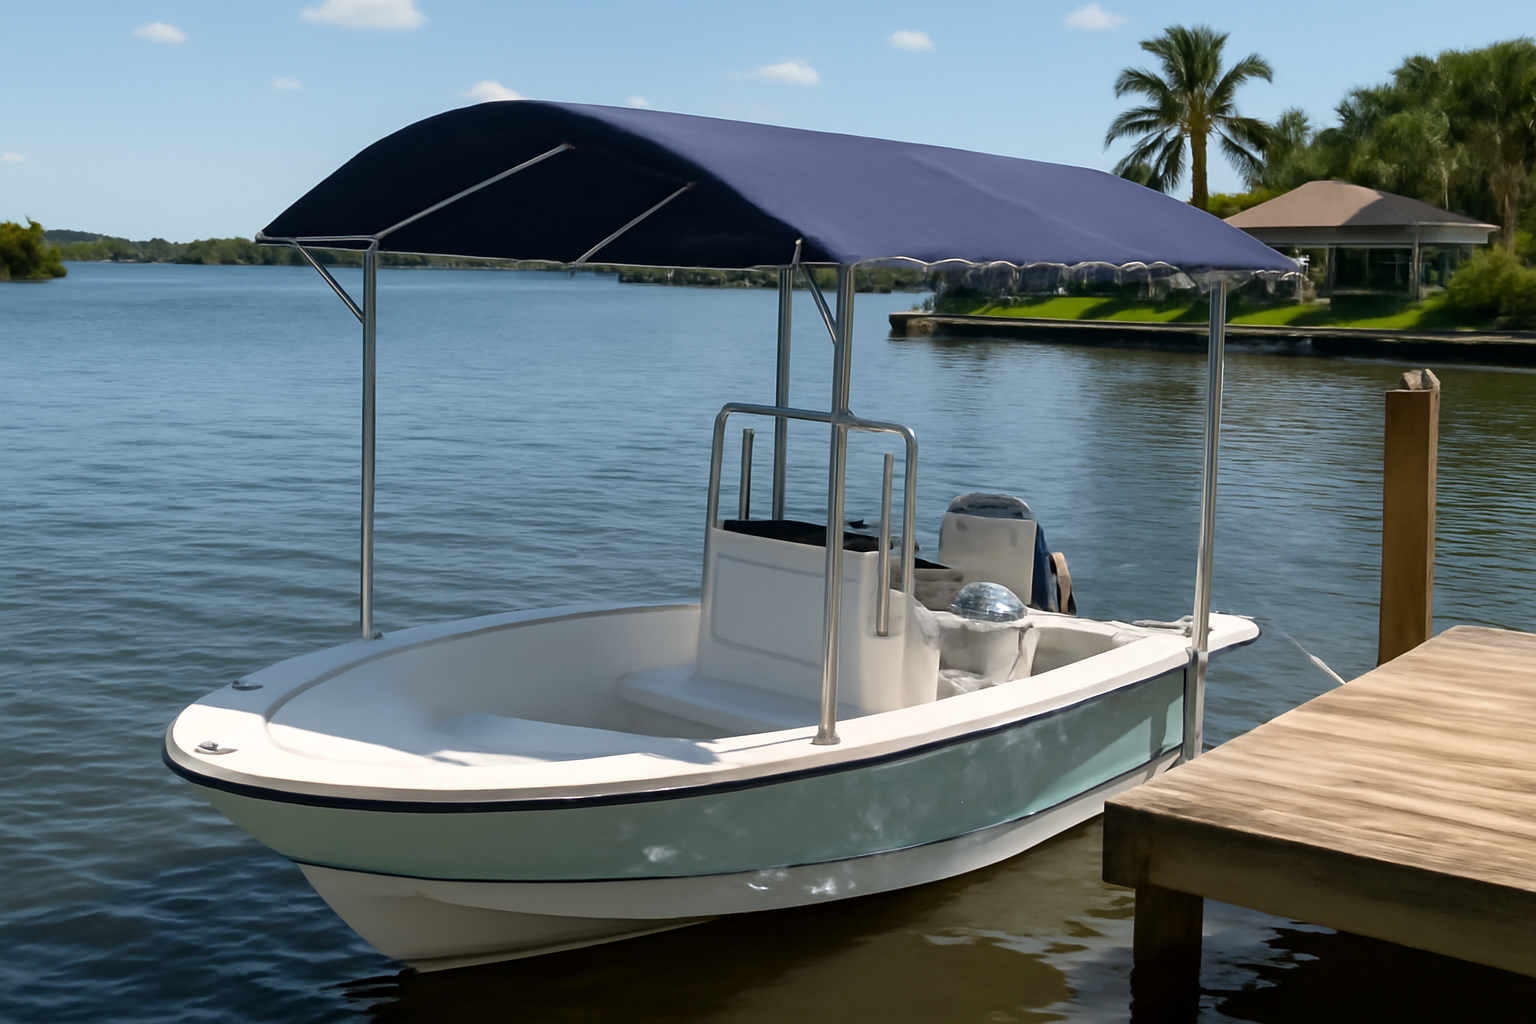
A marine contractor quoted my neighbor $8,500 to install a custom boat canopy on his Gulf Coast dock. He built the same structure himself on a Saturday afternoon for under $900 in materials. That gap — between contractor pricing and what the job actually costs when you’re holding the drill — is exactly why I’m laying out every step of this build. The canopy he built is still standing after three hurricane seasons. More importantly, he understands now what he’s actually looking at when someone hands him an invoice.
Your boat’s protection depends on more than just keeping water off the deck. Overhead shade eliminates UV damage that turns gelcoat chalky and brittle, stops droppings and salt spray from eating through your topside, and keeps engine compartments cool enough to actually function properly in July. Down here on the Gulf, I’ve documented hulls that deteriorated a decade’s worth in twelve months without any overhead protection. That’s not conjecture — it’s what happens when you leave a boat exposed to concentrated heat and salt spray year-round. A solid canopy answers that problem directly.
This walkthrough covers the entire build sequence: structural frame choices, hardware selection, cover materials, installation methodology, and the practical lessons I’ve accumulated working boat lifts and docks for twenty years. I’ll also be honest about which parts demand professional expertise and which ones don’t.
Planning Your DIY Boat Canopy Dock Build From Scratch
Your construction begins with measurements that actually live on paper. Draw out your vessel’s width, how long it sits on your dock, and the vertical clearance your cabin or Bimini top requires. Most center consoles and pontoons demand 8 to 12 feet of headroom measured from the waterline up. Your overhead structure must clear that measurement comfortably, usually by another 18 to 24 inches beyond whatever’s the tallest part of your existing equipment.
Permits catch people off guard, particularly when they skip the paperwork phase. Property sitting on navigable waterways almost certainly triggers Army Corps Section 10 review and jurisdiction. Add state wetland permitting from Florida, Alabama, Mississippi, or Louisiana depending on your location. I’ve seen homeowners invest months and thousands into canopies that got demolished because somebody forgot to check with the county planning office. That phone call takes half an hour and prevents catastrophic backtracking down the road.
Wind engineering matters here in ways that casual builders underestimate. This is hurricane-prone geography. Even if your canopy doesn’t need permanent hurricane certification, ASCE 7 standards call for designs that withstand 110 mph exposure in most nearshore zones. Your post intervals, connection hardware, and foundation anchoring all flow directly from that requirement. My observation after two decades: inadequate frame design ranks as the leading reason DIY boat canopies fail structurally.
Dimensions and Spacing I Reference Repeatedly
- Post spacing: 8 feet maximum center-to-center for typical canopy construction
- Minimum clearance height: 10 feet from dock surface to the underside of horizontal roof members
- Canopy projection beyond boat sides: minimum 18 inches on each flank
- Footprint for a typical 22-footer: roughly 12 feet across and 24 feet fore-aft
- Roof slope: 1:12 slope minimum to ensure water drains properly
Selecting Your Frame Material
This topic generates endless debate in online forums, so I’ll cut straight to it: pressure-treated dimensional lumber combined with industrial-grade aluminum or galvanized connectors represents the practical choice for builders without welding capability. Aluminum structural members are lighter and inherently more rust-resistant, but cutting and connecting aluminum tubing without shop equipment is genuinely complicated. Engineered composite materials have aesthetic value but won’t deliver the load-bearing performance your overhead structure demands.
My education on this came in 2011 through a Perdido Key project. The property owner requested composite beams as roof purlins to complement his dock decking visually. Beautiful for fourteen months. Then a nearby Category 1 hurricane created sustained wind loading that twisted those composite members. Standard pressure-treated 4×4 lumber with proper hardware attachment would have survived intact. Composite structural lumber simply isn’t designed for dynamic overhead loads — full stop.
Pressure-treated #2 Southern Yellow Pine ranked UC4B (suitable for ground and water immersion) represents the superior post material. Unit pricing typically ranges from $18 to $28 per 10-foot length for a 4×4 section depending on regional lumber availability. For a 12×24-foot canopy structure, plan on installing six to eight posts total, putting your raw post expense between $150 and $225 before purchasing connection hardware, fasteners, and covering materials.
Fastening Posts Into Dock Decking
Your canopy’s structural integrity hinges on how securely those posts connect to your existing dock system. Simpson Strong-Tie ABA44Z brackets screwed into dock structure using 1/2-inch hot-dip galvanized carriage bolts represent my standard installation approach. Stainless delivers superior corrosion protection, but hot-dip galvanizing performs adequately when you paint exposed bolt ends with zinc-rich compound. Zinc-plated fasteners deteriorate completely within roughly two years in coastal saltwater environments. The arithmetic is straightforward: hot-dip galvanized fasteners cost approximately 30% extra but deliver 10 to 15 times the lifespan in Gulf conditions. That’s the correct financial calculation.
An Aluminum Joinery Method That Prevents My Canopy Frame From Shifting Under Wind Stress
Twenty years of wrestling with underrated bolted connections and steel joints that oxidized within one season taught me this: your connection hardware carries equal importance to your structural members themselves. JEXALINE connectors resolved my most persistent structural headache: achieving a rigid, sealed connection without requiring shop welding or site fabrication work on a working dock.
What performs
- Factory-predrilled aluminum hardware matches 4×4 pressure-treated geometry precisely, eliminating the dimensional uncertainty that wrecked two separate canopy projects during my early years.
- Anodized finishes require zero maintenance or repainting—won’t oxidize or discolor the adjacent wood the way galvanized steel connections deteriorate under continuous salt spray exposure.
- Installation technique stays uncomplicated and hand-tool friendly; pocket hole joinery and lag bolts suffice, and the resulting frame maintains squareness and rigidity across multiple Gulf hurricane seasons.
What doesn’t work
- These kits coordinate with standard 4×4 sizing specifications, so choosing oversized lumber or combining different dimensions means fabricating custom connectors from scratch anyway.
- The construction process demands patience—a complete frame won’t come together in one Saturday; budget 2–3 days for milling lumber, boring pilot holes, and properly tightening each fastener.
I almost skipped this upgrade and went back to bolting random connectors together, thinking I could save $200 and rely on my “experience.” That decision cost me a frame repair mid-summer and a cover replacement I didn’t budget for. If you’re building from scratch, grab the JEXALINE Heavy-Duty Aluminum Pergola Bracket Kit for 4 x 4 Wood Posts and skip the decade of trial and error I went through.
Frequently Asked Questions
How much headroom do I need for a boat canopy?
Most center consoles and pontoons demand 8 to 12 feet of headroom measured from the waterline up. Your overhead structure must clear that measurement comfortably, usually by another 18 to 24 inches beyond whatever’s the tallest part of your existing equipment.
What’s the cost difference between DIY and hiring a contractor?
A marine contractor quoted my neighbor $8,500 to install a custom boat canopy on his Gulf Coast dock. He built the same structure himself on a Saturday afternoon for under $900 in materials.
How far apart should canopy posts be spaced?
Post spacing should be 8 feet maximum center-to-center for typical canopy construction. For a typical 22-footer requiring roughly 12 feet across and 24 feet fore-aft, you’ll need six to eight posts total.
What fasteners work best in Gulf Coast saltwater?
Hot-dip galvanized fasteners cost approximately 30% extra but deliver 10 to 15 times the lifespan in Gulf conditions. Zinc-plated fasteners deteriorate completely within roughly two years in coastal saltwater environments, making the upgrade worthwhile.
Sources and further reading
About This Article

Written by Trent Hollis. Waterfront homeowner turned DIY obsessive. After two decades tinkering with my own dock, seawall, and boat lift on the Gulf Coast, I share everything I've learned about waterfront construction, boat lift maintenance, and coastal living projects. More about this site.
Scope and limits. Trent is a waterfront homeowner, not a licensed marine contractor. Structural, electrical, and lift work should go to a licensed marine contractor, and most in-water work needs a permit before you start.
Verify this against a primary source
Specifics change, and your situation may differ from the one described here. These are the authorities worth checking directly:
- ABYC — marine electrical and construction standards
- U.S. Army Corps of Engineers — permitting for work in navigable waters
- NOAA Tides & Currents — tidal range and water level data for your site