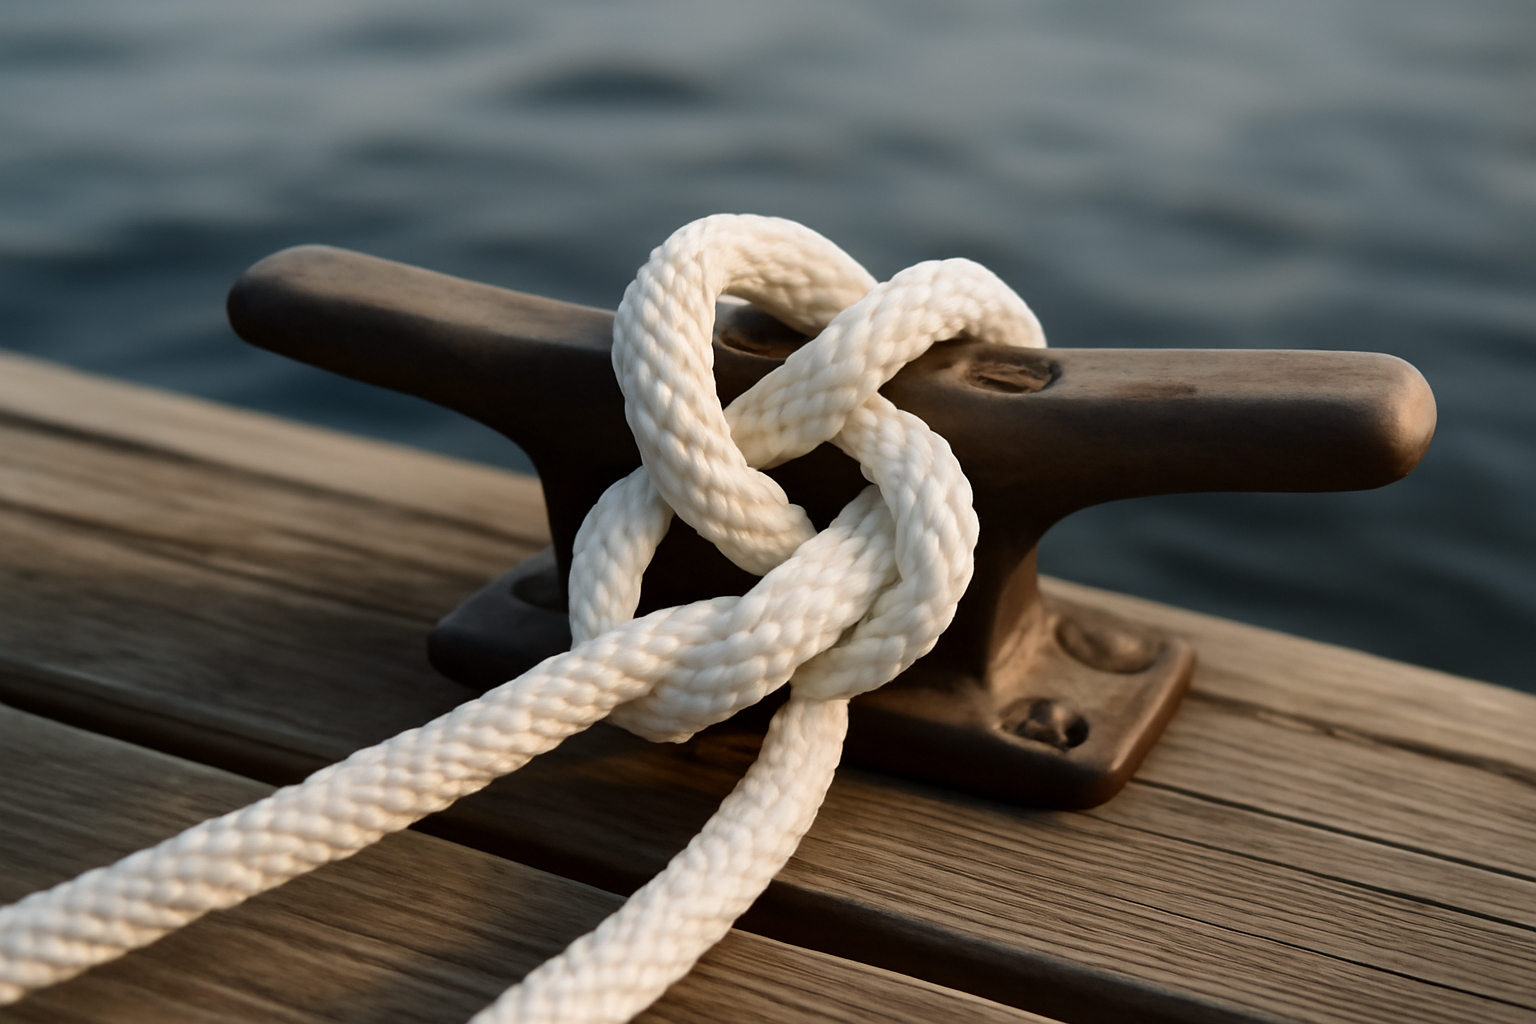
Walk out on any Gulf Coast dock and you’ll spot the difference within seconds: lines that held boats through two hurricanes versus lines that came undone in the first squall. Twenty years of marine construction taught me that gap comes down to one thing — knowing the right knot and tying it correctly every single time. The bowline is that knot. I’ve watched it save boats worth six figures and I’ve watched its absence cost people thousands in damage. If you want to secure a line the way professionals do — how to tie a bowline knot boating style, fast and reliable under real-world pressure — this is where that knowledge starts. But I’ll be straight with you: I once tied a textbook-perfect bowline in rope so degraded it still failed under load, and that mistake cost me a full weekend in the shop.
A few years back, someone brought me photos of a 24-foot center console that had drifted loose from a rental mooring in Pensacola Bay during an afternoon squall. When I examined what remained of the dock line, the culprit was obvious — whoever had secured it used a slipped half-hitch that simply worked loose once the load shifted. That boat ended up taking $2,200 in gel coat damage against a neighbor’s piling. A properly executed bowline would have held without question. That’s the difference we’re talking about.
Most DIY boaters cobble together a few knots from online videos and assume that covers them. But the reality is simpler: master one knot — the right one — and you’re ahead of most people on the water. That knot is the bowline. Let me walk you through exactly how to tie it, and equally important, when it works and when it doesn’t.
When to Use the Bowline Knot on the Water
What makes the bowline special is that it creates a fixed loop at the rope’s end that refuses to slip no matter which direction the load pulls. Under tension, the loop won’t cinch tighter, and when you release the load, it won’t collapse. Find another knot with that combination of properties and you’ve found something rare — and in marine work, rarely necessary.
These are the moments when I reach for the bowline without thinking twice:
- Running a dock line over a bare piling: Thread the finished loop around a cleat-free piling and you’ve got an anchor point that comes free cleanly after days of holding a vessel steady.
- Connecting to a mooring ball: The rigid loop slips through a ring without catching and grips without jamming.
- Setting up a tow under emergency conditions: When you need to thread a loop through a bow eye or stern attachment ring fast, this knot beats alternatives for speed and reliability.
- Rigging fenders to stanchions or life rails: A small bowline loop in 3/8″ diameter line positions fenders exactly where you want them and keeps them there.
- Water rescue situations: A bowline loop created beforehand and thrown to someone in the water gives them something to slip around their torso and grip firmly.
That said, this isn’t a universal knot. Skip it in situations where you need the loop to self-tighten against an object. It’s also not suited for thick, inflexible polypropylene — that material resists the knot geometry and can loosen under repeated shock cycles. More on rope materials in a moment.
Tying the Bowline Knot: A Line-by-Line Breakdown
The learning curve is real — this knot will feel awkward for the first dozen or so attempts. By your twentieth try, your hands will know what to do without your brain having to think about it. I can tie one single-handed in the pitch dark on a soaking wet deck platform. You’ll reach that point. Start on dry ground with clear light and work through these steps methodically before you ever need them under pressure.
Most instructors teach this using the “rabbit out of the hole” memory device: “Rabbit comes out of the hole, around the tree, back down the hole.” It sounds nonsensical until you’re actually doing it. Here’s how that translates to rope movements:
- Position your working end in the hand you favor. The working end is the piece of rope you’re actively manipulating — the free tail. The standing part is the bulk of the line connected to your vessel or anchor point.
- Create a small loop by rotating the standing part. Roughly 18–24 inches from your working end, rotate the rope back toward your body to build a small loop. The standing part slides beneath as you make this rotation. This is “the hole” in the teaching phrase.
- Thread the working end upward through your small loop. From underneath, push your working end up through the opening you just created. This represents the rabbit emerging. Leave a tail of at least 6 inches past the final knot for safety and security.
- Carry the working end around the standing part. Take that working end and circle it behind and across the main line — that long section traveling away from your forming knot. This is the rabbit’s journey around the tree.
- Return the working end through the same loop. Feed the working end back down through that original small loop, retracing its path. Rabbit goes back underground.
- Tighten and position the knot correctly. Pull apart the working end and your finished loop while maintaining tension on the standing part. The knot tightens into a compact, balanced form. A bowline that looks loose or asymmetrical should be untied and redone.
- Verify your tail clearance. You need a minimum of 4–6 inches of working end extending past the completed knot. On heavy-duty applications — securing a 3,000-pound boat in tidal current using 1/2″ double-braid — I personally add an extra inch or two and cinch a half-hitch backup knot for redundancy.
Set this article aside right now and actually tie one ten times in a row. This is physical memory we’re building, not information you’ll absorb by reading.
Which Rope Works Best for This Knot
The rope itself makes or breaks the bowline’s performance. Throughout two decades on the water, I’ve gotten the most consistent results from double-braid nylon in sizes between 3/8″ and 5/8″. The elasticity built into nylon handles shock loads beautifully — crucial when dock lines absorb surge from passing wakes and weather. The braided weave provides enough surface contact to keep the knot seated and stable without cinching down so hard that releasing it later becomes a fight.
Three-strand laid nylon also handles the bowline competently. The rope’s construction actually encourages the knot to form with a clean geometry. Where I’ve noticed a drawback: after exposure to a sustained hard blow, three-strand becomes stubbornly tight, making it harder to untie. Double-braid lets go more readily once you work it loose.
Don’t tie this knot in braided polypropylene if that line is supporting anything critical. The slipperiness of polypropylene defeats the knot’s security — it gradually loosens under load cycling. High-performance fibers like Dyneema or Spectra present even worse odds, since those materials are so slick that the bowline can’t grip effectively under extreme conditions. When those specialty lines are involved, splicing becomes your better option.
How Bowlines Fail: Mistakes I’ve Seen Cost Real Money
I learned one of these lessons through painful personal experience. Back when I was 23 and working a dock reconstruction project down near Biloxi, I secured a temporary work float using what I believed to be a solid bowline. Only later did I understand what I’d actually tied — a reversed or “cowboy” bowline, formed by rotating the loop away from my body instead of toward it. It looks nearly right but collapses when a side load hits. The float got loose. We wasted two hours troubleshooting. That one mistake is permanently etched in my memory.
These are the failure patterns that show up most consistently in my field experience:
- Forming the loop in reverse (cowboy bowline): Rotating the initial loop away from you rather than toward you produces a knot that appears correct but capsizes under sideways pressure. Always fold the loop toward your body at the start.
- Leaving too little tail beyond the knot: Tails shorter than 4 inches simply slide through under load. This single mistake probably accounts for more bowline failures I’ve investigated than all others combined. Stick to 6–8 inches on 1/2″ line as minimum standard.
- Neglecting the dressing and tightening phase: An improperly dressed bowline has loose segments and misaligned components. Spend those few extra seconds setting it tight before you put load on it.
- Attempting to tie it in rope that’s too rigid: Stiff, inflexible rope simply won’t conform to the knot’s shape. If your line springs back when you’re trying to establish the starting loop, select either a more supple rope or a different knot type.
- Loading the loop sideways against a piling edge: The bowline performs optimally when the loop experiences tension aligned with the standing part. A hard perpendicular load, especially when combined with a rough or splintered piling, can gradually degrade the knot.
Choosing Rope That Won’t Let Your Bowline Down
Even a bowline executed with textbook precision loses its value if the underlying line is substandard. I’ve seen boaters tie perfect bowlines in cheap, thin rope that either frayed at the edges, stretched excessively under load, or couldn’t maintain contact with cleats — completely undermining the purpose of mastering the knot.
What delivers
- Double-braid nylon construction keeps a bowline loop intact under extended tension — no creeping or slipping like you’d get with inferior single-braid alternatives
- A 1/2″ diameter gives your fingers enough material to work with and enough grip surface for a secure tie, especially when tying under challenging conditions
- A 20-foot length covers the typical dock-to-vessel applications without requiring awkward coil management aboard tight quarters
What doesn’t
- Nylon fibers absorb water and experience some loss of breaking strength when saturated — not catastrophic, but it’s the reason seasonal rope inspection belongs in your maintenance routine
- Quality comes at a price — you’re investing in performance and longevity, not budget pricing — false economy shows up later when a cheap line fails
I once watched a bowline I’d tied slip loose because the rope was too thin and worn — a gut-check moment that made me realize equipment matters as much as technique. Get yourself set up right with the SEACHOICE Double-Braid Nylon Dock Line 1/2″ x 20′ (Model 40241).
Frequently Asked Questions
What size rope works best for tying a bowline?
I get the most consistent results with double-braid nylon in sizes between 3/8″ and 5/8″. The elasticity in nylon handles shock loads beautifully, and the braided weave keeps the knot seated and stable. Three-strand laid nylon also works competently, though it becomes stubbornly tight after a hard blow and harder to untie later.
How long should the tail be on a bowline knot?
You need a minimum of 4–6 inches of working end extending past the completed knot for safety and security. On heavy-duty applications securing a 3,000-pound boat in tidal current using 1/2″ double-braid, I personally add an extra inch or two and cinch a half-hitch backup knot for redundancy.
Can you tie a bowline in polypropylene rope?
Don’t tie this knot in braided polypropylene if that line is supporting anything critical. The slipperiness of polypropylene defeats the knot’s security and gradually loosens under load cycling. High-performance fibers like Dyneema or Spectra present even worse odds, since those materials are too slick for the bowline to grip effectively.
What is a cowboy bowline and why does it fail?
A cowboy bowline forms when you rotate the loop away from your body instead of toward it. It looks nearly correct but collapses when a side load hits. Always fold the loop toward your body at the start to avoid this reversed knot that fails under sideways pressure.
Sources and further reading
About This Article

Written by Trent Hollis. Waterfront homeowner turned DIY obsessive. After two decades tinkering with my own dock, seawall, and boat lift on the Gulf Coast, I share everything I've learned about waterfront construction, boat lift maintenance, and coastal living projects. More about this site.
Scope and limits. Trent is a waterfront homeowner, not a licensed marine contractor. Structural, electrical, and lift work should go to a licensed marine contractor, and most in-water work needs a permit before you start.
Verify this against a primary source
Specifics change, and your situation may differ from the one described here. These are the authorities worth checking directly:
- ABYC — marine electrical and construction standards
- U.S. Army Corps of Engineers — permitting for work in navigable waters
- NOAA Tides & Currents — tidal range and water level data for your site