
I’ve tied the reef knot square knot boating combination more times than I can count — probably thousands of times across two decades of dock building along the Gulf Coast. It’s one of the first knots most people learn, and that’s exactly what makes it dangerous. Familiarity breeds complacency. I’ve watched experienced boaters reach for this knot in situations where it had absolutely no business being used, and I’ve seen the consequences firsthand.
Last summer, a client called me in a panic. His 24-foot center console had drifted into the neighboring slip overnight. When I got to the dock, I found the culprit immediately — a reef knot tied in a wet, 1/2-inch three-strand nylon line. It had capsized under lateral load and slipped clean. The boat had bumped the neighbor’s fiberglass hull and left a $400 gouge. That entire situation was avoidable with the right knot for the job.
That story isn’t meant to scare you away from the reef knot. It’s genuinely useful in the right context. However, understanding when it earns its place and when it will let you down is the difference between a competent mariner and a liability on the water. Let me walk you through everything I know about this knot — the good, the bad, and the honest truth about its limitations.
What Is the Reef Knot (Square Knot)?
The reef knot gets its name from its original purpose — reefing sails. Sailors used it to tie down the bunched portion of a sail when reducing its area in heavy wind. It’s a binding knot, not a bend. That distinction matters enormously and I’ll explain why shortly.
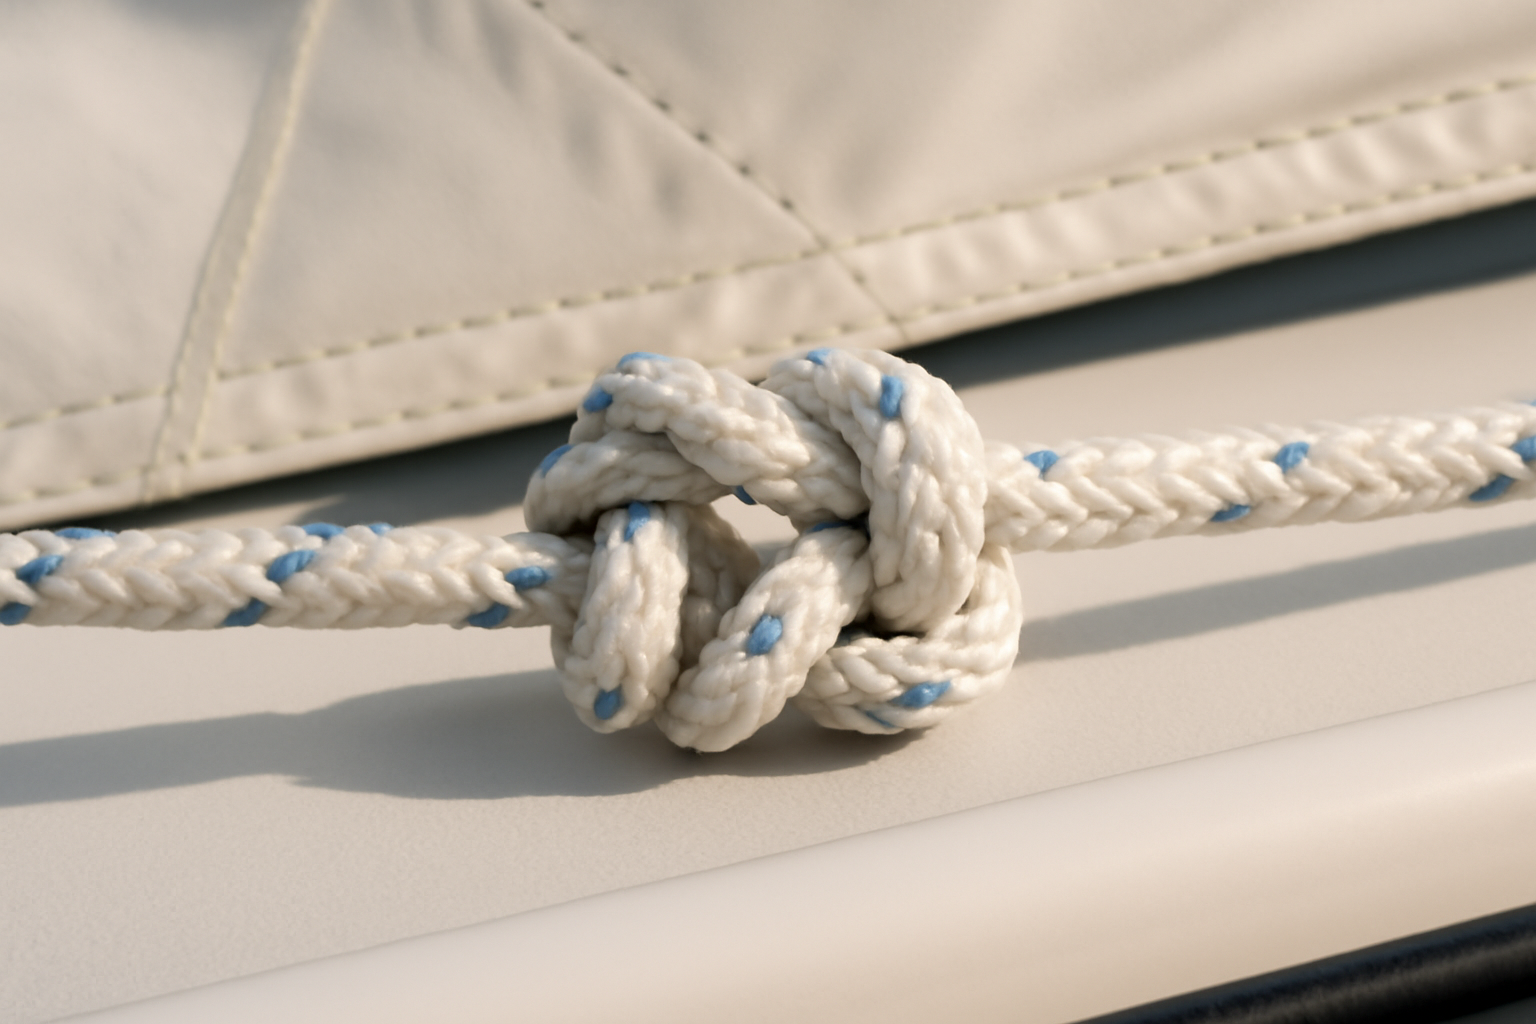
Structurally, the reef knot is formed by two overhand knots tied in opposite directions. The result is a flat, symmetric knot that lies neatly against a surface. When tied correctly, the working ends emerge parallel to the standing parts on the same side. If they come out on opposite sides, you’ve tied a granny knot — a weaker, less reliable cousin that jams under load and slips unpredictably.
In my experience, about one in four people who say they know the reef knot are actually tying a granny knot without realizing it. The two look similar at first glance. Specifically, the tell is whether the knot lies flat and symmetric. If it looks twisted or lopsided, start over.
When to Use the Reef Knot Square Knot in Boating Situations
Here’s the rule I’ve followed for twenty years: use a reef knot when you’re tying something around an object, not when you’re joining two lines under load. That distinction is everything. The knot performs well as a binding knot because the object it surrounds provides a third point of resistance that stabilizes the structure.
Good Uses on the Water
- Sail reefing: Tying reef points around a bunched sail — the original and still valid application.
- Securing covers and tarps: Tying down a cockpit cover or bimini storage flap where the object provides counter-pressure.
- Bundling coiled lines: Keeping a coiled dock line neat and tidy in storage.
- First aid and gear ties: Temporary bandage ties or securing soft gear bags where load is minimal.
- Closing mesh bags: Net bags, bait bags, or storage bags around hardware.
Notice what’s not on that list. You won’t find dock line connections, anchor rode joins, towing applications, or any load-bearing use. That’s intentional. The reef knot has no place in those situations, regardless of how convenient it feels in the moment.
When It Will Fail You — Be Honest Here
The reef knot capsizes. That’s the technical term for what happens when one end gets pulled sideways — the knot rolls and the loop slips right off. It also shakes loose in vibration-heavy environments. On a running boat engine, tied around anything that vibrates, this knot will work itself apart. In wet double-braid nylon, it cinches so tight under sustained load that you’ll need a knife to remove it — if it hasn’t already slipped.
I learned this the hard way back in 2007. I used a reef knot to temporarily join two lines when I ran short during a dock repair in Tampa Bay. The load wasn’t extreme — maybe 80 pounds of tension on a fender line. However, the angle shifted when a wake came through, the knot capsized, and the fender swung into a piling. Small mistake, but it stuck with me. Never again did I use a reef knot as a bend between two lines.
How to Tie the Reef Knot: Step-by-Step Instructions
The classic memory aid is “right over left, then left over right.” It sounds simple, but the execution matters. Follow these steps carefully and you’ll have it in under a minute.
- Start with two ends. Hold one end in each hand. For learning purposes, use two different colors of line if you have them — it makes the structure much easier to follow.
- Cross right over left. Take the right-hand end and pass it over the left-hand end, then tuck it underneath and pull both ends to form the first half-knot. This is identical to the first step of tying a shoelace.
- Now cross left over right. Take what is now the left-hand working end and cross it over the right-hand working end. This is the step most people get wrong — they repeat right over left and end up with a granny knot instead.
- Tuck and pull through. Pass the end underneath and pull it up through the loop, just as you did in step two but in the opposite direction.
- Dress the knot. Pull both working ends firmly and evenly. The knot should lie flat and symmetric. Both working ends should emerge on the same side, parallel to their respective standing parts.
- Check your work. Look at the knot from above. It should look like two interlocked loops lying flat. If it looks like a twisted lump, untie it and start over — you’ve tied a granny knot.
Pro tip from the dock: When tying around an object like a sail or tarp, snug the first half-knot tight against the object before completing the second crossing. This keeps the binding firm and prevents the knot from shifting as you finish it.
Common Mistakes That Cause the Reef Knot to Fail
In twenty years of dock work and marine contracting, I’ve diagnosed a lot of failed knots. The reef knot fails in predictable ways, and almost all of them trace back to one of these four mistakes.
Mistake 1: Tying a Granny Knot by Accident
This is the most common failure I see. Someone crosses right over left twice instead of switching direction for the second crossing. The resulting granny knot looks similar but behaves completely differently. It jams under heavy load, slips under lateral force, and has roughly 45% less holding strength than a properly tied reef knot. Always verify that the two working ends emerge parallel to their standing parts — not sticking out at angles.
Mistake 2: Using It as a Bend Between Two Lines
I already told my Tampa Bay story. This is the mistake that sinks boats and costs money. The reef knot is a binding knot — full stop. As soon as you use it to join two separate lines under load, you’re relying on a knot that was never designed for that application. Specifically, any asymmetric loading will cause it to capsize. Use a sheet bend or double sheet bend for joining lines instead.
Mistake 3: Using It in Slippery or Stiff Line
Rope material matters more than most people realize. The reef knot performs reasonably well in soft, flexible rope — classic three-strand nylon or cotton. However, in slick single-braid polyester or UHMWPE (Dyneema-type) line, it slips embarrassingly easily. Stiff dock line, particularly heavily waxed or coated rope, won’t allow the knot to seat properly. As a result, the knot never fully cinches and loosens with the first vibration.
Mistake 4: Leaving Insufficient Tail Length
Short tails are a setup for failure. I recommend leaving at least 6 inches of tail on each working end for any reef knot application on a boat. In 1/2-inch line, that means roughly 12 diameters of tail length. Shorter tails allow the working end to pull back through under minimal load, and the knot disappears entirely. This seems obvious, but I’ve seen it happen repeatedly in field conditions when someone is rushing to get a cover secured before a storm rolls in.
The Rope That Made Me Stop Reaching for the Reef Knot
When you’re securing a boat to a dock or tying off a load, the rope matters just as much as the knot. A quality double-braid line gives you the grip and hold you need so you’re not tempted to “make it work” with a knot that’s already on thin ice.
What works
- Double-braid construction holds knots more securely than cheaper lines — I’ve seen single-braid slip under pressure where this one held firm.
- The 1/2″ diameter strikes the right balance between handling ease and breaking strength, so you’re not forced to compromise with undersized line.
- Nylon’s built-in elasticity absorbs shock load on the dock without transmitting sudden jerks that can turn a marginal knot into a failure point.
What doesn’t
- At 20 feet, you might need multiple lines for longer docks, which adds cost — though I’ve never regretted having extra dock line on hand.
- Nylon absorbs water and takes longer to dry than synthetic alternatives, so storage matters if you’re in high-humidity Gulf conditions like I am.
I’ll admit — I almost didn’t switch from bargain-bin line because the upfront cost stung. But after watching a poorly-secured boat strain against a bad knot during a squall, I realized the real cost was the risk. Get the SEACHOICE Double-Braid Nylon Dock Line 1/2″ x 20′ (model 40241) and trust the setup instead of the knot alone.
SEACHOICE Double-Braid Nylon Dock Line 1/2" x 20′ (model
I’ve watched this line hold knots that single-braid couldn’t keep tied under pressure.
Check Price on Amazon →This post contains affiliate links. As an Amazon Associate, I earn from qualifying purchases at no extra cost to you.