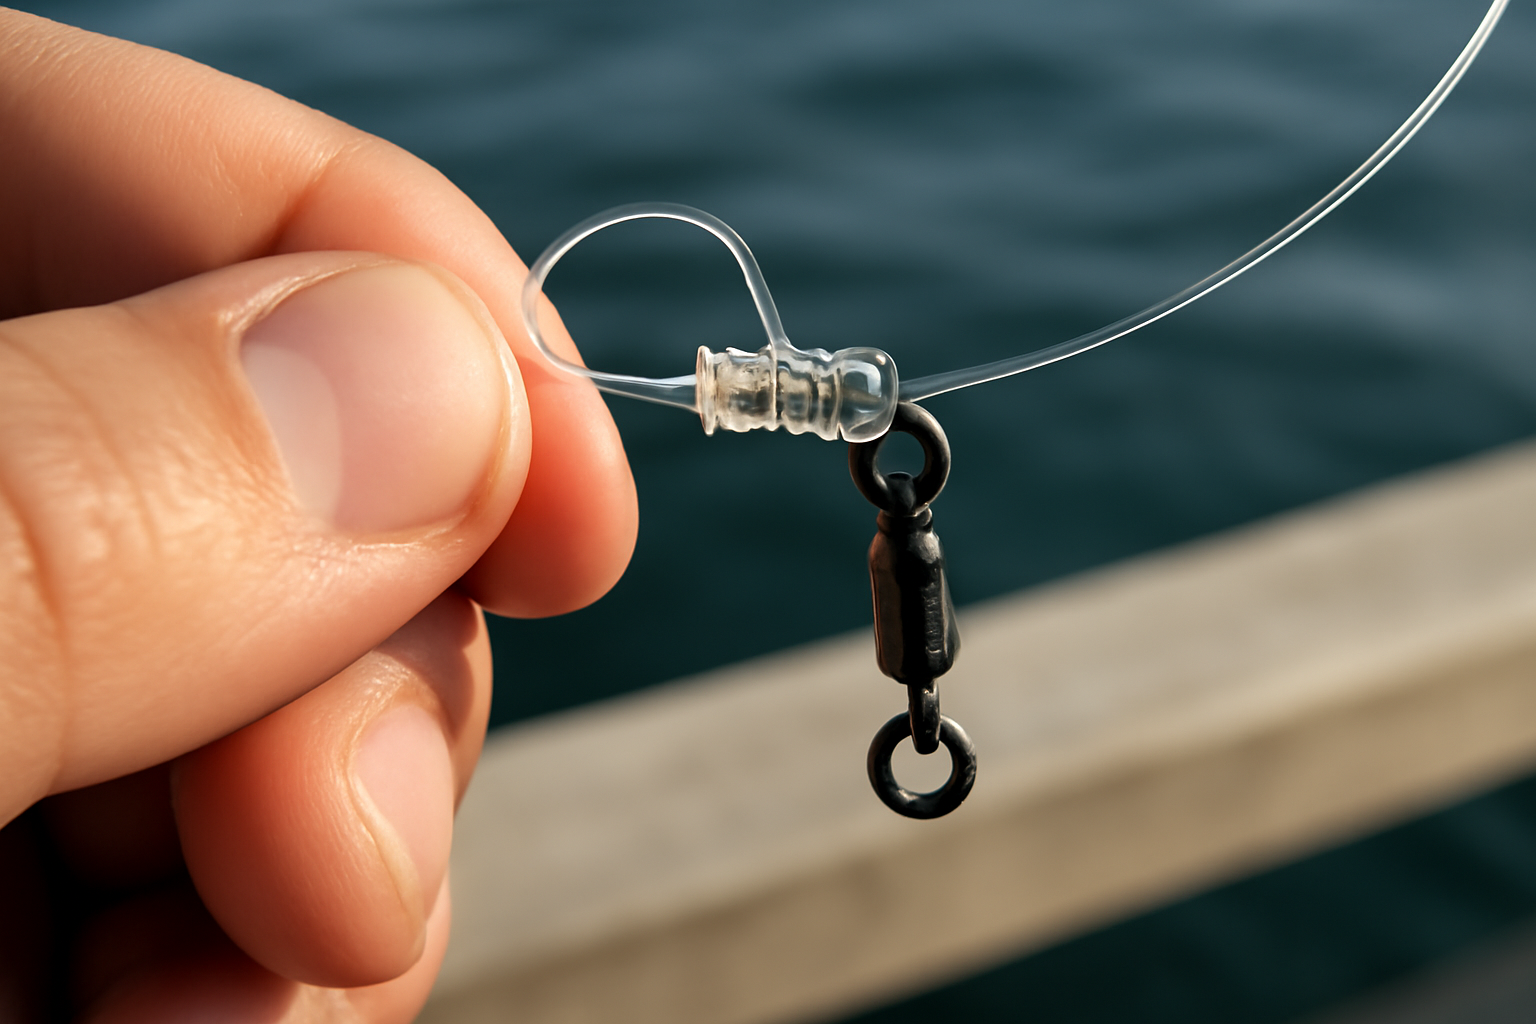
Run your thumbnail across the oxidation bleeding from a cleat where someone wrapped a bow line three weeks back, and you’ll feel the grit—that chalky corrosion that forms when salt air meets steel. In twenty years of marine work along the Gulf, I’ve developed opinions about a lot of things, but few are as rock-solid as my take on the uni knot. It’s the one I’ve reached for more times than I can count, and it’s the one I’d teach you if you leaned over my transom asking what actually holds.
The thing most people miss about knots is this: it’s not whether they hold. It’s whether they hold every single time, under genuine pressure, when your hands are numb and shaking before dawn. The uni knot does that. What makes it work is the physics—a sliding collar that tightens as load increases, spreading force across multiple wraps instead of pinching everything at one contact point. That’s why I trust it.
I’ve seen knots give way when the stakes were highest. Two summers back, a customer tied his 22-foot Mako to a cleat using nothing but a pair of quick half-hitches. Tidal surge came through, the knot slipped, and his boat wound up drifting into someone else’s slip. The repair bill for gelcoat damage topped $3,000. A properly executed knot with solid technique protects more than just your catch—it protects your vessel, your neighbor’s property, and sometimes the people standing nearby.
When to Use the Uni Knot in Marine Settings
The uni knot ranks among the most adaptable tools you can master. Knowing which moment calls for it—and which moment demands something different—matters just as much as executing it properly. Based on what I’ve seen work in actual conditions, here’s where it excels.
- Securing monofilament or fluorocarbon to hooks, swivels, and lures. This is where the uni knot lives. Performs reliably across the 8 lb to 80 lb mono and fluorocarbon spectrum.
- Joining two strands of comparable thickness via the double-uni (also termed uni-to-uni). I rely on this when I’m adding a fluorocarbon leader section to my braided main line.
- Connecting braided line to a swivel or snap. Braid’s slippery character needs supplemental friction, so I typically bump the wrap count up by one or two compared to what I’d use with mono.
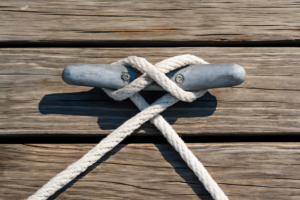
- Temporary, non-permanent connections at dock rings or cleats on smaller craft or paddled watercraft where adjustment flexibility matters.
The uni knot performs solidly anywhere from 1/8″ monofilament fishing line up into moderate dock line territory. But here’s where I stop recommending it: permanent, sustained-load dock work on boats pushing 25 feet and beyond. When I’m tying off larger vessels, I switch to a bowline or cleat hitch. The uni simply isn’t engineered for the constant, multi-day tension that a big boat generates, and pretending otherwise is how people lose equipment.
Where the Uni Knot Shouldn’t Go
Straight talk beats marketing when lives and property are in play. Never make the uni your default for permanent dock lines on vessels exceeding 25 feet. Don’t count on it for offshore anchor connection points. Skip it entirely when you’re dealing with stiff, thick three-strand rope over 5/8″ diameter—the material’s rigidity prevents the coils from seating cleanly, and you lose most of the line’s rated breaking strength. Use a bowline, cleat hitch, or anchor bend instead for those scenarios.
How to Tie a Uni Knot Fishing: Step-by-Step Instructions
I’ve walked through this knot with everyone from a kid catching his first redfish to an empty-nester who’d just bought her first center console. The trick is going methodical your first three attempts. After that, your hands remember and you’ll finish it in thirty seconds flat.
Throughout this guide, picture yourself connecting monofilament fishing line to a swivel or hook loop. The identical mechanics apply to braided line—just incorporate two additional coils in Step 4.
- Run the line through the eye. Feed 6 to 8 inches of tag end (the loose end) through the hook eye or swivel ring. Bring it back alongside the standing line, establishing a doubled segment running next to the main portion.
- Generate the loop. Bring the tag end back toward the hook, positioning it across the doubled section. This forms a loop sitting next to the doubled strand. Grip this point gently with thumb and index finger.
- Execute your first wraps. Thread the tag end back through the loop, wrapping it around the doubled line. This motion is the essence of the knot. Maintain consistent rotational direction throughout—changing direction mid-wrap causes the coils to cross and compromises holding strength.
- Build 5 to 6 complete wraps for monofilament; 6 to 8 for braided material. Each rotation passes the tag end through the loop and encircles the doubled standing line. Pack the coils tightly and sequentially, without letting them pile on top of each other. For 20 lb fluorocarbon, I make 6 wraps. For 50 lb braid, I execute 8.
- Lubricate before final tightening. Use saliva, water, or line dressing to dampen the wraps prior to cinching. This is non-optional. Dry friction generates sufficient heat during the tightening stage to degrade the molecular structure of nylon and fluorocarbon, cutting knot strength by as much as 30 percent.
- Tighten with controlled, steady pressure. Pull the tag end in the direction away from the hook, drawing the coils into a compact barrel formation. Execute this gradually and uniformly—never with a sudden, violent yank. The loops should gather neatly against one another.
- Work the knot toward the eye. Apply firm tension to the standing line while steadying the tag end. The formation glides along the line and settles firmly at the hook eye or swivel, coming to rest with a palpable click.
- Crop the surplus tag. Preserve roughly 1/8 inch of tag end remaining. Avoid cutting perfectly flush—that sliver of remaining line prevents the knot from spiraling free if it ever loosens under extreme stress.
Done. Get some practice in before your next outing. I keep an old spool of 20 lb monofilament and several swivels sitting in a container right on my workbench for exactly this purpose.
Common Mistakes That Cause the Uni Knot to Fail
Several of these lessons came from personal disappointment. There’s a fight from the Sabine Pass that I still replay in my head—what I’m nearly certain was a 40-plus pound bull redfish, gone because my uni knot separated mid-battle. I’d rushed through the lubrication step, desperate to get back into the water. The knot tightened without moisture, scorched the fluorocarbon, and let go under the fish’s weight. That one sticks with me.
Cinching Without Moisture
Skipping lubrication is the #1 failure mode I encounter. Dry-friction heat reduces the strength margin at your knot by 20 to 30 percent. Wet the coils before you cinch down. This requirement holds across monofilament, fluorocarbon, and even superline braid.
Allowing Wraps to Overlap or Cross
Each coil needs to rest directly adjacent to the one before it without bunching or crossing. When coils stack unevenly, pressure distributes unevenly. One coil takes the hit and fails first, unraveling the rest under continued load. Slow down through steps 3 and 4. If the wraps tangle, unwind and restart.
Insufficient Wraps on Braided Line
Modern UHMWPE braids and fused lines are considerably slicker than traditional mono. A standard 5-wrap uni can migrate under hard pulling. Increasing to 7 or 8 wraps generates the additional friction needed for positive holding. I default to 8 wraps whenever I’m securing 30 lb or heavier braid to a terminal connection.
Violent or Abrupt Tightening
A gradual, controlled draw allows the coils to arrange themselves evenly. Abrupt yanking causes them to settle crookedly and sometimes creates a stress concentration right where the knot exits the line. Spend a pair of seconds pulling it snug. Deliberation creates strength.
Applying the Knot to Unsuitable Materials
The uni knot operates optimally with monofilament and fluorocarbon in the 8 lb to 80 lb range. It adapts to braid with extra wraps. However, thick, rigid three-strand rope at 5/8″ and above resists the knot’s coil architecture—the material won’t compress into the proper shape, and you retain minimal percentage of the line’s actual strength rating.
Premium Line Quality Transforms Your Uni Knot from Functional to Bulletproof
A well-executed uni knot is only effective as the fishing line carrying it. Low-grade line slips under tension, frays at the knot, and fails precisely when conditions demand performance—leaving you without the fish and stuck holding the frustration.
What Delivers Results
- Zero migration of the uni knot even under sustained tension
- Uniform diameter along the entire length prevents uneven cinching and weak zones
- Built-in abrasion protection against rough bottoms and weathered dock infrastructure
What Causes Trouble
- Budget-tier lines often feature variable diameter, triggering knot creep and slippage
- Discount monofilament tangles excessively and breaks down faster under UV exposure
Frequently Asked Questions
Can I use a uni knot to tie off my 25 foot boat at the dock?
No. For permanent, sustained-load dock work on boats pushing 25 feet and beyond, I switch to a bowline or cleat hitch. The uni simply isn’t engineered for the constant, multi-day tension that a big boat generates. I’ve seen what happens when the wrong knot fails—repair bills top $3,000.
How many wraps do I need for braided fishing line?
I execute 6 to 8 wraps for braided material, bumping the count up by one or two compared to monofilament. Modern UHMWPE braids are considerably slicker than traditional mono, so for 30 lb or heavier braid, I default to 8 wraps to generate the additional friction needed for positive holding.
What happens if I tighten the uni knot without lubrication?
Dry-friction heat reduces your knot strength by 20 to 30 percent, degrading the molecular structure of nylon and fluorocarbon. I learned this the hard way—I skipped lubrication on a 50 lb fluorocarbon connection and lost a bull redfish mid-battle when the knot separated under the fish’s weight.
Will a uni knot work with three strand rope over 5/8 inch diameter?
No. Thick, rigid three-strand rope at 5/8″ and above resists the knot’s coil architecture—the material won’t compress into the proper shape, and you retain minimal percentage of the line’s actual strength rating. Use a bowline, cleat hitch, or anchor bend instead.
Sources and further reading
About This Article

Written by Trent Hollis. Waterfront homeowner turned DIY obsessive. After two decades tinkering with my own dock, seawall, and boat lift on the Gulf Coast, I share everything I've learned about waterfront construction, boat lift maintenance, and coastal living projects. More about this site.
Scope and limits. Trent is a waterfront homeowner, not a licensed marine contractor. Structural, electrical, and lift work should go to a licensed marine contractor, and most in-water work needs a permit before you start.
Verify this against a primary source
Specifics change, and your situation may differ from the one described here. These are the authorities worth checking directly:
- ABYC — marine electrical and construction standards
- U.S. Army Corps of Engineers — permitting for work in navigable waters
- NOAA Tides & Currents — tidal range and water level data for your site