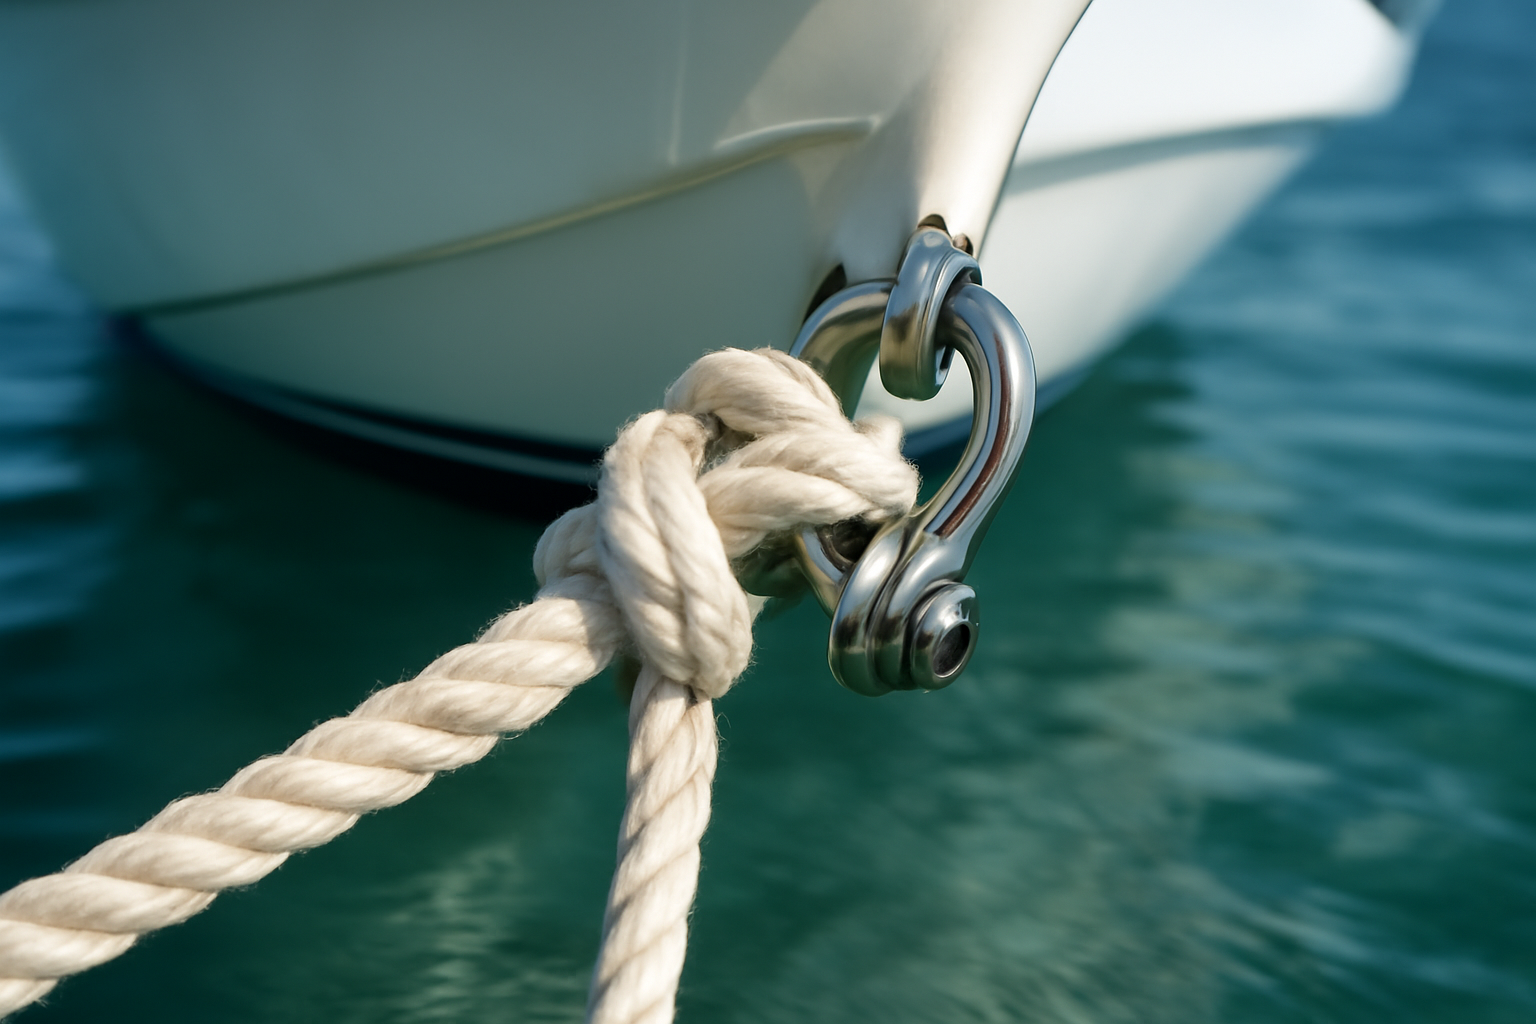
A boat drifted from its mooring into a neighbor’s slip at 3 a.m., leaving a $2,000 gel coat repair bill and a very awkward conversation. The anchor line was attached with a simple half hitch. One properly executed anchor bend fisherman’s bend knot would have prevented the entire mess — and the owner would have slept through the night instead of fielding a phone call from an angry slip neighbor. This is why I trust the anchor bend above nearly every other knot for keeping lines secure in tidal current and overnight conditions.
What separates this knot from shortcuts is its fundamental design: two full round turns through the ring before any hitches get applied. Those turns distribute load across a wider surface, which eliminates the stress concentration that causes rope to fail. After two decades working Gulf Coast marine construction, I’ve watched this knot hold through squalls, tidal swings, and weather events that broke cheaper setups entirely. That kind of reliability isn’t accident — it’s geometry working exactly as intended.
If you’re setting an anchor, securing a mooring line, or tying any rope to a ring or shackle, this guide walks you through the entire process: how to tie it, why it works, what mistakes tank it, and which line actually stays put under real load. Knowing this one knot and understanding when to use it eliminates one major category of dock and anchoring failures.
When to Use the Anchor Bend (Fisherman’s Bend) Knot
The anchor bend — sometimes called the fisherman’s bend — does one specific job: it connects rope to a ring, shackle, or anchor in a way that resists both sudden shock and sustained cyclic loading. The design works because those initial two round turns spread the tensile force across the ring rather than concentrating it at a single contact point. Where a simple hitch will gradually work loose as tide pulls and wakes tug, the anchor bend tightens under load instead of loosening.
Here are the setups where this knot delivers its best performance:
- Anchoring plow, Danforth, or grapnel-style anchors directly to their attachment ring
- Mooring a vessel to a buoy ring through the night or extended periods
- Fastening rope to dock cleats or shackles when splicing isn’t an option
- Semi-permanent or reversible anchoring where you need to retrieve and retie the line later
- Situations involving repeated motion — incoming and outgoing tides, wave action, current shifts
The knot reaches its full potential with nylon rope — both laid three-strand and modern double-braid constructions. Nylon’s inherent stretch works in harmony with this knot’s mechanics. As water, wind, and current pull the line, the round turns cinch tighter rather than slipping loose. You’re borrowing the rope’s own elasticity to strengthen the connection.
When This Knot Isn’t the Answer
Honesty requires saying this plainly: the anchor bend doesn’t work everywhere. Stay away from it on very stiff, heavy three-strand line thicker than 5/8″ — the material doesn’t cooperate with forming clean round turns through standard anchor rings. It also fails on high-modulus synthetics like Dyneema or Spectra, where the slippery fiber surface won’t grip properly in the hitch structure. On those lines, a spliced connection is the only reliable option. For typical nylon dock and anchor rope in the 3/8″ to 1/2″ range, though, nothing beats this knot’s combination of simplicity and holding power.
Step-by-Step: How to Tie the Anchor Bend Fisherman’s Bend Knot
Over twenty years, I’ve tied this knot under conditions that would make a sailor swear: cold hands, dark skies, equipment already under load. The fact that it still works when conditions are worst tells you everything about how straightforward the mechanics are. Practice these steps ten times, and they become automatic — your hands know what to do even when your attention is split between the knot and other problems on deck.
- Run the working end through the ring — two passes. Take your rope’s working end and thread it through the anchor ring or shackle. Then thread it through again in the exact same direction, so you’ve created two complete round turns running parallel against the ring. Don’t cross them over each other — they should lie flat and orderly. These two turns are the core of what makes this knot strong. Remove them and you just have an ordinary hitch that will fail.
- Tuck the working end back under both round turns. Bring the working end back toward the main rope body and fold it underneath the pair of round turns you’ve just created. Cinch it down snugly — not fully tight, but firm. You’re essentially beginning a half hitch that passes through the existing loops.
- Complete a second half hitch using the standing part. Take the working end, wrap it once around the main rope body, and pass it back through the loop you’re creating — this finishes a standard half hitch. Pull the main rope hard to seat everything solid against the ring.
- Seat the knot properly against the ring. Verify that both round turns are flush against the metal, running parallel with no twisted sections or crossing. Both half hitches must pack tightly behind the round turns. Push everything down toward the ring before you put any actual load on it. Careless dressing of the knot will leave it looking disheveled and performing below its rated capacity.
- Optional but strongly recommended: seize the tail. For overnight anchoring, permanent mooring installations, or any setup you’re walking away from, bind the working end to the standing rope using additional half hitches or light seizing twine. This prevents the tail from gradually sliding back through the main hitch structure when the line experiences prolonged tension. On jobs I’m not personally watching, I never skip this step.
Pro tip: Dip your nylon line in water or splash it before you pull the knot fully tight. The friction created by cinching dry nylon generates enough heat to compromise fiber strength, particularly on smaller diameter 3/8″ rope. A quick soak eliminates the heat buildup entirely.
Common Mistakes That Cause This Knot to Fail
Early on, I was rushing to help a shrimper position a working anchor off Perdido Pass using 1/2″ laid nylon. I was in a hurry and only passed the line through the ring once before tying the hitches. That anchor slipped about 40 feet overnight — the boat held fine due to her size, but the lesson burned into my memory. One pass through the ring is not an anchor bend at all. It’s a weak hitch wearing a borrowed name, and it won’t hold anything important.
The Errors That Show Up Most Often
- A single pass through the ring instead of two. This ranks as the mistake I see most frequently. One turn creates a basic hitch only. The anchor bend requires two complete turns. Shortcuts here have zero margin for error.
- Round turns that cross each other. When the two passes through the ring overlap or cross instead of running side by side, the load path becomes compromised. The knot may survive light pulls but will distort when real stress arrives.
- Stopping after one half hitch. A finished anchor bend requires two half hitches, not one. That first hitch alone won’t hold against prolonged pulling and releasing — the knot walks itself open gradually as the tide shifts and waves move the boat.
- Applying load before dressing the knot. If you form the knot roughly and then yank it tight immediately, it seats in whatever random shape it happened to form in. Spend five seconds arranging it neatly first. This five-second choice directly impacts whether the knot reaches its full holding capacity or fails early.
- Mismatching rope diameter to ring size. A 1/2″ rope passing through a microscopic shackle ring may not permit two orderly round turns. Check your hardware against your line diameter — current ABYC standards recommend the ring diameter be at least double the rope diameter for proper knot geometry.
The Line That Finally Held My Anchor When Everything Else Chafed
Perfect knot-tying means nothing if the line itself fails under friction or breaks under sustained load. I discovered this truth the hard way when a budget-grade three-strand nearly cost me a boat during a spring gale.
What works
- Double-braid rope handles chafe and friction without catastrophic failure — the nylon weave flexes and absorbs the motion when your line rubs repeatedly against a cleat or the anchor ring.
- Half-inch thickness represents the practical middle ground: thick enough to cinch an anchor bend securely without the hitches working loose, manageable enough to coil without your hands cramping during extended dock operations.
- Approximately 20 feet of length covers most small recreational vessel anchor setups — sufficient scope to reach bottom in 15–20 feet of water without requiring an excessive amount of line back on deck.
What doesn’t
- Nylon absorbs shock through stretching, which protects gear but means the anchor bend requires re-tightening after several hours in a strong blow — the knot won’t hold tension by itself indefinitely.
- UV radiation weakens nylon progressively; keeping the line shaded when not in use prevents premature degradation and keeps it reliable for multiple seasons instead of losing strength after one.
I went through two cheap lines and one terrifying night-time drag before I switched to this one and actually trusted the rig. Get the SEACHOICE Double-Braid Nylon Dock Line 1/2″ x 20′ (Model 40241) and tie your anchor bend to something that won’t let you down.
Frequently Asked Questions
Can I tie an anchor bend with rope thicker than 5/8 inch?
No. The anchor bend doesn’t work on very stiff, heavy three-strand line thicker than 5/8 — the material doesn’t cooperate with forming clean round turns through standard anchor rings. For those lines, a spliced connection is the only reliable option.
How many times should I pass the line through the ring?
Two complete round turns, running parallel and side by side without crossing. A single pass through the ring creates only a basic hitch and won’t hold anything important. The anchor bend requires two full turns as its foundation.
What rope diameter works best for anchor bends?
The 3/8 inch to 1/2 inch nylon range delivers the best combination of simplicity and holding power. Double-braid nylon 1/2 inch specifically is thick enough to cinch an anchor bend securely without hitches working loose, yet manageable enough to coil without cramping your hands.
How much anchor line do I need for my small boat?
Approximately 20 feet of length covers most small recreational vessel anchor setups — sufficient scope to reach bottom in 15–20 feet of water without requiring an excessive amount of line back on deck.
Sources and further reading
About This Article

Written by Trent Hollis. Waterfront homeowner turned DIY obsessive. After two decades tinkering with my own dock, seawall, and boat lift on the Gulf Coast, I share everything I've learned about waterfront construction, boat lift maintenance, and coastal living projects. More about this site.
Scope and limits. Trent is a waterfront homeowner, not a licensed marine contractor. Structural, electrical, and lift work should go to a licensed marine contractor, and most in-water work needs a permit before you start.
Verify this against a primary source
Specifics change, and your situation may differ from the one described here. These are the authorities worth checking directly:
- ABYC — marine electrical and construction standards
- U.S. Army Corps of Engineers — permitting for work in navigable waters
- NOAA Tides & Currents — tidal range and water level data for your site