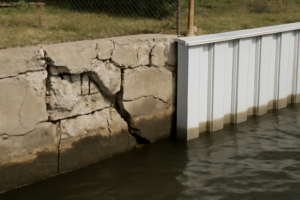
When I inspect a seawall, the first thing I check is whether water’s actively weeping from the face—or whether the concrete’s bulging where it shouldn’t be. That bowing tells me everything. Back in Pensacola, a homeowner called convinced his wall was failing structurally. What he actually had was years of trapped hydrostatic pressure with nowhere to escape because not a single working weep hole existed across the entire 60-foot face. Proper drainage would have cost him $150 and an afternoon. Instead, he paid $4,000 to replace compromised sections. That’s the difference between understanding how seawall pressure works and learning it the expensive way.
Property owners typically don’t concern themselves with weep holes until failure appears. The reason is simple—they’re small, they lack visual appeal, and their importance isn’t obvious. Yet they perform essential structural functions continuously. Without them, rainwater and groundwater soak into the soil behind your wall with zero drainage outlet. That accumulating pressure doesn’t disappear. It exerts force. Panel bowing, cap beam cracking, and footing deterioration follow across months and years. I’ve deconstructed entire wall sections that would still be standing if someone had invested a $150 afternoon into this work.
This post captures everything I’ve learned about weep hole installation through twenty years working in tidal zones and freshwater environments. We’ll examine their mechanical function, proper positioning, correct drilling methodology, and how to seal them so water travels through the openings—not around them.
What Weep Holes Actually Do (and Why Most People Underestimate Them)
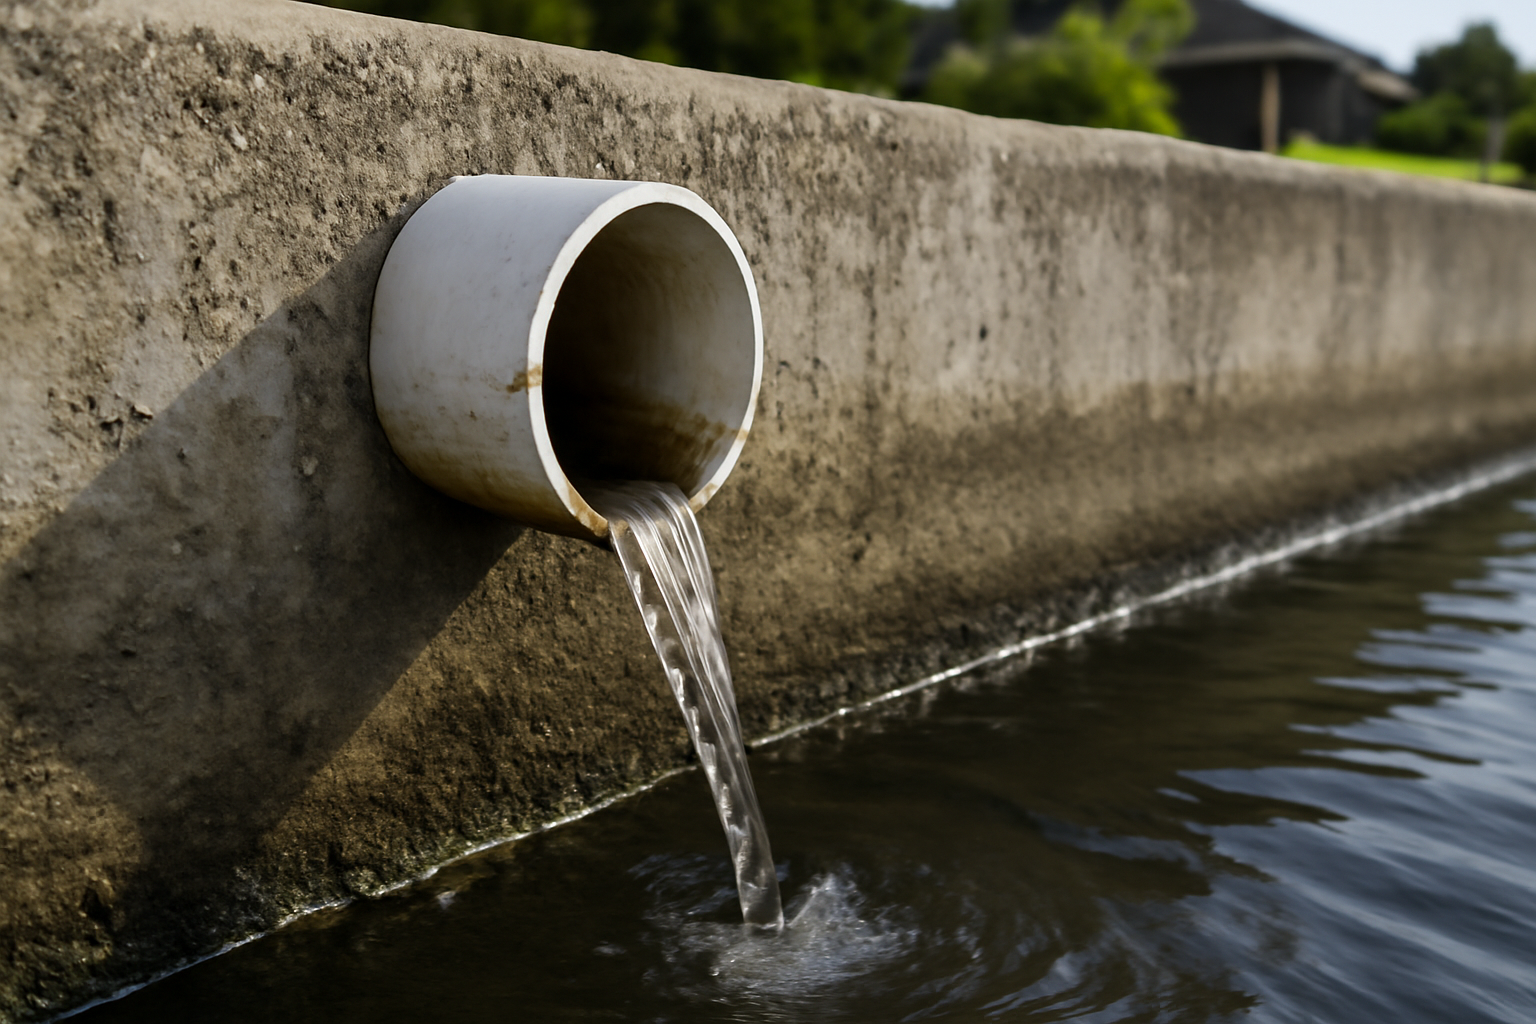
A weep hole functions as nothing more than a small drainage portal—typically 1 to 2 inches across—cut through a seawall’s exterior surface to permit groundwater relief before hydrostatic pressure becomes destructive. The mechanics are elementary. Pressurized water within saturated earth pushes outward uniformly. Your seawall represents the single rigid obstruction in that field, receiving the entire directional load. Civil engineering literature establishes that saturated soil generates lateral forces exceeding 60 pounds per square foot even at shallow depths around four feet down.
Beyond pressure management, weep holes function as diagnostic instruments. When I observe water flowing from a seawall following a period without rain, that signals a deeper groundwater condition deserving investigation. In my field experience, water discharge 48 hours after precipitation stops typically indicates upland drainage problems—frequently resolvable through French drain installation or grading modifications on the property behind the structure.
I consistently advise clients of this principle: functioning weep holes cannot resurrect a wall in failure, but they substantially prolong the operational lifespan of walls in good condition. The U.S. Army Corps of Engineers designates drainage relief as fundamental to shoreline structure specifications. Most contemporary coastal building codes—particularly across Florida, Louisiana, and Texas—mandate weep holes at defined distances on approved seawall projects. Contact your county’s coastal engineering department prior to beginning any work, since installation standards vary between jurisdictions.
Spacing, Sizing, and Placement: Getting the Layout Right
This is where many DIY installations fall short. They bore a few openings, assume completion, then puzzle over persistent pressure symptoms in following seasons. Interval between holes carries outsized significance. Through extensive field experience, my preferred standard positions one weep hole per 5 to 8 linear feet of wall. For heavy clay soil zones—where permeability declines and pressure persists—I contract that interval to every 4 to 5 feet.
Vertical positioning holds equal weight in performance. Target placement sits just above mean low water elevation. I specifically aim for 2 to 4 inches above the typical low tide mark. Positioning too high fails to drain the complete soil mass behind the wall. Positioning too low keeps the opening submerged through ordinary tidal fluctuation, nullifying drainage function and potentially allowing water entry from the seaward side.
On diameter specifications, I bore 1.5-inch openings for typical residential installations. Some builders select smaller dimensions, though my observation shows anything beneath 1 inch plugs with sediment and vegetation material too readily. Larger installations with severe groundwater challenges justify 2-inch openings. When drilling dual rows, stagger vertical alignment—offset horizontal spacing by roughly 18 inches to eliminate creating a continuous fracture plane through the panel.
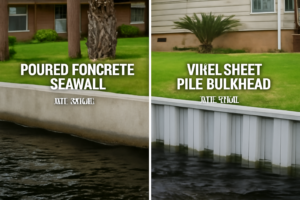
A Quick Note on Vinyl vs. Concrete Seawalls
Alignment and spacing principles remain consistent across construction materials, yet the drilling methodology changes significantly. Vinyl sheet pile configurations utilize hole saw equipment—rapid execution with completion in under sixty seconds per opening. Concrete installations demand rotary hammer mechanisms fitted with carbide-core tooling, requiring you to identify rebar positions beforehand to prevent tool damage. The mechanics are explained in the subsequent section.
How to Install Weep Holes in a Seawall: My Step-by-Step Process
This represents the practical core of weep hole installation methodology, presented as I would demonstrate it to someone standing beside me during the operation. Anticipate between four and eight working hours on a standard residential wall spanning 40 to 60 feet, adjusted for material composition and hole quantity. Material expenditure typically ranges from $80 to $200 for a conventional installation run.
Tools and Materials You’ll Need
- Rotary hammer drill (concrete applications) or conventional power drill (vinyl installations)
- 1.5-inch carbide-tipped core bit for concrete, or 1.5-inch hole saw for vinyl material
- Concrete scanning equipment or rebar detector (rental approximately $40 daily)
- PVC sleeve inserts incorporating filter screens or mesh barriers
- Fast-setting hydraulic patching compound for concrete wall sealing
- Measuring apparatus, chalk marking lines, and water-resistant marking instruments
- Eye protection and noise-dampening hearing protection
- Waterproof footwear or wading gear sized appropriately for existing water depth
Step-by-Step Installation
- Establish your low water reference. Perform this determination during actual low tide conditions—never rely on approximation. Apply waterproof marking and create a consistent elevation reference across the wall surface.
- Define hole positions. Calculate 2 to 4 inches upward from your established water reference elevation. Identify each opening location based on your spacing protocol (5 to 8 feet apart). Verify your completed layout prior to any drilling operation.
- Conduct rebar detection on concrete structures. This requirement cannot be bypassed. Drilling through reinforcement steel destroys the cutting tool and potentially degrades wall structural integrity. Equipment rental for a Bosch D-tect 150 unit or equivalent justifies its cost completely.
- Execute the drilling sequence. For concrete, maintain controlled, even pressure. Permit equipment to advance naturally. With vinyl, a conventional hole saw penetrates material efficiently in seconds.
- Position PVC drainage sleeves featuring integrated filter screens. These components prevent particulate migration while maintaining water passage capability. Fit them securely into each opening.
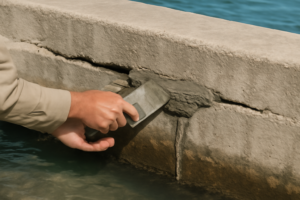
- Pack hydraulic sealant perimeter on concrete walls. Hydraulic cement fulfills this purpose effectively. Apply pressure while filling the space surrounding the sleeve so drainage exits only through the tube rather than bypassing it.
- Observe adequate setting duration prior to subsequent tidal flooding. Hydraulic cement achieves functional hardening within hours, with complete strength development extending to 24 hours.
I came to appreciate the rebar scanning procedure through direct experience and consequent regret. During my earlier contracting years—this happened on a concrete panel installation near Biloxi—I bypassed detection scanning to accelerate progress. My carbide bit disintegrated immediately during the second hole. That destroyed a $65 tool and taught me an unforgettable lesson about shortcuts. Scanning now precedes every concrete project without exception.
The Hydraulic Cement That Sealed My First Weep Hole Without Blowback
Creating weep holes means deliberately opening a pressurized structure—and selecting inappropriate sealant materials simply redirects water elsewhere. Hydraulic cement functions as the only option that achieves hardening in the presence of moisture while creating sufficient closure around the drainage port.
What works
- Achieves initial hardness rapidly enough to complete multiple weep hole installations within a single tide cycle—eliminating the requirement for extended curing periods before water pressure returns.
- Forms robust adhesion to damp concrete surfaces without requiring completely dry wall conditions, which remains virtually unachievable when cutting into an actively pressurized structure.
- Arrives pre-batched, eliminating on-site ratio calculations; simply force into position, smooth the surface, and advance to the next opening.
What doesn’t
- The usable application period remains constrained—typically 20–30 minutes after container opening before material stiffening begins, mandating completed hole drilling prior to opening the product.
- Excessive sealant application makes subsequent correction challenging; extracting material from a fully hardened weep hole demands concrete removal that damages adjacent surfaces.
On my second seawall job, I mixed a full bucket thinking I could use it across three walls—watched half of it harden in the sun while I was still drilling holes on wall one, and I genuinely thought I’d wasted the material. But I learned to portion it out, and now I batch maybe a quarter bucket per wall. If you’re tackling multiple weep holes, grab the DAP Quick Plug Hydraulic Cement, 5Lb—one bucket covers most residential seawalls.
Frequently Asked Questions
What height should weep holes be drilled on a seawall?
Position weep holes 2 to 4 inches above mean low water elevation. Drilling too high leaves soil mass undriven, while drilling too low keeps the opening submerged through normal tidal fluctuation, which eliminates drainage function and risks seaward water entry.
How long does weep hole installation take on a residential dock?
Plan for 4 to 8 working hours on a standard residential wall spanning 40 to 60 feet, adjusted for material type and hole quantity. Material costs typically run $80 to $200 for a conventional installation.
Can I use regular concrete instead of hydraulic cement for weep holes?
No. Hydraulic cement is the only option because it hardens in the presence of moisture while creating sufficient closure around the drainage port. Regular concrete requires dry conditions, which are virtually unachievable when cutting into an actively pressurized seawall.
Sources and further reading
About This Article

Written by Trent Hollis. Waterfront homeowner turned DIY obsessive. After two decades tinkering with my own dock, seawall, and boat lift on the Gulf Coast, I share everything I've learned about waterfront construction, boat lift maintenance, and coastal living projects. More about this site.
Scope and limits. Trent is a waterfront homeowner, not a licensed marine contractor. Structural, electrical, and lift work should go to a licensed marine contractor, and most in-water work needs a permit before you start.
Verify this against a primary source
Specifics change, and your situation may differ from the one described here. These are the authorities worth checking directly:
- ABYC — marine electrical and construction standards
- U.S. Army Corps of Engineers — permitting for work in navigable waters
- NOAA Tides & Currents — tidal range and water level data for your site