You’ll see two seawalls on the same street that tell completely different stories — one looks solid after a dozen years, the other is crumbling after five. The difference almost never comes down to material or the original builder’s skill. It comes down to whether someone made the right call about fixing what was broken versus tearing it out and starting over. Get that decision wrong and you’re either throwing $30,000 at a wall that didn’t need it, or you’re patching a failing structure twice before accepting the inevitable replacement bill. Two decades of dock and seawall work along the Gulf taught me which mistakes hurt worst, and the honest assessment that follows is what I’d actually tell a neighbor leaning on my boat asking what to do about theirs.
A property inspection near Pensacola last spring showed me what happens when that decision gets bungled. The owner had already paid $4,200 for crack injections and surface patching — done twice, no less — on a concrete seawall that was plainly tilting at its foundation. The footings had migrated 4 inches landward. No hydraulic cement in existence was going to solve that problem. The wall came out entirely, the permits dragged on, and a frustrated homeowner learned an expensive lesson too late. I’m writing this so you don’t end up in that position.
What follows is the actual evaluation framework I use when examining whether a seawall belongs in the repair column or the replacement column. This isn’t salesmanship — it’s the practical breakdown I’d give across the back fence, based on what actually happens to these structures over time.
| Condition | Repair Cost | Replacement Cost | Action |
|---|---|---|---|
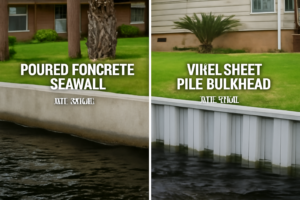
| Poured concrete seawall | $1,500–$8,000 | $500–$1,200/linear foot | Evaluate cap and anchors |
| Vinyl sheet pile | $1,500–$8,000 | $300–$700/linear foot | Check for UV brittleness |
| Surface spalling or hairline cracks | Repairable | Not needed | Apply hydraulic cement |
| Cap settlement under 1 inch | Repairable | Not needed | Monitor annually |
| Wall tilt over 1 inch per foot of height | Not viable | $500–$1,200/linear foot | Plan replacement |
| Foundation depression over 8 inches | Not viable | $500–$1,200/linear foot | Professional inspection required |
Understanding What a Seawall Actually Does (and How It Fails)
Understanding how seawalls actually fail is where any smart decision has to begin. The structure isn’t simply a vertical barrier sitting in saltwater. It manages lateral soil pressure from behind, groundwater hydrostatic load, wave and current forces from the water side, and in many regions, the expansion and contraction cycles that come with temperature swings or freeze events.
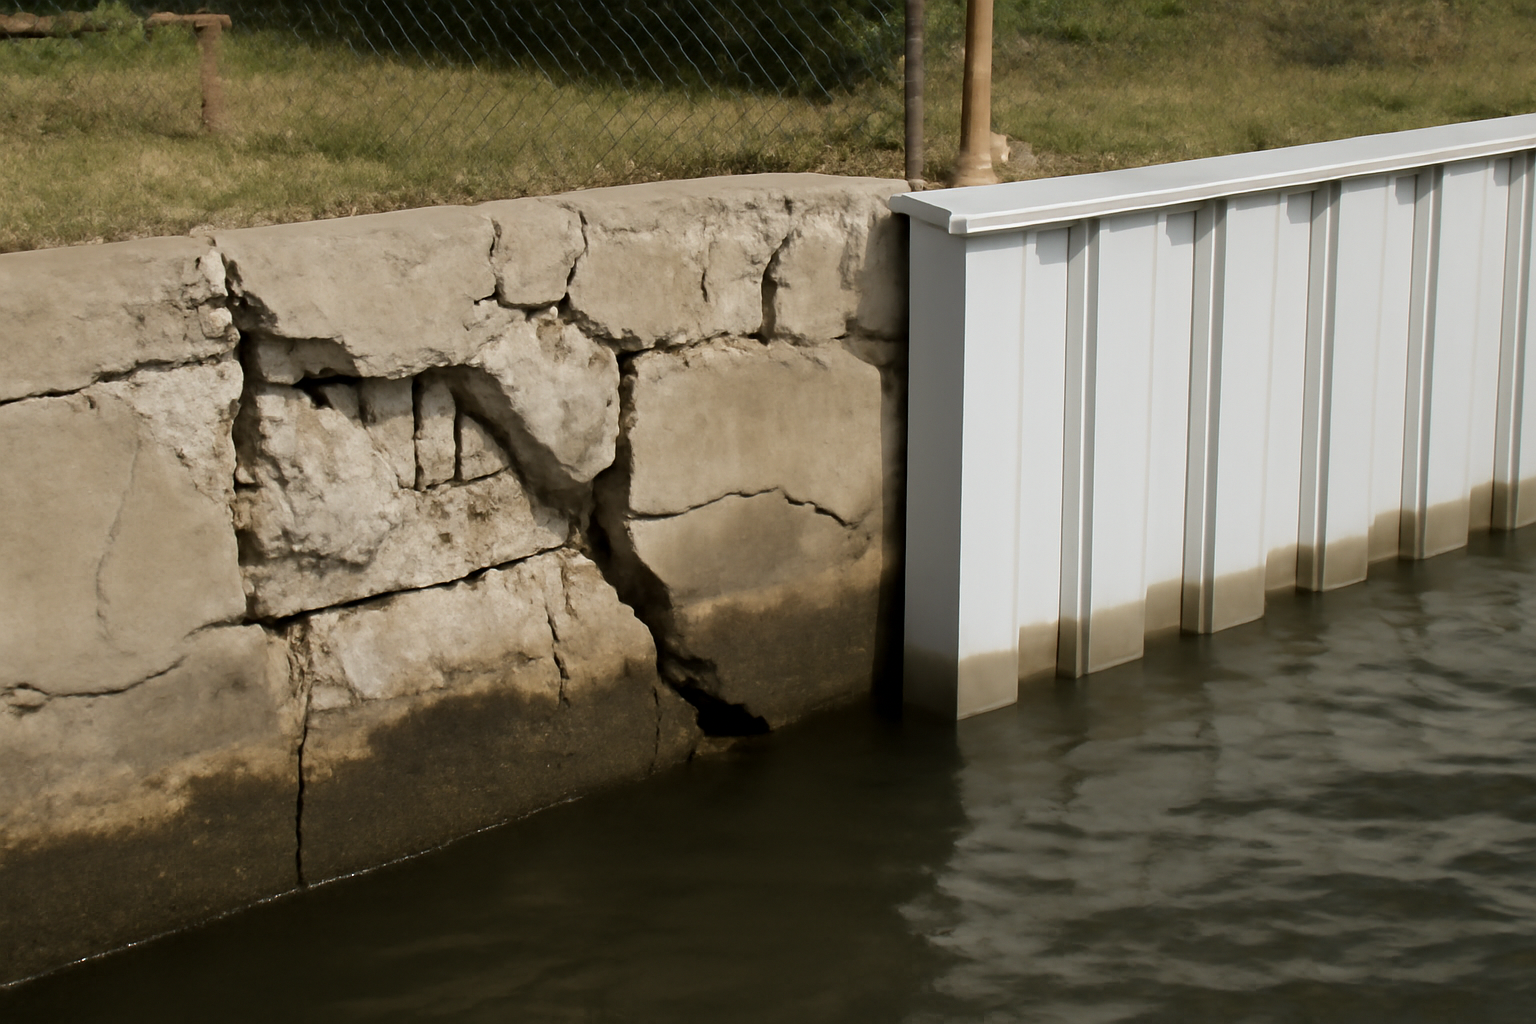
Concrete seawalls show failure in consistent patterns you can learn to recognize. Cosmetic spalling and fine hairline cracks are surface damage — they matter for aesthetics but not structure. Mid-height horizontal cracking usually points to bending stress — the wall is working harder than it was designed to. A wall that’s pushing outward at its base, called toe kick, reveals anchor or tieback failure. In almost every case I’ve seen, that condition means replacement.
Sheet pile systems — whether steel, vinyl, or aluminum — announce their problems differently. Steel rusts through, vinyl goes brittle from decades of UV exposure, and connections at the cap sometimes fail. A sheet pile wall suffering from isolated rust holes can usually be salvaged. But when section loss is widespread below the waterline, you’re working blind. No amount of probing or inspection can tell you what’s rotted inside the wall, which makes any repair gamble too risky.
The Five-Point Inspection Protocol I Use Every Single Time
Whether I’m evaluating someone else’s wall or checking on my own property, I work through the same five-point sequence. You can perform this evaluation yourself in a single afternoon using nothing fancier than hand tools and careful observation.
1. Cap Condition and Movement
Begin at the top. Traverse the full length of the cap and document any visible cracking, settlement, or gaps between the cap and the wall body. When a cap has dropped more than 1.5 inches from where it should sit, that tells me the wall itself has moved. Surface cracks narrower than 1/8 inch usually just reflect normal concrete shrinkage as it cured. Anything wider than 1/4 inch that penetrates through the full cap thickness warrants closer examination and professional input.
2. Face Damage and Crack Depth
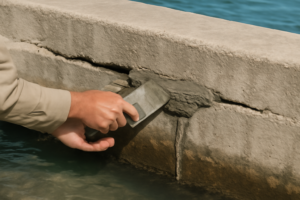
Inspect the wall’s exposed surface closely, and probe every visible crack you encounter. I use a short concrete nail from the hardware store. If that nail slides deeper than 2 inches into a crack, you’re looking at a fissure with genuine depth and a history of water entry. Vertical cracks are far less concerning than horizontal ones. Specifically, when a horizontal crack spans roughly 60–70% of the wall’s height, it signals bending stress failure — the wall is experiencing loads it wasn’t engineered to handle.
3. Anchor Rods and Buried Deadmen
This assessment point gets overlooked by most homeowners. Anchor rods and cables anchor the wall into deadman anchors positioned deep in the backfill soils. Direct inspection is usually impossible, but you can detect failure by measuring tilt. When the wall leans seaward by more than 1 inch for every foot of vertical height, anchor failure is occurring. Many older walls built along the Gulf have completely corroded anchors with nothing left but rust stains — the structure is held back by soil friction and luck.
4. Drainage Hole Operability
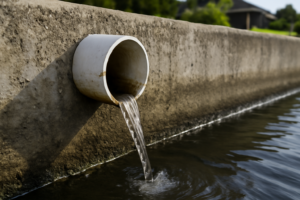
Drainage holes are essential for releasing the hydrostatic pressure that builds up in the soil mass behind the wall. Clogged drainage holes rank among the most common culprits driving seawall deterioration that I encounter in the field. Test each drainage hole — they’re typically installed 4 to 6 feet apart along the wall — to confirm they’re open and draining normally during and shortly after heavy precipitation. Pooling water at the cap or visible discoloration with no corresponding drainage flow indicates blockage. This is fixable and counts as routine maintenance, yet failing to address it will rapidly worsen all other damage.
5. Foundation Stability and Toe Undermining
Inspect or probe the wall’s foundation elevation in the water column or mud. Wave activity can scour and remove material that supports the footing, a condition that can trigger total collapse without any prior warning signs. I’ve documented walls that settled 6 inches in a single night after a blow exposed what was essentially a void beneath the footing. If your probe rod encounters a depression greater than 8 inches below the baseline mud elevation anywhere along the footing, professional structural inspection must happen before you contemplate any repairs or improvements.
When Repair Actually Makes Financial and Structural Sense
Here’s my threshold: if the wall’s core structure is performing — anchors are working, no significant tilt or displacement is occurring, and damage stays concentrated in the wall face or cap — repair represents the smarter approach in nearly all circumstances.
Surface spalling, hairline fractures, plugged drainage holes, cap settlement limited to roughly 1 inch, and isolated corrosion pitting in sheet pile installations all qualify as repairable conditions. In my experience, a concrete seawall exhibiting these issues and retaining structural integrity below can deliver another 10 to 15 years of dependable performance once repaired correctly. The economics shift dramatically — competent repairs generally range from $1,500 to $8,000 depending on wall length and problem severity. Full replacement pricing along the Gulf Coast sits between $500 to $1,200 per linear foot for poured concrete and $300 to $700 per linear foot for vinyl sheet pile.
Repair execution quality, however, determines everything. A hasty, poorly specified patch using incorrect materials in a saltwater environment disintegrates in two to three years or less. I learned this painfully on my own jobs during my early years — I used standard portland cement mortar on a tidal zone repair back in 2006 and watched it dissolve by the following spring as freeze-thaw and tidal cycling destroyed it. Your repair material must carry certification for submerged and wet-environment service.
The Strategic Repair That Clarifies Your Options (When You’re Uncertain)
Committing to a $30,000 or higher seawall replacement demands certainty that you’re actually past the point of fixing. This is where using quality hydraulic cement on active cracks and localized failure zones delivers real value — it either extends your wall’s functional lifespan significantly or demonstrates conclusively that you’ve crossed into replacement territory.
When targeted patching delivers results
- Quick cure characteristics allow you to identify what’s really happening — is it water infiltration, structural movement, or only surface breakdown — without extended delays between successive treatments.
- Bonds effectively to saturated concrete and actively seeping joints, which is precisely what you’ll encounter near the waterline on a deteriorating wall; standard patching materials just get flushed away.
- Low cost per application ($15–20 per container) means you can use repair attempts as a diagnostic method rather than gambling on whether full replacement is truly unavoidable.
When targeted patching falls short
- Cannot arrest a wall showing structural displacement or active settlement — if concrete is visibly moving, no patch provides anything beyond temporary psychological comfort.
- Demands thorough diagnosis of *what caused* the crack originally; if you seal a stress-induced fracture without eliminating the load driving it, you’ll be repatching every couple of years perpetually.
I once spent a Saturday afternoon patching what I thought was minor spalling, only to realize halfway through that the entire wall section was moving with the tides — the patch was never going to matter. That’s when I learned to use hydraulic cement as a triage tool, not a miracle worker. If you’re seriously weighing repair versus replace, grab some DAP Quick Plug Hydraulic Cement, 5Lb and test the actual condition before you write a contractor a five-figure check.
Frequently Asked Questions
How much does a seawall repair cost versus replacement?
Competent repairs generally range from $1,500 to $8,000 depending on wall length and problem severity. Full replacement along the Gulf Coast costs between $500 to $1,200 per linear foot for poured concrete and $300 to $700 per linear foot for vinyl sheet pile.
What crack width means my seawall needs professional evaluation?
Surface cracks narrower than 1/8 inch usually reflect normal concrete shrinkage. Anything wider than 1/4 inch that penetrates through the full cap thickness warrants closer examination and professional input from a licensed contractor.
How much wall tilt indicates anchor rod failure?
When the wall leans seaward by more than 1 inch for every foot of vertical height, anchor failure is occurring. This condition typically means replacement rather than repair.
Can I use regular cement to patch my seawall?
No. Your repair material must carry certification for submerged and wet-environment service. I used standard portland cement mortar on a tidal zone repair in 2006 and watched it dissolve by the following spring from freeze-thaw and tidal cycling.
Sources and further reading
About This Article

Written by Trent Hollis. Waterfront homeowner turned DIY obsessive. After two decades tinkering with my own dock, seawall, and boat lift on the Gulf Coast, I share everything I've learned about waterfront construction, boat lift maintenance, and coastal living projects. More about this site.
Scope and limits. Trent is a waterfront homeowner, not a licensed marine contractor. Structural, electrical, and lift work should go to a licensed marine contractor, and most in-water work needs a permit before you start.
Verify this against a primary source
Specifics change, and your situation may differ from the one described here. These are the authorities worth checking directly:
- ABYC — marine electrical and construction standards
- U.S. Army Corps of Engineers — permitting for work in navigable waters
- NOAA Tides & Currents — tidal range and water level data for your site