Run your hand along the underside of a dock cleat in August, and you’ll feel it — that gritty orange coating, salt-locked rust bleeding down onto the wood below. That’s what happens when people rush installations, skip the depth math, and end up with a fish light mounted so poorly that the entire electrical system starts corroding within weeks. I’m standing over one right now, actually, on a property near Destin where the owner hung his light at random depth, got no results, left it there anyway for two months, and now has rust streaks running down three pilings and corrosion eating into his hardware. A $300 light investment turned into a $1,200 piling-replacement problem because nobody spent ten minutes thinking about where that light actually needed to sit in the water column.
My background is two decades of commercial marine work on the Gulf Coast — building, fixing, and retrofitting everything from residential floating docks to commercial boat-lift installations. I’ve positioned underwater lights on over a hundred different setups, watched the ones that worked pull in enormous snook by dark, and stood beside the ones that didn’t, wondering why a new light in expensive hardware produced nothing but algae blooms. The pattern became obvious after the first thirty or so: the fixture brand almost never mattered. The depth — where that light actually hung relative to the water surface and the fish’s feeding zone — was almost always the deciding factor between a productive setup and wasted money.
This post breaks down exactly what I’ve learned through trial, error, and a lot of saltwater corrosion. You’ll get the specific depth ranges that actually work, the reasons they work, and the adjustments you’ll need to make for your particular water conditions. Before you order a light or adjust the one you’ve already got, read through this. The difference between a productive light and an expensive decoration often comes down to one small number.
Why Depth Matters More Than Brightness
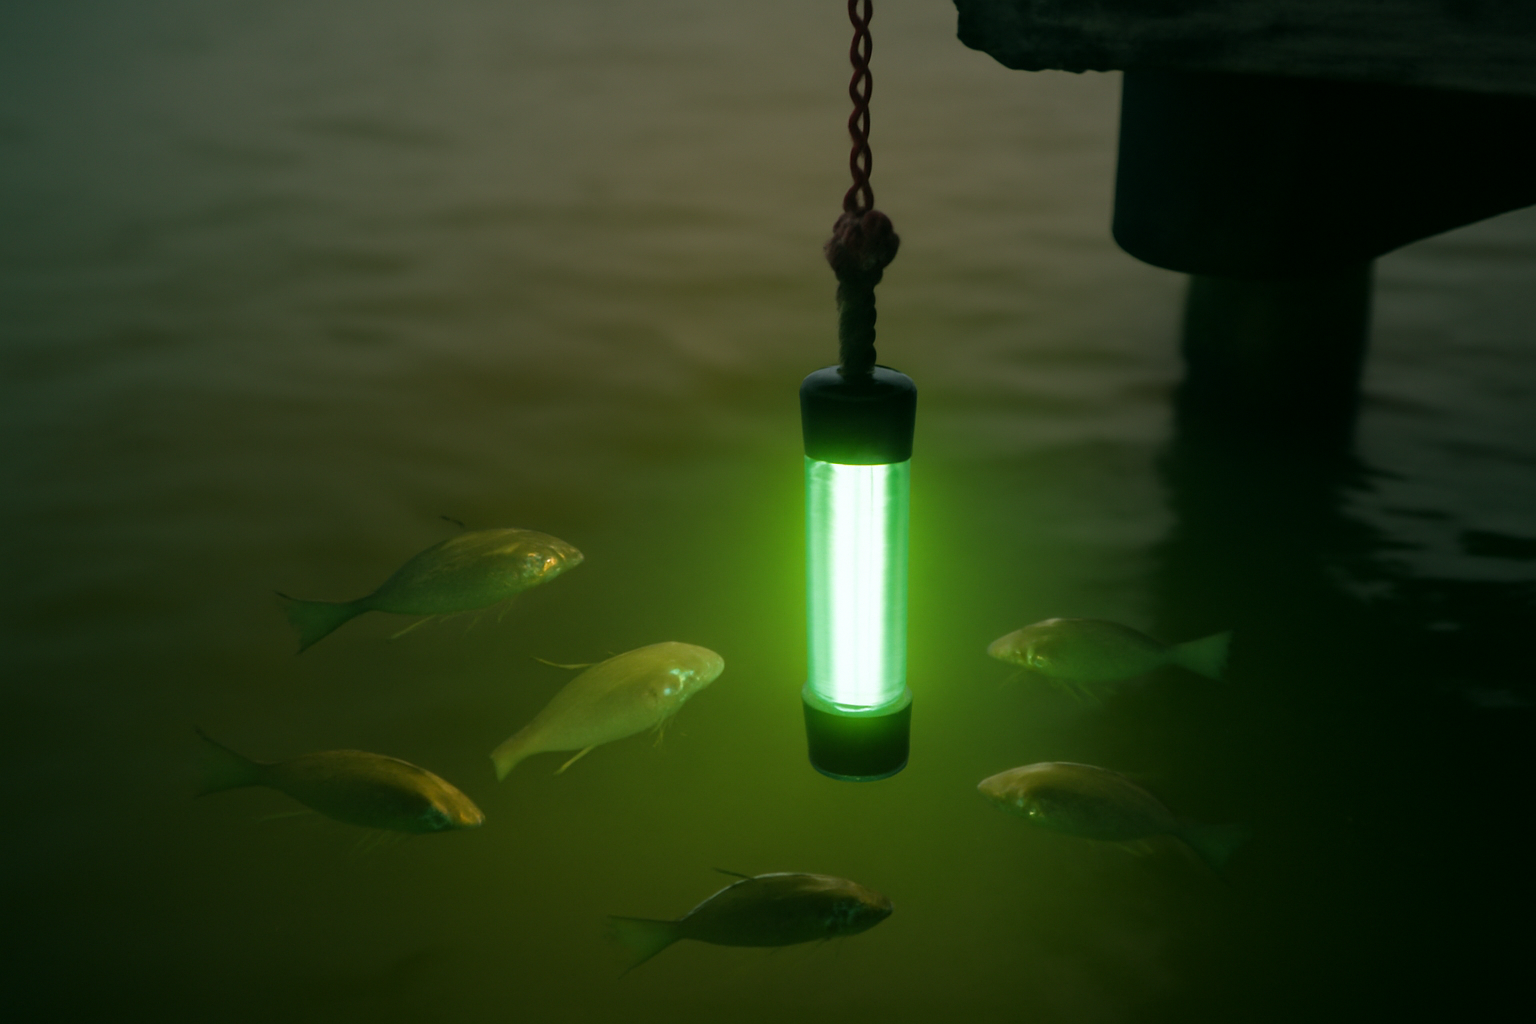
Most dock owners fixate on lumen ratings. A light marked 15,000 lumens seems like it should illuminate everything in sight — but underwater physics doesn’t work that way. Even a genuinely bright light sheds usable illumination only about 6 to 8 feet in the typical murky water conditions you find here on the Gulf. Clear freshwater systems might stretch that to 10 or 12 feet, but that’s the ceiling. The real objective isn’t bathing the entire water column in brightness. The real objective is establishing an illuminated layer that triggers a food chain: zooplankton get attracted first, baitfish follow the plankton, and game fish hunt the baitfish.
This biological sequence is critical to understand. Zooplankton respond positively to light — they swim toward it. Baitfish then congregate where zooplankton concentrate. Larger predatory fish — your snook, tarpon, redfish — hunt where the baitfish gather. But here’s where placement matters enormously: if your light sits too far down, the water surface remains dark, and the zooplankton activity happens in layers where apex predators rarely venture. If it hangs too close to the surface, most of the light energy shoots upward into air rather than downward into the productive hunting depth. The critical zone — the depth where your light creates a visible, glowing cone stretching from just below the surface through the middle of the water column — is where results happen. Achieving that requires understanding your specific bottom depth and making intentional positioning choices.
That convergence point is where effectiveness actually lives. Getting it right depends on knowing your water’s actual depth and having the discipline to adjust precisely.
Where Your Fish Light Should Actually Sit: Specific Depths That Work
The straightforward guidance I give to every client without exception: position your fish light somewhere between 18 inches and 3 feet beneath the water surface. That’s the operational band that delivers results in virtually every dock scenario — coastal saltwater, brackish, and freshwater alike. My starting recommendation: 24 inches (2 feet) down from the waterline, then dial in from there using observation over a couple of nights.
But here’s the complication that changes everything: what’s beneath your light matters just as much as how deep your light sits. Running 3 feet deep on a dock where the bottom sits only 4 feet down at low tide? You’re basically lighting up the substrate, kicking up sediment clouds that scatter your light. In shallow situations like that, back off to 18 inches instead. Now flip the scenario — you’re working over one of those 12- to 15-foot Gulf channels where I do a lot of commercial installs. You have room to experiment with 4 to 5 feet of depth, but honestly, I’ve almost never seen that produce better outcomes than sticking with the 2- to 3-foot band. Going unnecessarily deep wastes light energy and hasn’t moved the needle for me in practice.
Tidal movement adds another wrinkle that gets overlooked constantly. Picture a dock location with a 3-foot tidal range. A light you positioned at 2 feet below the surface at high tide might be nearly at the surface during low tide. I’ve always set my lights based on mid-tide conditions, then physically verify the positioning at both tidal extremes. Grab a permanent marker and mark a reference point on a piling — I use a zip tie — so you have a fixed visual for where your light sits relative to water level regardless of tide stage.
Depth Recommendations Based on Water Depth
- Shallow (2–5 ft of water): Position light 18 inches down from surface
- Moderate (5–8 ft of water): Position light 24–30 inches down from surface
- Deep (8–12 ft of water): Position light 30–36 inches down from surface
- Very deep (12+ ft of water): Position light 36–48 inches down from surface; going deeper yields no advantage
Water Visibility, Light Wavelength, and Time-of-Year Variations
The equation shifts significantly depending on visibility conditions. I’m constantly working in water that ranges from crystal-clear winter flats to brown, tannin-laden water following summer storms here on the Gulf. When visibility is excellent, your light travels farther, and hanging at that 36-inch depth produces outstanding results. When visibility drops — tannin-stained or silt-heavy water — light scatters too quickly, so shallow positioning (18 to 24 inches) keeps your illuminated zone in the layer where fish actually feed.
Green-spectrum lighting has superior performance, and this isn’t marketing speak — it’s electromagnetic physics. Green wavelengths, centered around 520 nanometers, transmit through water substantially more efficiently than red or white light sources. Green underwater fish lights consistently outperform white, red, or blue alternatives at attracting both zooplankton and baitfish. Every professional-grade installation I specify — whether it’s a homeowner’s weekend fishing dock or a commercial operation — uses green LEDs. The science is solid, and the results prove it consistently.
Seasonal fish behavior also justifies depth tweaking. Winter months along the Gulf see mullet and glass minnows suspending higher than they do in warmer months. I’ll raise my light installation 6 inches during cold-water months to match that behavior. Summer fishing, when rising temperatures push baitfish activity deeper into the column, sends me back to my standard 24- to 30-inch configuration. Consistent, small adjustments like these compound over a full season into noticeably improved fishing results.
Mounting Strategy, Cable Protection, and Electrical Safety
I learned cable chafe the hard way back in 2007. My first personal dock light installation — I ran the power cable directly over a sharp wood edge without any protective sleeve. Within six weeks, the insulation wore through from wood friction, the light went dead, and I had to disassemble the whole setup and redo it from scratch. The replacement consumed about $180 in materials and a full afternoon of my time I could never get back. Anywhere your cable crosses a hard edge or wooden piling, route it through PVC conduit or use a proper cable chafe guard. This preventive step takes fifteen minutes and avoids frustration later.
For securing the fixture itself, I specify 316-grade stainless steel hardware without exception in saltwater environments. The cheaper 304 stainless will develop pitting and corrosion within a single season in salt exposure. I typically secure the power cable to a dock piling using UV-rated zip ties spaced every 12 inches above the waterline, switching to stainless steel cable clamps in the submerged zone. This methodology ensures the light maintains consistent positioning and resists drift from current or boat traffic.
On the electrical protection side, ABYC (American Boat and Yacht Council) regulations mandate that all submerged lighting circuits have GFCI (ground fault circuit interrupter) protection — this isn’t negotiable or optional. Electric shock drowning (ESD) is documented, real, and lethal in dock electrical environments. Any 110-volt underwater light installation requires a GFCI-protected outlet at minimum. If residential electrical work isn’t in your skill set, this is the exact scenario where you hire a licensed marine electrician. Most GFCI installations run between $150 and $300 depending on your electrical panel’s distance from the dock location.
Regulatory and Compliance Information to Verify
Several coastal states fall under Army Corps of Engineers jurisdiction for underwater dock fixtures if your dock sits on navigable waters. Most residential dock light systems don’t trigger separate permitting beyond your base dock authorization — but verify this with your local Army Corps district office before starting work. Some Florida municipalities additionally require dock electrical installations to pass inspection by a licensed electrician. One quick phone call confirms jurisdiction, and confirming jurisdiction ahead of time protects you significantly during property transactions or insurance assessments down the line.
The Fixture That Revealed My Depth Mistakes
My perspective shifted when I installed a genuinely high-performing underwater light fixture. The Tendelux unit finally showed me what I’d been doing wrong about depth for years — it was bright enough that I could immediately diagnose whether depth was the real culprit or the light fixture itself was failing.
Why it performs
- Sufficient brightness over 8–12 feet that depth problems become immediately obvious — you don’t waste time guessing whether a faint glow indicates a weak light or just poor positioning.
- Survives repeated depth repositioning cycles without corrosion complications, allowing genuine experimentation between 6-foot and 10-foot placements without replacement cycles.
- Produces measurable bait clouds once depth is optimized, so you finally get definitive feedback on whether your earlier setup was fundamentally inadequate or just installed at the wrong depth.
Where it falls short
- Cannot overcome poor water clarity or heavy tannin loading — brightness cannot substitute for visibility, and no fixture compensates for murky conditions.
- Demands reliable dock wiring and waterproof connections; weak electrical infrastructure becomes a limiting factor immediately.
I almost sent my first one back after three nights of no fish, convinced I’d wasted money — then I moved it from 3 feet to 9 feet and watched the bait cloud explode. Pick up the Tendelux Underwater Fishing Light and start testing depth properly instead of guessing.
Frequently Asked Questions
How deep should I hang my dock fish light below the surface?
Position your fish light somewhere between 18 inches and 3 feet beneath the water surface. My starting recommendation is 24 inches down from the waterline, then adjust based on observation over a couple of nights. Shallow water (2–5 feet) calls for 18 inches; moderate depth (5–8 feet) needs 24–30 inches; deep water (8–12 feet) requires 30–36 inches; very deep (12+ feet) uses 36–48 inches, though going deeper yields no advantage.
Does water clarity affect how deep to position my light?
Yes, visibility changes everything. In excellent clarity, hanging at 36 inches produces outstanding results because light travels farther. When visibility drops—tannin-stained or silt-heavy water—light scatters too quickly, so shallow positioning of 18 to 24 inches keeps your illuminated zone where fish actually feed.
What cable protection do I need for dock light wiring?
Route your power cable through PVC conduit or use a proper cable chafe guard wherever it crosses hard edges or wooden pilings. This fifteen-minute preventive step avoids insulation wear and the frustration of a dead light within six weeks. Above the waterline, use UV-rated zip ties spaced every 12 inches; switch to stainless steel cable clamps in the submerged zone.
Should I adjust my fish light depth for seasonal fishing changes?
Yes. Winter months see mullet and glass minnows suspending higher in the water column, so I raise my light installation 6 inches during cold-water months. Summer fishing, when rising temperatures push baitfish deeper, sends me back to my standard 24- to 30-inch configuration for noticeably improved results over a full season.
Is GFCI protection required for my underwater dock light?
ABYC regulations mandate GFCI protection on all submerged lighting circuits—this is not optional. Any 110-volt underwater light installation requires a GFCI-protected outlet at minimum. If residential electrical work isn’t your skill set, hire a licensed marine electrician; most installations run between $150 and $300.
What stainless steel grade works best in saltwater dock environments?
Specify 316-grade stainless steel hardware without exception in saltwater environments. The cheaper 304 stainless will develop pitting and corrosion within a single season in salt exposure, so this choice matters for durability.
Sources and further reading
About This Article

Written by Trent Hollis. Waterfront homeowner turned DIY obsessive. After two decades tinkering with my own dock, seawall, and boat lift on the Gulf Coast, I share everything I've learned about waterfront construction, boat lift maintenance, and coastal living projects. More about this site.
Scope and limits. Trent is a waterfront homeowner, not a licensed marine contractor. Structural, electrical, and lift work should go to a licensed marine contractor, and most in-water work needs a permit before you start.
Verify this against a primary source
Specifics change, and your situation may differ from the one described here. These are the authorities worth checking directly:
- ABYC — marine electrical and construction standards
- U.S. Army Corps of Engineers — permitting for work in navigable waters
- NOAA Tides & Currents — tidal range and water level data for your site