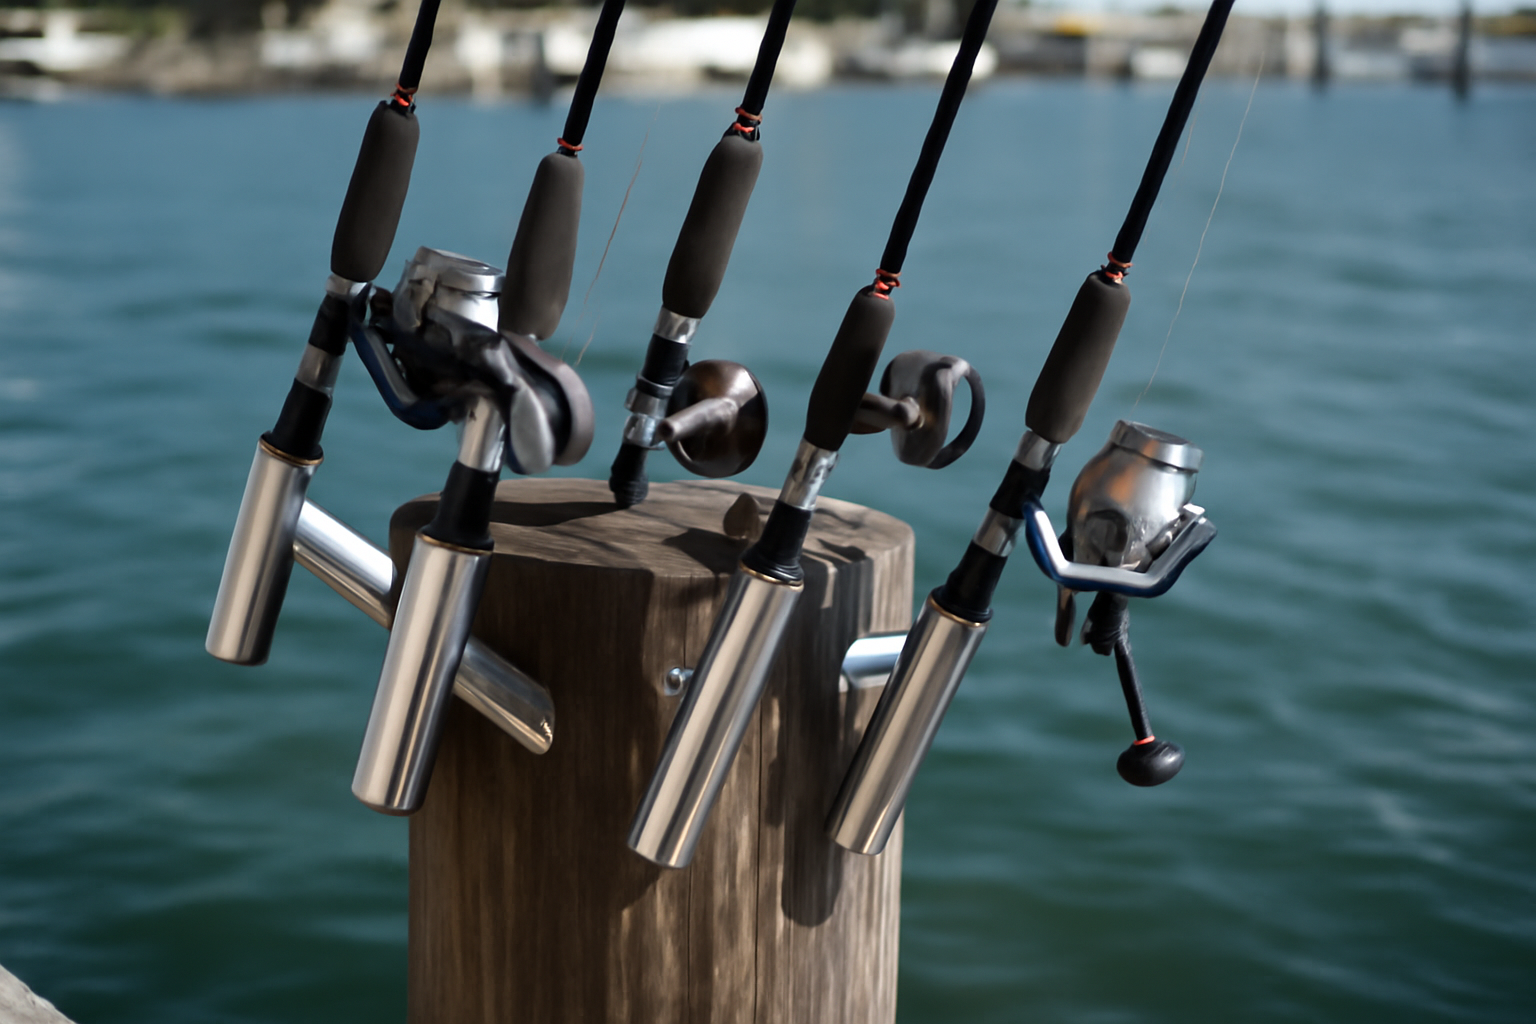
Out on the water near Pensacola, I once watched a spinning rod valued at roughly $200 slip off a dock post and vanish into the bay. The rod holder had been fastened through a hollow aluminum post using nothing but undersized screws, no backing plate underneath, and no sealant around the holes. When a bull red struck hard enough, the whole assembly simply gave way. That rod, reel, and tackle — all gone. Over two decades spent building and repairing docks, boat lifts, and seawalls along the Gulf Coast, I’ve catalogued nearly every mistake a builder can make. The common thread? Most of them end up costing people real money, lost equipment, or worse — situations that create genuine safety risks.
This job doesn’t demand specialized skills, yet success hinges on executing three fundamentals correctly: selecting the appropriate fastening hardware, preparing the mounting surface with care, and grasping what forces actually work against your installation. I’ll show you the approach that works, highlight the errors I encounter regularly, and share lessons learned through hurricanes, corrosion, and watching too many shortcuts fail.
Why Most Rod Holder Mounts Fail (And What’s Really Going On)
The engineering involved here deserves your attention. A rod holder bolted to a dock post carries more than just weight sitting still — it carries a cantilevered load, which means the torque multiplies dramatically as your rod extends outward. Rig a seven-foot rod with heavy sinker or a fighting fish, and you’re introducing serious lateral stress on those fasteners. Generic #10 sheet metal screws driven into a hollow post simply cannot absorb that load. They’ll eventually spin loose, strip their threads, and punch right through the post wall.
Material choice represents the second recurring failure I witness. Most people grab whatever fastening hardware sits in their toolbox. In saltwater dock conditions, that approach guarantees failure within months. Salt spray, moisture, UV exposure, and regular tidal exposure will obliterate zinc-plated fasteners by the end of a single season. I’ve had to replace entire rod holder assemblies on docks barely twelve months old because the owner selected the wrong hardware. What actually works: 316 stainless steel exclusively for coastal installations. Grade 304 stainless can work in freshwater applications, but saltwater environments demand 316. This isn’t negotiable — it’s the marine standard.
The third failure pattern stems from neglecting sealant around penetrations. Each hole you bore into a wood dock post becomes an entry point for water. Moisture gradually works deeper into the wood structure over time, degrading the post from the interior outward. I’ve examined docks just five years old that appeared structurally sound from above but contained punky, rotted cores — invariably because someone drilled mounting holes and never sealed them afterward with quality marine-grade polyurethane or epoxy.
Choosing the Right Rod Holder for a Dock Post Mount
Not all rod holders work equally well when mounted to a dock post. Flush-mount options, surface-mount styles, and adjustable-angle designs each have different applications. For dock post installations, I consistently recommend surface-mount holders featuring a broad, flat mounting flange — ideally spanning at least four inches across. That expanded footprint distributes forces across multiple fastener points, which reduces concentrated stress at any one attachment location.
Four mounting holes represent the practical minimum, not two. Two-hole configurations suffice for casual freshwater fishing, but serious saltwater dock use with substantial tackle and real fish pressure demands four contact points for adequate strength. Aluminum construction offers lightweight corrosion resistance, provided it’s marine-grade anodized or powder-coated. Bare aluminum can oxidize and actually bond to stainless fasteners via galvanic corrosion — I’ll address that phenomenon separately.
The diameter of your holder opening matters significantly. Standard rod designs fit comfortably in a 1.5-inch interior diameter. If you’re deploying heavier conventional equipment or large offshore-class rods, moving to a two-inch holder prevents binding and crushing. I always ask property owners which tackle classes they intend to use before finalizing hardware specs. Selecting wrong means drilling new holes and re-sealing — a frustrating and preventable extra step.
Galvanic Corrosion: The Hidden Problem Nobody Talks About
Early on, I discovered that combining different metals in saltwater creates galvanic action. Stainless fasteners threaded into an aluminum holder, with saltwater serving as the electrolyte medium, triggers accelerated breakdown of the less chemically noble material. The solution proves straightforward — apply anti-seize compound or insert nylon isolation bushings between dissimilar metals. The task adds maybe five minutes to installation time, yet extends your hardware lifespan significantly. Omitting this step is a false economy.
How to Mount Rod Holders on a Dock Post: Step-by-Step
Here’s how I approach every single installation I undertake. This methodology applies across treated lumber posts, composite materials, and aluminum structures — though I’ll note important adaptations as we proceed.
Tools and Materials You’ll Need
- Drill equipped with 1/8″ and 3/16″ bits rated for stainless steel
- 316 stainless steel lag screws, minimum 5/16″ diameter by 2.5″ length for wood installations
- 316 stainless steel machine screws with backing plates for hollow aluminum constructions
- Marine-grade polyurethane sealant product like 3M 5200 or functionally equivalent alternative
- Anti-seize compound for threaded connections
- Torque wrench or powered drill with adjustable torque limiting feature
- Bubble level for plumb verification
- Measuring tape for accurate positioning
The Installation Process
- Establish your mounting elevation. I position rod holders between 36 and 42 inches measured upward from the deck surface. This height keeps your fishing rods within easy reach without creating trip hazards, and the rod butt end aligns naturally with standing arm height for most people.
- Verify interior post configuration. Before initiating any drilling, investigate what blocking or internal reinforcement exists inside hollow posts. When working with wood, determine the grain direction running through it — drilling across the grain yields stronger holding than drilling parallel with it.
- Create pilot holes preceding the fasteners. Omitting this step on marine lumber causes splitting and structural failure, particularly in aged treated wood. Select a drill bit measuring roughly 80 percent of your fastener’s diameter.
- Introduce sealant into each hole. Deposit a continuous seal of 3M 5200 or equivalent around each pilot hole before screwing in the fastener. This action seals the wood grain and mechanically locks the screw position. Wait 15 to 20 minutes until the material becomes tacky before final tightening.
- Deploy backing plates for hollow construction. Never trust the hollow post wall alone when mounting to aluminum or PVC. Run the machine screw straight through the post thickness, with a one-quarter inch backing plate of aluminum or stainless positioned on the interior face. This disperses load and prevents catastrophic pull-through — precisely what failed in that Pensacola installation.
- Apply appropriate rotational tension. Over-tightening destroys wood fiber integrity and damages threading. For 5/16″ lag fasteners in treated lumber, I apply 15 to 18 foot-pounds of torque. Snug connection works. Excessive force does not.
- Confirm level alignment upon completion. Even minor deviation from vertical allows rods to gradually shift out of position. Run your level across the installed holder before the sealant reaches full cure.
Spacing, Positioning, and Code Considerations
Installing multiple rod holders along a post cluster requires deliberate spacing strategy. I maintain a minimum of eight inches between holder centerlines. Smaller spacing causes fishing rods to physically collide — particularly problematic with larger reel housings. On a standard 6×6 post, you can comfortably accommodate two holders per face, three if you’re working with a full six-inch width.
Permit and regulatory compliance warrants serious consideration. The U.S. Army Corps of Engineers oversees structures located within navigable waterways, and modifications to existing permitted docks — including equipment installations that alter the structure’s visible dimensions — technically require permit documentation review. This applies especially throughout Florida, Alabama, and Mississippi where I’ve spent most of my time on the water. Most county building departments don’t strictly enforce this regulation for basic rod holder work, but substantial dock furniture or equipment stations can trigger the review process. Contact your county permitting office before beginning work if you want certainty.
The American Boat and Yacht Council publishes standards that, while not specifically targeting dock hardware, offer the most reliable guidance for marine fastener specifications and corrosion prevention. ABYC H-2 serves as my reference standard for saltwater hardware selections on all installations. Commercial vessel builders follow this identical standard, and my experience proves it translates perfectly to dock structure hardware.
The Cleaning Station That Turned My Rod-Loss Guilt Into a Real System
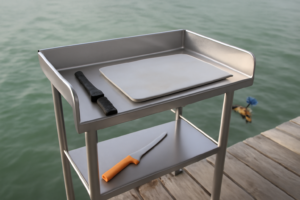
Watching that rod disappear crystallized something for me: the actual problem extended beyond improper fastening technique — it was the complete absence of any systematic, dedicated space where gear gets serviced and inspected before deployment. Establishing a proper dock-mounted service and inspection station creates the right environment to methodically check your rod holders, verify backing plates, and confirm all fasteners remain tight before any equipment experiences real load.
What works
- Furnishes an elevated, stationary work platform positioned directly on your dock for systematic inspection of rod holder mounting configuration and backing plate security before subjecting the rig to actual fishing loads.
- Substantial construction resists flex and movement while you’re performing bolt adjustments or conducting load testing on your mounting assembly — you receive honest structural feedback regarding assembly integrity.
- Integrated drainage channels prevent saltwater accumulation near fastening locations, which slows corrosion advancement on bolts and backing plate surfaces.
What doesn’t
- Consumes valuable dock surface area — when your dock dimensions are already constrained, you’re forced to prioritize between a maintenance workspace and fishing-activity footprint.
- Eliminates the need for foundational knowledge; it’s just furniture. You still require understanding of backing plates, sealant application, and correct fastener specifications to prevent future losses.
I’ll admit, the first time I mounted my own holders after installing this station, I second-guessed whether I was using thick enough backing plates—and I almost bolted straight through without one, just like that guy in Pensacola. But having a proper work surface meant I could test the joint under load before the rod holder went live. Check out the Magma Products T10-449B-HDP 48″ Tournament Series Dock Cleaning Station and give yourself a real staging ground for dock projects.
Frequently Asked Questions
What size backing plate do I need for hollow aluminum posts?
Use a one-quarter inch backing plate of aluminum or stainless positioned on the interior face of the post. This disperses load and prevents pull-through, which is the failure mode that lost me a $200 rod in Pensacola years back.
How much torque should I apply to 5/16 lag fasteners?
For 5/16″ lag fasteners in treated lumber, I apply 15 to 18 foot-pounds of torque. Over-tightening destroys wood fiber integrity and damages threading—snug connection works, excessive force does not.
Should I use 304 or 316 stainless steel for saltwater docks?
Use 316 stainless steel exclusively for coastal saltwater installations. Grade 304 can work in freshwater, but saltwater environments demand 316—it’s the marine standard and non-negotiable for preventing failure within months.
How far apart should multiple rod holders be spaced?
I maintain a minimum of eight inches between holder centerlines. Smaller spacing causes fishing rods to physically collide, particularly problematic with larger reel housings on a standard dock post.
Sources and further reading
About This Article

Written by Trent Hollis. Waterfront homeowner turned DIY obsessive. After two decades tinkering with my own dock, seawall, and boat lift on the Gulf Coast, I share everything I've learned about waterfront construction, boat lift maintenance, and coastal living projects. More about this site.
Scope and limits. Trent is a waterfront homeowner, not a licensed marine contractor. Structural, electrical, and lift work should go to a licensed marine contractor, and most in-water work needs a permit before you start.
Verify this against a primary source
Specifics change, and your situation may differ from the one described here. These are the authorities worth checking directly:
- ABYC — marine electrical and construction standards
- U.S. Army Corps of Engineers — permitting for work in navigable waters
- NOAA Tides & Currents — tidal range and water level data for your site